
How Do You Boil Eggs in the Oven in 10 Easy Steps?
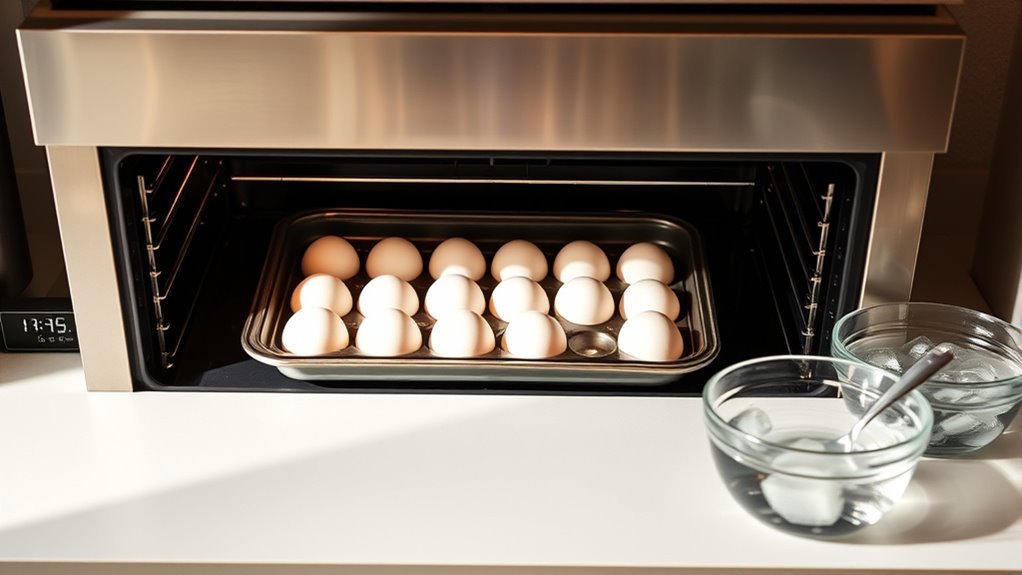
You start by preheating your oven to 325°F and placing eggs upright in a muffin tin lined with silicone cups or foil.
Baking eggs in the oven is a simple and convenient way to get perfect boiled eggs without boiling water. This method is great for making a batch of eggs all at once without needing to watch a pot.
Bake them for about 25-30 minutes, flipping halfway for even cooking. Once done, immediately transfer eggs to an ice bath to stop cooking and make peeling easier.
After chilling for 5-10 minutes, crack and peel from the large end.
Follow these steps, and you’ll get perfect, easy-to-peel eggs every time. Want tips on storage and peeling? Just ask!
Key Takeaways
- Preheat your oven to 325°F. Get a muffin tin ready with silicone cups or foil liners to hold the eggs upright and secure.
- Place large, room-temperature eggs upright in the muffin wells. Don’t add any water or oil, just make sure they’re stable so they won’t crack.
- Bake the eggs for about 25-30 minutes. Flip them halfway through to help them cook evenly and get a nice, consistent texture in both the yolk and the white.
- When they’re done, immediately transfer the eggs to an ice water bath. Let them chill there for 5-10 minutes to stop the cooking and make peeling way easier.
- Once chilled, start peeling the eggs at the large end. Using cold running water helps remove any shell fragments smoothly and quickly.
Why Boil Eggs in the Oven? Benefits and Overview
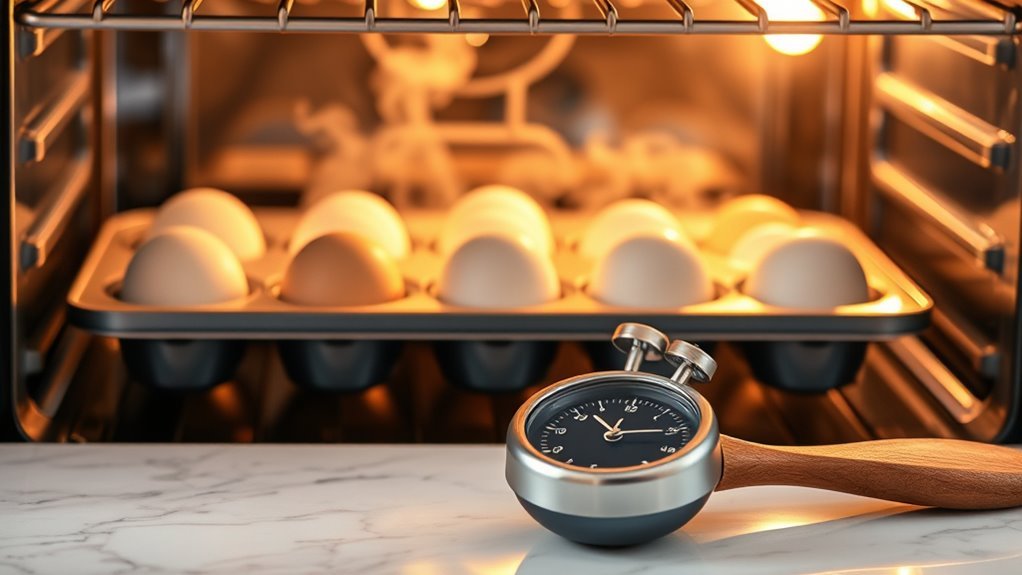
Although boiling eggs on the stove is traditional, baking them in the oven offers a hands-free, consistent method that eliminates cracking and mess. When you choose oven-baked eggs, you skip the hassle of boiling water and constant monitoring.
This hands-free method lets you prepare multiple eggs at once, saving time and effort. Plus, the oven provides even cooking, so the whites and yolks set uniformly without overcooking or greenish rings.
You’ll enjoy consistent results every time, making your eggs easier to peel. And without dealing with hot water or splashes, cleanup is simpler and safer.
Gather What You Need to Boil Eggs in the Oven
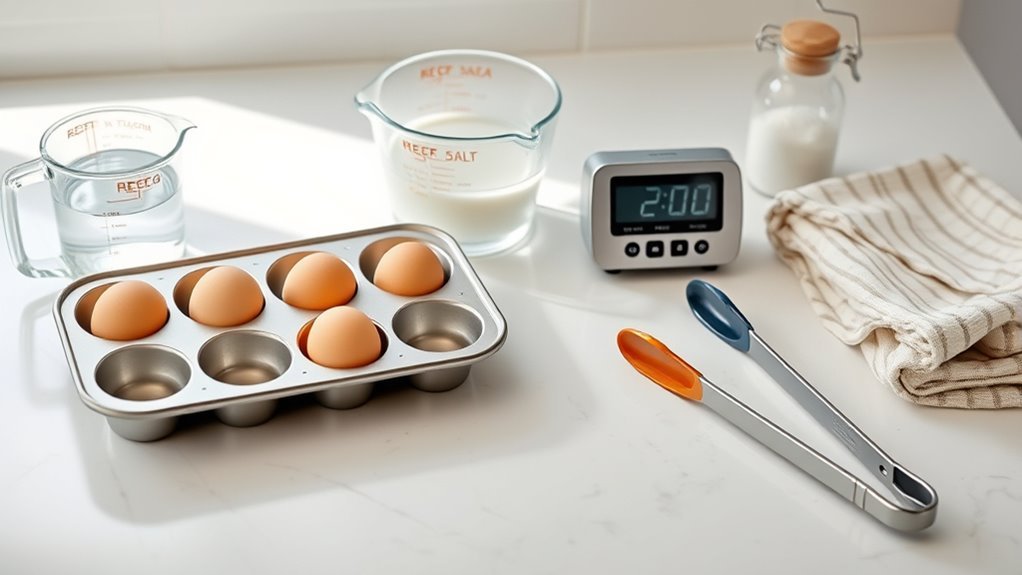
Before you start, make sure you have a muffin tin or silicone egg cups to hold your eggs securely while baking. Choose fresh or refrigerated eggs for easier peeling later on.
Don’t forget to preheat your oven and set a timer to get the perfect yolk every time. It really helps to keep things on track!
Essential Equipment Checklist
To boil eggs in the oven successfully, you’ll need a few key tools to keep everything safe and efficient. Using the right equipment guarantees perfect baking eggs every time and simplifies the process.
Here’s your essential equipment checklist:
- Muffin tin or silicone egg cups to hold eggs securely during baking.
- Oven preheated to the correct oven temperature (325°F) for even cooking.
- Timer to track baking time precisely for your preferred yolk consistency.
- Large bowl filled with ice water bath to cool eggs immediately after baking.
Additionally, have oven mitts or tongs ready to handle hot eggs safely. With this equipment, you’ll be set to boil eggs in the oven with ease and safety.
Egg Selection Tips
When you select eggs that are at least 7 to 10 days old, you’ll find they peel much easier after baking because their higher pH levels loosen the shell. To get consistent results, choose large eggs, about 50 grams each, so they cook evenly in the oven.
Make sure the eggs have clean, uncracked shells; any cracks can let water seep in, affecting texture and cooking time. Avoid using very fresh eggs since they tend to be harder to peel.
Also, pick refrigerated eggs to keep them fresh and safe during baking. By paying attention to these egg selection tips, you’ll enjoy perfectly baked eggs that peel easily and cook uniformly every time you boil eggs in the oven.
Muffin Tin Preparation
How exactly do you keep your eggs steady while baking in the oven? The secret lies in proper muffin tin preparation. To prevent cracking and ensure even cooking, follow these steps:
First, preheat your oven to 325°F or 350°F before you start. Then, line the muffin tin wells with silicone cups or foil. This helps prevent eggs from sticking and cracking.
Next, place one egg upright in each well of the muffin tin. Make sure the eggs are stable and won’t tip over during baking.
Also, keep the muffin tin dry—don’t add water or oil to the wells. Using a silicone muffin tin or cradles really helps keep the eggs secure while baking.
This setup avoids movement and cracking, so you get perfectly cooked eggs every time. Easy, right?
Preheat Your Oven to 325°F
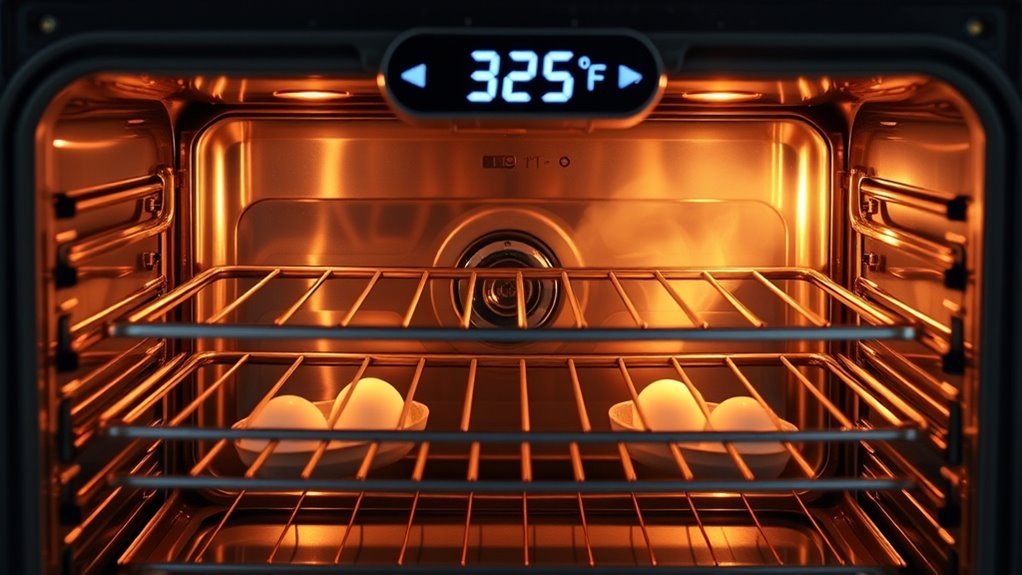
Start by setting your oven to exactly 325°F for consistent, even cooking. Since oven dials can be off, use a thermometer to double-check the temperature.
Make sure your oven is fully preheated before you place the eggs inside. That way, you’ll get the best results every time.
Optimal Temperature Setting
Why set your oven to exactly 325°F? Choosing this oven temperature guarantees consistent cooking and is the perfect setting for baking eggs.
When you preheat your oven to 325°F, you provide gentle, even heat that avoids overcooking and prevents green yolks. This temperature helps keep the eggshells free from scorching or brown spots while balancing thorough cooking with texture preservation.
Here’s why 325°F is ideal for baking eggs:
- Maintains consistent cooking temperature throughout the oven.
- Provides gentle heat to prevent overcooking.
- Avoids discoloration and damage to eggshells.
- Ensures uniform hard-boiled results every time.
Oven Calibration Tips
Because oven temperatures can vary considerably, you should always verify your oven’s actual heat with an oven thermometer before preheating to 325°F. This guarantees accurate temperature and better oven calibration.
Many ovens fluctuate by 10-15°F, so adjusting your preheat temperature improves oven consistency. This is vital for even heat distribution when boiling eggs.
Use your oven’s calibration feature or manual to fix frequent discrepancies. Keep a thermometer inside to monitor real-time temperatures and maintain precise calibration.
| Step | Action | Result |
|---|---|---|
| Check Temperature | Use oven thermometer | Accurate temperature |
| Adjust Settings | Calibrate oven if needed | Improved oven consistency |
| Monitor Heat | Keep thermometer inside oven | Even heat distribution |
Preheating Duration
Although it might be tempting to place your eggs in the oven right away, you should always preheat your oven to 325°F and wait until it reaches a stable temperature before baking. Proper preheating guarantees even cooking and prevents underdone or overcooked eggs.
Here’s how to manage your preheat duration effectively:
- Turn on your oven at least 10-15 minutes before baking to allow it to reach 325°F.
- Use an oven thermometer to check the oven temperature, as oven calibration can vary.
- Wait until the oven signals it’s fully heated or the thermometer confirms a stable temperature.
- Avoid placing eggs inside before the oven is fully heated to ensure consistent results.
This process guarantees perfect oven-boiled eggs every time.
Choose Muffin Tin or Oven Rack for Baking
When you’re deciding how to bake your eggs, choosing between a muffin tin and the oven rack depends on your needs. Using a muffin tin keeps eggs stable, preventing cracking caused by movement during baking. It also guarantees even cooking by providing a uniform environment, which is especially helpful if you’re preparing a large batch.
On the other hand, placing eggs directly on the oven rack allows for quick setup and easy cleanup, particularly if you use a silicone baking mat or parchment paper. However, baking on the oven rack requires careful handling to avoid bumps that can crack the eggs.
For small batches and simplicity, the oven rack works well. But for controlled, consistent results, the muffin tin is your best bet.
Prepare Eggs With Silicone Cups or Foil Cradles
To keep your eggs from cracking and sticking during baking, place them in silicone muffin cups or foil cradles before putting them in the oven. These heat-resistant holders help prevent cracking by cushioning the eggs and ensuring even heat distribution.
Both silicone muffin cups and foil cradles offer excellent egg separation, avoiding contact with the hot pan and reducing scorch marks.
Here’s how to prepare eggs with these tools:
- Choose oven-safe silicone muffin cups or shape foil cradles to fit your eggs snugly.
- Place one egg in each silicone cup or foil cradle to prevent direct contact with the pan.
- Ensure the silicone or foil used is heat-resistant and suitable for oven use.
- Arrange cups or cradles evenly to promote uniform cooking and easy removal.
Bake Eggs and Flip Halfway for Even Cooking
To get perfectly cooked eggs, you’ll want to flip them halfway through baking to guarantee even heat distribution.
Use tongs or gently tilt the silicone cups to turn each egg without cracking the shells. This simple step helps avoid uneven cooking and gives you consistent yolk firmness every time.
Flipping Technique Importance
Flipping your eggs halfway through baking plays an essential role in achieving even cooking and consistent texture. This simple step guarantees even heat distribution, which helps prevent uneven cooking and browning.
When you flip the eggs, you also avoid scorch marks caused by direct contact with the hot muffin tin surface. This promotes uniform doneness, keeping both yolks and whites firm and consistent.
Flipping is especially critical at higher oven temperatures, where uneven heat can cause localized overcooking. So, flipping really makes a difference in how your eggs turn out.
Here’s why flipping matters:
- Guarantees even heat distribution for balanced cooking
- Prevents uneven cooking and browning on one side
- Promotes uniform doneness of yolks and whites
- Helps achieve consistent results despite oven temperature variations
Master flipping to bake perfect eggs every time.
Ensuring Even Heat
Although baking eggs in the oven provides consistent heat, you’ll get the best results by flipping them halfway through. Flipping eggs at the halfway point guarantees even heat distribution, preventing uneven yolks and whites.
Using a silicone muffin tin makes this process easier, as it reduces direct contact with hot metal and allows you to gently rotate each egg 180 degrees without hassle.
This oven method promotes uniform cooking by exposing both the top and bottom of the eggs to consistent temperature, minimizing scorch marks and hot spots. By flipping eggs during baking, you’ll achieve a perfectly cooked egg with a uniform appearance and texture.
Transfer Baked Eggs to an Ice Bath Immediately
Why should you transfer baked eggs to an ice bath immediately? Doing so stops the cooking process, preventing overcooking and the green yolk discoloration. The ice bath also cools the eggs quickly, preserving their texture and moisture.
Transferring baked eggs to an ice bath stops cooking, prevents green yolks, and preserves texture and moisture.
To get the best results, follow these steps:
- Submerge baked eggs fully in cold water to cool all sides evenly.
- Leave eggs in the ice bath for 5-10 minutes to halt residual heat.
- Rapid cooling helps the yolk reach the perfect firmness without overcooking.
- The cold water contracts the shell, making the eggs easier to peel.
Using an ice bath right away is essential for perfectly cooked eggs with smooth peeling and ideal texture. It really makes a difference!
Chill Eggs to Make Peeling Easy
Once you’ve transferred your baked eggs to an ice bath, chilling them thoroughly is key to making peeling much easier. The cold water cools eggs quickly, stopping the cooking process and preventing greenish yolk rings.
When you chill eggs in the ice bath for 5 to 10 minutes, the shell contracts slightly, loosening the membrane. This makes peeling eggs much less frustrating.
After cooling eggs in the ice bath, you should refrigerate them to keep fully chilled. When eggs are completely cold, the shells become easy to peel and come off smoothly without sticking.
Taking the time to chill eggs properly guarantees you spend less effort removing shells and enjoy perfectly cooked oven-boiled eggs every time.
Tips for Easy Peeling of Oven-Boiled Eggs
When you want to peel oven-boiled eggs effortlessly, a few simple techniques can make all the difference. To peel easily and achieve smooth shell removal, follow these peeling tips:
First, cool eggs immediately in an ice bath after baking. This contracts the shell and membrane, making peeling a lot easier.
Next, try peeling eggs at room temperature instead of cold. It really helps reduce the shell sticking to the egg.
When you’re ready, gently crack the shell all over. Then roll the egg to loosen the membrane — this makes the shell come off more smoothly.
Finally, start peeling at the large end where the air pocket is. Using cold running water to wash away shell fragments as you peel can also be a real game changer.
Store and Use Your Oven-Boiled Eggs Safely
Although oven-boiled eggs are convenient and delicious, proper storage is essential to keep them fresh and safe to eat. To store eggs safely, place them in their shells inside an airtight container and keep them in the refrigerator. This method guarantees safe storage for up to one week.
Avoid peeling eggs until you’re ready to eat them to maintain freshness and prevent moisture loss. If you’ve already peeled eggs, cover them with a damp paper towel or seal them in a container to stop drying out.
Remember, peeled eggs should be consumed quickly—ideally within a day—to ensure quality and safety. Never freeze cooked eggs, as freezing changes their texture and makes peeling difficult.
Following these tips will help you enjoy your oven-boiled eggs safely every time.
Frequently Asked Questions
How to Hard Boil Eggs in the Oven Easily?
You preheat your oven to 325°F, place eggs in a muffin tin, and bake for 30 minutes. Then, cool them in ice water for 10 minutes to stop cooking and make peeling easy.
What Is the 10-10-10 Method for Hard-Boiled Eggs?
The 10-10-10 method means you boil eggs for 10 minutes, chill them in ice water for 10 minutes, then let them rest for 10 minutes. This gives you perfectly cooked, easy-to-peel hard-boiled eggs every time.
How Long Do Eggs Take in the Oven at 400 Degrees?
Like a ticking clock, eggs take about 20-22 minutes at 400°F for soft to medium yolks, and 25-28 minutes for hard yolks. Don’t forget to ice them immediately to stop cooking and ease peeling!
How Many Minutes to Boil an Egg in the Oven?
You’ll want to bake your eggs at 325°F for about 28 minutes to get hard-boiled eggs. If you prefer softer yolks, reduce the time to around 22 minutes. Always use a timer for consistency.
Conclusion
By baking your eggs in the oven, you’re embracing a method as timeless as the alchemist’s quest for perfection—transforming simple ingredients into something extraordinary. Just like the steady heat that turns grapes into fine wine, the oven’s gentle warmth cooks your eggs evenly, making peeling a breeze.
So go ahead, master this easy, elegant technique, and enjoy perfectly cooked eggs that rival any classic kitchen ritual. Your breakfast game just leveled up!
Boiling eggs in the oven is surprisingly simple and yields consistent results every time. With just a few steps, you can achieve tender whites and creamy yolks without the hassle of boiling water. Whether you’re prepping for a quick breakfast or meal prepping for the week, oven-baked eggs are a game changer. Give this method a try and see how it transforms your egg-cooking routine!