How to Cook Turkey on a Green Egg in 7 Easy Steps
To cook a turkey on your Big Green Egg, start by thawing and prepping it properly. Then, inject a flavorful butter-stock mixture to keep the meat juicy and tasty.
Next, season the outside well and add a bacon lattice on top for extra moisture and flavor. This step really helps keep the turkey succulent while it cooks.
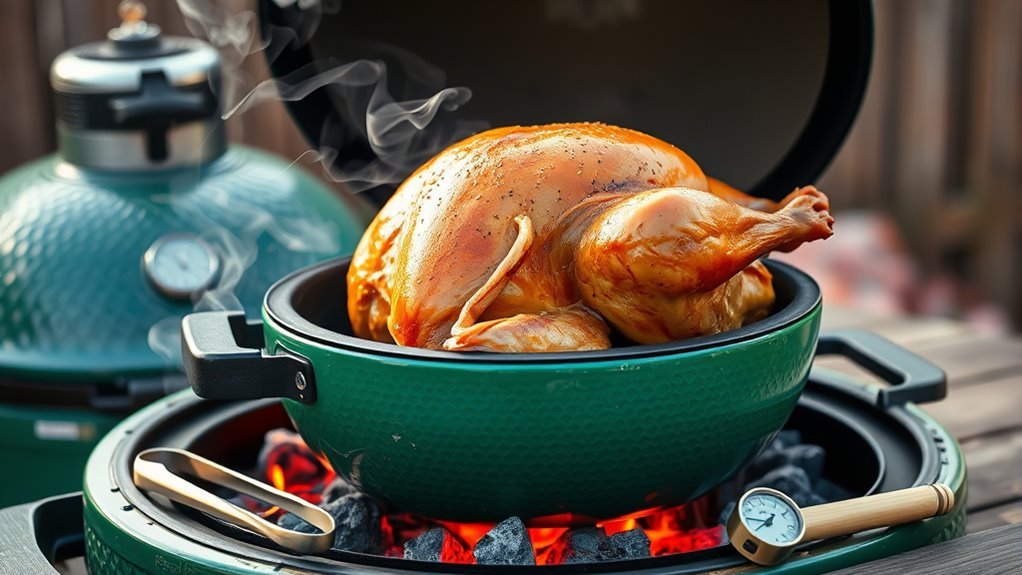
Set your Egg to 350°F using the convEGGtor for indirect heat. Place the turkey on a raised rack over a drip pan to catch all those delicious drippings.
Keep the temperature consistent as the turkey cooks until the internal temperature reaches 165°F. Once done, let the bird rest covered for a bit before carving.
Finally, carve and serve your perfectly cooked turkey. Follow these easy steps and discover detailed tips to impress your guests with a moist, flavorful turkey every time.
Key Takeaways
- Thaw and prep the turkey by removing giblets, patting it dry, and securing the legs and wings for even cooking. This helps the bird cook nicely all around without any floppiness.
- Inject the turkey with a seasoned butter-stock mixture. Then, season the skin with black pepper and lay a bacon lattice on top for extra flavor and crispiness.
- Preheat your Big Green Egg to 350°F using lump charcoal. Make sure to set it up for indirect cooking by using a convEGGtor.
- Place the turkey on a rack over a drip pan inside the Egg. Keep an eye on the internal temperature and cook until it hits 165°F.
- Once done, rest the turkey covered with foil for 15-20 minutes before carving. This step is key to making sure your meat stays juicy and tender.
How to Choose and Prepare Your Turkey
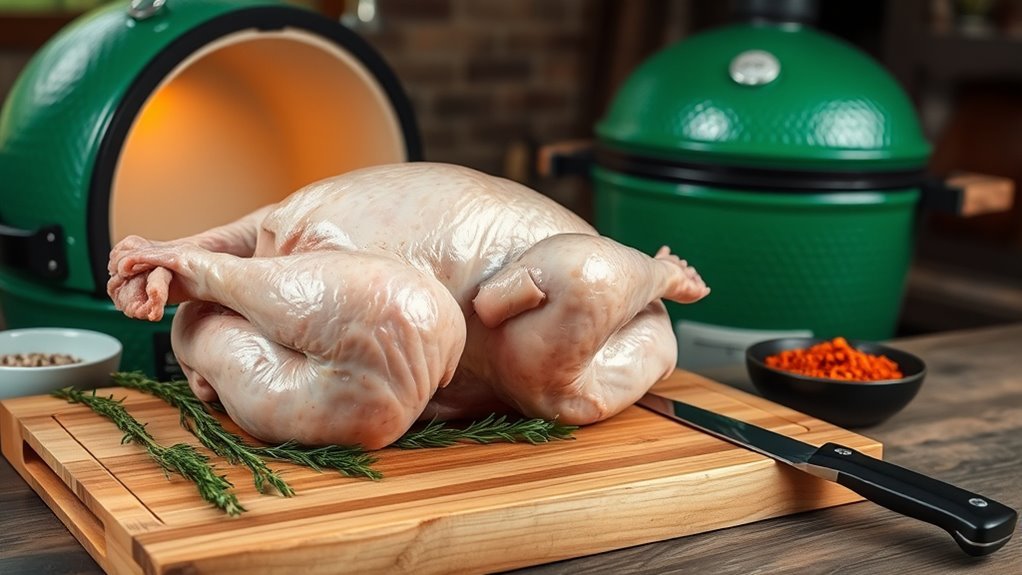
How do you pick the perfect turkey for your Green Egg? When choosing your Big Green Egg turkey, aim for about one pound per person to guarantee enough servings and leftovers.
To prepare, thaw frozen turkeys safely—either in the fridge for 24 hours per 4-5 pounds or in cold water for an hour per pound. Before cooking, remove the giblets unless you plan to use them for gravy or stuffing.
Pat the turkey dry with paper towels to assure crispy skin and reduce moisture. Finally, tuck the wings under the back and tie the legs with twine to promote even cooking and a neat presentation.
Preparing your turkey this way sets the stage for a delicious, perfectly cooked bird on your Big Green Egg.
Inject and Season Your Turkey
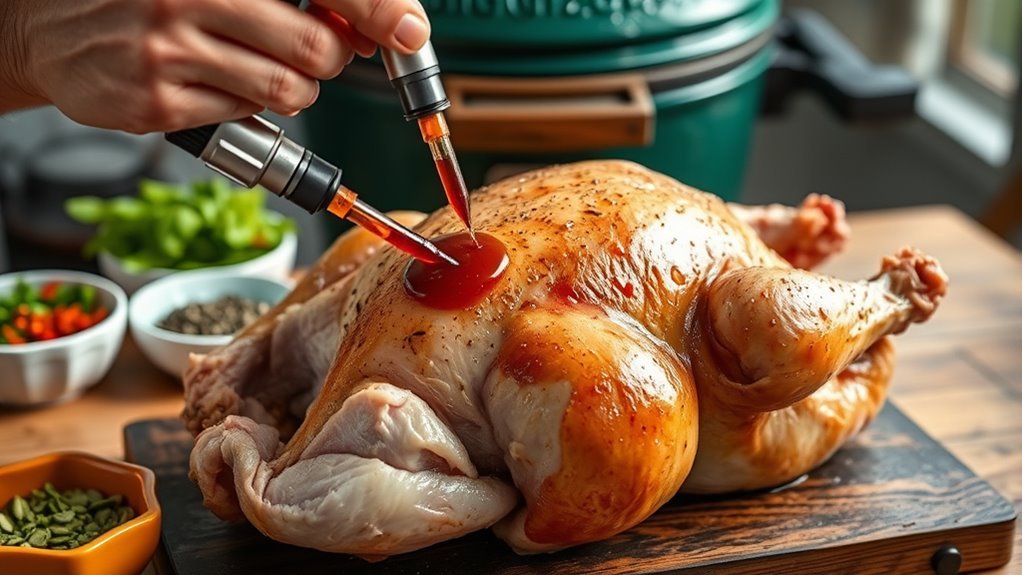
You’ll start by mixing chicken stock, melted butter, lemon juice, and spices to create a flavorful injection. Use a meat injector to evenly distribute the liquid about an inch deep throughout the turkey’s breast, thighs, and drumsticks.
Finally, season the outside with black pepper and lay a bacon lattice over the crown to lock in moisture and boost taste. This step really makes a difference, trust me!
Preparing The Injection Mix
Before injecting your turkey, prepare a flavorful injection mix by combining 300ml of chicken stock, 250g of melted butter, lemon juice, garlic powder, salt, and pepper. This injection mixture boosts moisture and flavor throughout your bird, making it a key step in the Green Egg Turkey Cheat.
Chill the mixture until you’re ready to use it to keep it fresh and safe. When it’s time, draw the injection mix fully into a meat injector.
Although the proper injection technique is next, remember to inject into multiple spots—breast, thighs, and drumsticks—to guarantee even seasoning and juiciness. Preparing this injection mixture right sets you up for a perfectly moist, flavorful turkey on your Green Egg.
Proper Injection Technique
Although injecting your turkey might seem straightforward, mastering the proper technique guarantees your bird stays juicy and flavorful throughout cooking. Use a meat injector with your prepared mixture of chicken stock, melted butter, lemon juice, and seasonings to maximize flavor infusion.
Follow these tips: Insert the injector at a 45-degree angle to reach deep muscle tissue without damaging the skin or cavity. Space injections about 2 inches apart across breasts and thighs for even distribution.
Inject to a depth of approximately 1 inch, releasing the liquid slowly to avoid blowouts. Always inject before cooking, letting the flavors seep into the meat during roasting.
This technique assures your turkey absorbs the rich, savory flavors, resulting in a moist, delicious centerpiece. You’ll love how juicy and tasty your bird turns out!
Seasoning And Bacon Lattice
After injecting your turkey with the flavorful mixture, it’s time to enhance its taste and moisture with seasoning and a bacon lattice. Start by seasoning the turkey generously with ground black pepper to build a savory base.
Next, weave strips of bacon into a lattice pattern and carefully drape it over the turkey’s crown. This bacon lattice not only adds rich, smoky flavor but also helps retain moisture and protects the meat during cooking.
The combination of injection and seasoning guarantees every bite stays juicy and flavorful, while the bacon crisps up beautifully, creating an irresistible exterior. By layering these techniques, you’ll elevate your turkey’s taste and texture, making your Green Egg turkey truly stand out.
Set Up the Big Green Egg and Cooking Surfaces
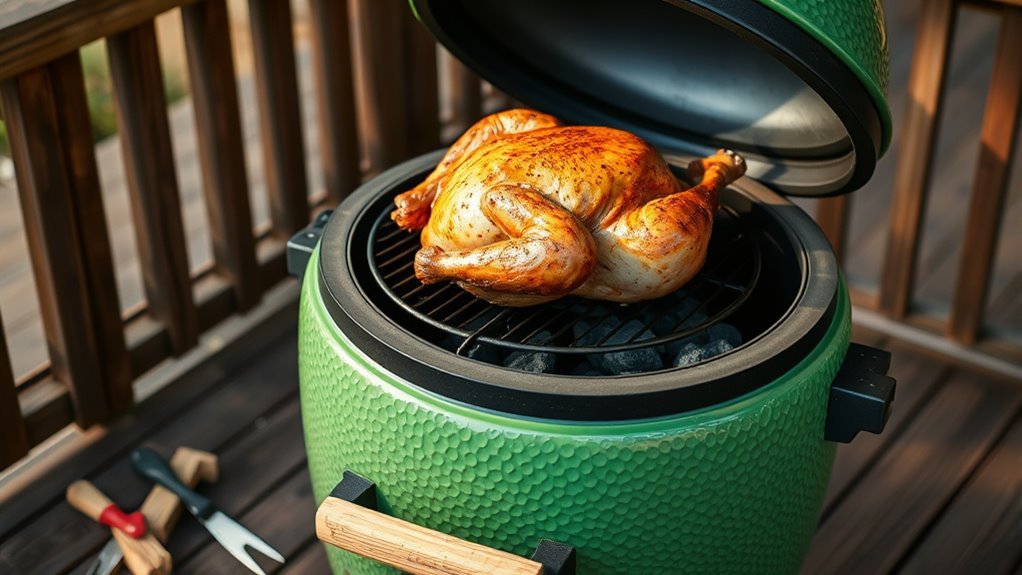
When you ignite the Big Green Egg, open the vents fully and preheat it to 350°F using lump charcoal to guarantee a strong, steady flame. This setup is vital for consistent heat and perfect cooking.
Next, place the convEGGtor and stainless steel grid inside for indirect cooking. Put a disposable aluminum drip pan underneath the turkey to catch juices, and elevate the bird on foil balls to keep drippings from boiling away.
Here’s the essential setup checklist:
- Use lump charcoal and open vents fully to ignite.
- Insert convEGGtor and stainless steel grid for indirect heat.
- Place a drip pan below and elevate the turkey.
- Adjust bottom vent and daisy wheel to maintain 350°F.
Preheat this setup for 15-20 minutes before cooking. It’s a small wait that makes a big difference!
Position Your Turkey on the Big Green Egg Rack
With your Big Green Egg preheated and set up for indirect cooking, it’s time to position your turkey properly. Place a stainless steel rack or V-rack inside a drip pan to support the turkey securely.
Set the turkey on the rack, making sure it’s centered so air and heat can circulate evenly around the meat. Elevate the rack using foil balls or heat-resistant supports. This stops the juices from boiling away and helps keep your turkey moist.
The drip pan below will catch all those tasty drippings, which keeps your cooking area nice and clean. Plus, it helps distribute heat evenly. Before you close the lid, double-check that it clears the turkey without touching it.
If needed, adjust your setup so the lid closes properly and your turkey stays well supported the whole time it’s cooking.
Maintain Consistent Temperature and Monitor Heat
Start by preheating your Green Egg to around 180°C (350°F) with the vents fully open for a stable base temperature.
Use a reliable probe thermometer to keep an eye on your turkey’s internal heat without opening the lid too often. This way, you won’t lose any precious heat.
Adjust the bottom vent and daisy wheel gradually to maintain consistent cooking temperatures throughout. It’s all about keeping that steady heat for the best results.
Preheat To Target Temperature
Although it takes some patience, preheating your Big Green Egg to around 350°F (177°C) sets the stage for perfectly cooked turkey. Before you start, make sure to preheat the Egg thoroughly to reach and maintain this target temperature.
Keeping an eye on the heat is essential. Here’s how to manage the temperature effectively:
- Use a reliable thermometer or wireless smoke controller to monitor the temperature continuously. Expect a slight temperature drop when you place the turkey on the grill.
- Add fresh lump charcoal or wood chunks during long cooks to sustain steady heat. Maintain consistent heat by adjusting vents as needed, but we’ll cover vent control in detail next.
Preheating properly ensures your turkey cooks evenly and stays juicy every time.
Adjust Vents For Control
Once you’ve preheated your Green Egg, adjust the vents carefully to control airflow and maintain a steady temperature. Use the bottom vent to manage the main airflow—opening it raises the heat, while closing it lowers the temperature.
Then, fine-tune with the daisy wheel on top by rotating it to let more or less smoke and heat escape. For effective temperature regulation, monitor your grill’s temperature regularly, aiming to stabilize around 180°C (350°F).
When adding or removing charcoal, promptly adjust vent control to compensate for temperature shifts. Once you reach the desired heat, keep the vents steady to guarantee even heat distribution.
Try to avoid frequent changes to prevent temperature fluctuations and maintain consistent cooking conditions throughout your turkey preparation. It really helps keep things cooking just right!
Use Reliable Thermometers
Controlling the vents helps maintain a steady temperature, but keeping a close eye on your turkey’s internal heat is just as important. Using reliable thermometers guarantees your bird cooks safely and perfectly.
Here’s how to monitor internal temperature effectively:
- Use a wireless or probe thermometer to track heat continuously.
- Insert the probe into the thickest part of the breast and thigh, avoiding bones for accurate readings.
Keep your Big Green Egg at about 180°C (350°F) for indirect cooking, verifying with your thermometer. Remove the turkey once it hits 74°C (165°F) internally, then let it rest before carving.
Remove and Rest Your Big Green Egg Turkey
After you remove your turkey from the Big Green Egg, let it rest loosely covered with foil for 15 to 20 minutes to allow the juices to redistribute.
Resting your turkey keeps it moist and tender while preventing juices from escaping when carving. To keep the skin crisp, tent the foil lightly—don’t wrap it tightly.
If you’re not serving right away, place the turkey in a cool, dry spot or a cooler to stay warm.
| Step | Tip | Reason |
|---|---|---|
| Remove turkey | Use sturdy gloves | Avoid burns |
| Rest turkey | Tent loosely with foil | Maintain skin crispness |
| Resting time | 15-20 minutes | Redistribute juices |
| Keep warm | Use cooler or dry place | Prevent temperature drop |
Carve and Serve Your Perfect Big Green Egg Turkey
With your turkey rested and the juices locked in, it’s time to carve it to showcase its tender, juicy meat. Start by removing the legs and thighs, then slice the breast across the grain for the best texture.
Use a sharp carving knife and fork to make clean cuts that look great on your platter. As you carve and serve, tent the meat with foil to keep it warm and moist.
Here’s how to carve and serve your perfect Big Green Egg turkey:
- Remove legs and thighs first for easier carving
- Slice breast meat across the grain for tenderness
- Use a sharp knife and carving fork for precision
- Tent carved meat with foil to retain warmth and moisture
Serve alongside classic sides like stuffing, cranberry sauce, and gravy to complete the meal. You really can’t go wrong with those timeless flavors!
Frequently Asked Questions
How Long Do You Cook a Turkey on a Green EGG?
You cook your turkey about 15-20 minutes per pound at 350°F on the Green Egg. For a 13-pound bird, expect roughly 2.5 to 3 hours. Always check for an internal temperature of 165°F.
How to Cook a Turkey in Easy Steps?
Like a maestro directing a symphony, you’ll thaw, prep, and season the turkey. Set your Green Egg to 350°F, roast 15-20 minutes per pound, then rest before carving for juicy, flavorful results.
Should I Butter up a Turkey While Cooking BGE?
Yes, you should butter your turkey while cooking on the Big Green Egg. It keeps the meat moist, adds flavor, and helps achieve crispy, golden skin. Just avoid over-buttering to prevent flare-ups or uneven browning.
Is It Better to Cook a Turkey at 325 or 400?
Think of cooking turkey like slow dancing versus rushing a sprint. You’ll want 325°F for juicy, tender results without burning. At 400°F, it’s faster but riskier—like sprinting, you might trip and dry it out.
Conclusion
Cooking your turkey on a Big Green Egg isn’t just delicious—it’s efficient too. Did you know that smoking turkey at low temperatures can retain up to 30% more moisture than traditional roasting?
By following these simple steps, you’ll keep your bird juicy, flavorful, and perfectly cooked. So fire up your Big Green Egg, and get ready to impress your guests with a mouthwatering turkey that’s as fun to make as it is to eat!
Using the Big Green Egg to cook your turkey means you’re combining great flavor with efficient cooking. This method locks in moisture and enhances the natural taste, making your turkey stand out at any meal. Whether you’re a beginner or a seasoned pro, these easy steps help you create a memorable turkey that will keep everyone coming back for more. Enjoy the process and the delicious results!