How Do You Make Hard Boiled Eggs in the Oven in 7 Easy Steps?
To make hard boiled eggs in the oven, start by preheating it to 325°F.
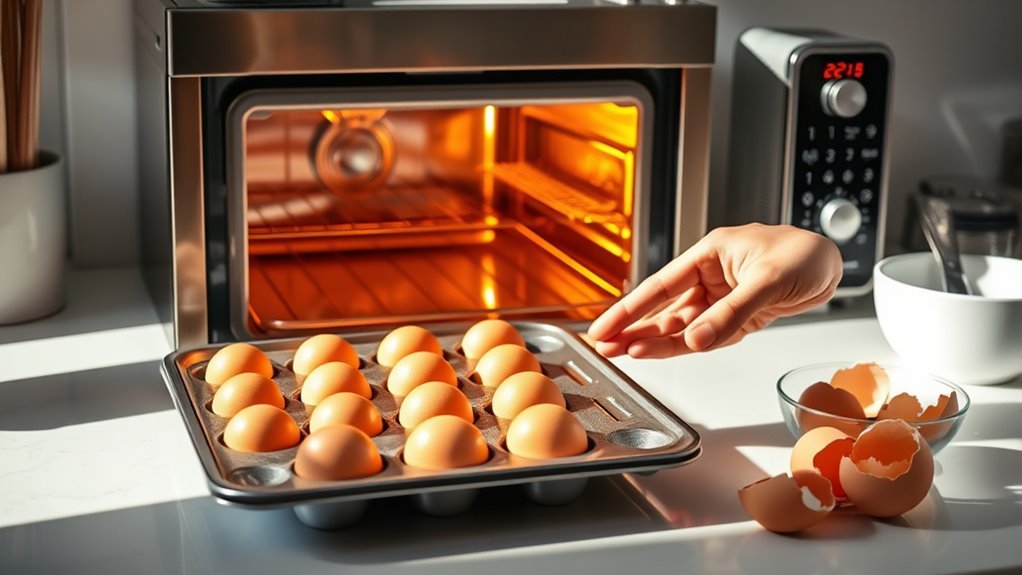
Next, place clean, room-temperature eggs in a single layer on a muffin tin or baking sheet. Make sure not to overcrowd them so they cook evenly.
Bake the eggs for 25-30 minutes until they are fully cooked.
Once done, immediately cool the eggs in an ice bath for 10 minutes. This stops the cooking process and makes peeling way easier.
To avoid cracks during baking, try using silicone liners and keep the oven temperature consistent.
Give this simple oven method a try—you might just discover some great tips for perfect baked eggs and tasty ways to enjoy them!
Key Takeaways
- Preheat your oven to 325°F. Then, arrange fresh, room-temperature eggs in a single layer on a baking dish or muffin tin. Make sure not to crowd them.
- Bake the eggs for 30 minutes at 325°F if you want fully cooked hard boiled eggs. You can adjust the time depending on how firm you like them or the size of the eggs.
- Right after baking, transfer the eggs immediately to an ice bath. Let them sit for at least 10 minutes to stop the cooking process and make peeling easier.
- When you’re ready to peel, gently crack the shells. Peel the eggs under cool running water to help remove any shell fragments without damaging the whites.
- To avoid shell cracking and discoloration during baking, try using silicone muffin pans. Or, simply avoid metal contact with the eggs while they bake.
Why Choose the Oven Method for Hard Boiled Eggs
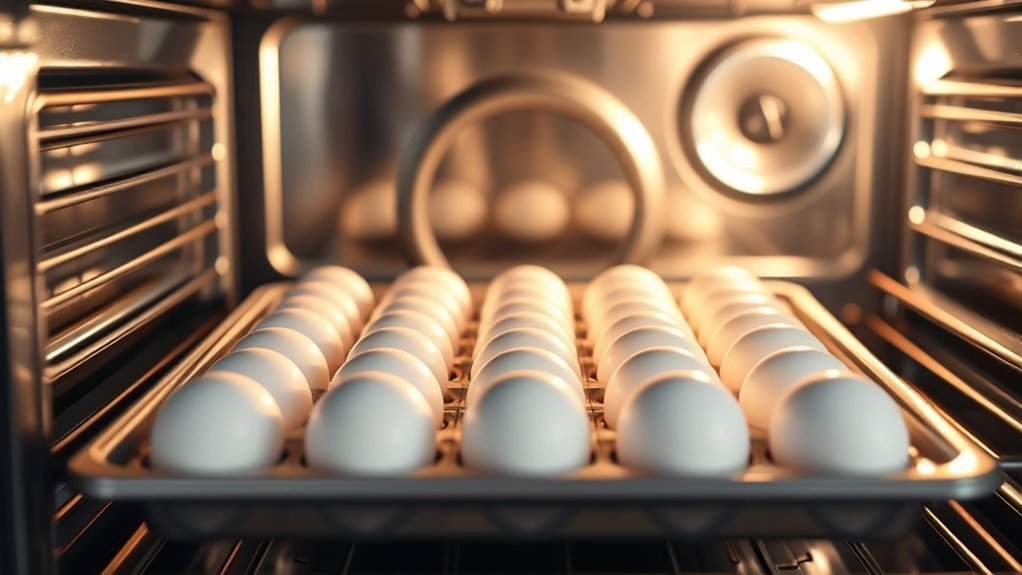
Although traditional boiling is common, you’ll find the oven method offers a smoother, more convenient way to make hard boiled eggs. By baking eggs in the oven, you eliminate the risk of cracking caused by rapid boiling, which means less mess and perfectly cooked eggs every time.
This oven method cuts down on egg prep since you don’t need water or constant monitoring, saving you time. Plus, it delivers consistent results regardless of stove or altitude, so you can count on evenly cooked eggs.
Baking multiple eggs simultaneously is easy, making it ideal for meal prep or feeding a crowd. The oven method also reduces surface discoloration and brown spots that often happen with traditional boiling, ensuring your hard boiled eggs look as good as they taste.
Preheat Your Oven to Bake Hard Boiled Eggs
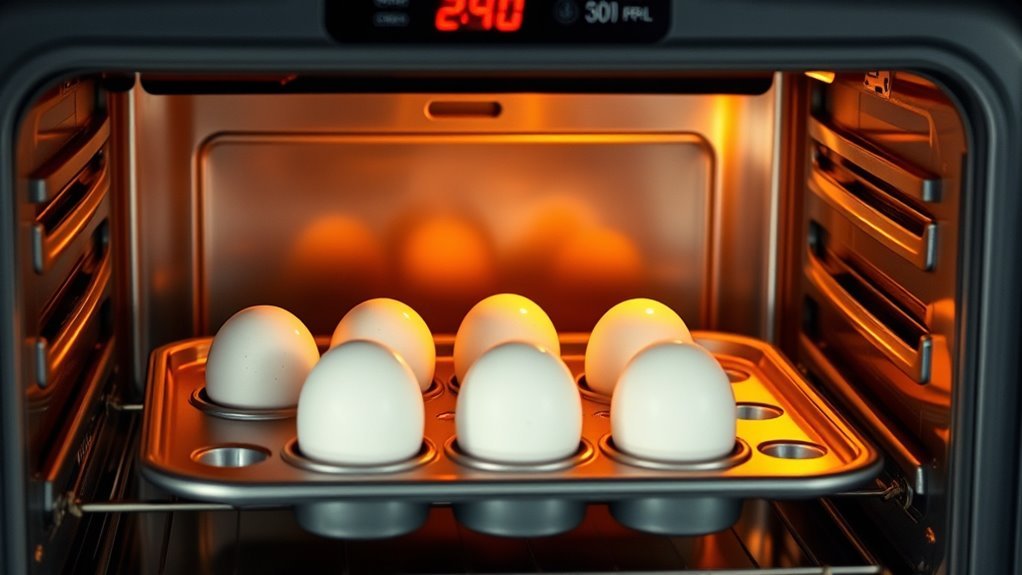
Before you place your eggs in the oven, make sure to preheat it to either 325°F (163°C) or 350°F (175°C), depending on how long you want them to bake. Fully preheating the oven guarantees the temperature is consistent, which helps the eggs cook evenly without cracking.
Using an oven thermometer can verify your oven’s accuracy. Remember, don’t put the eggs in until the oven reaches the set temperature for best results.
| Temperature | Bake Time | Result |
|---|---|---|
| 325°F | 30 mins | Gentle, consistent |
| 325°F | 35 mins | Slightly firmer yolk |
| 350°F | 25 mins | Quick, fully cooked |
| 350°F | 30 mins | Firm, fully cooked |
| Oven Off | – | Inconsistent cooking |
Prepare the Muffin Tin and Place Eggs for Baking
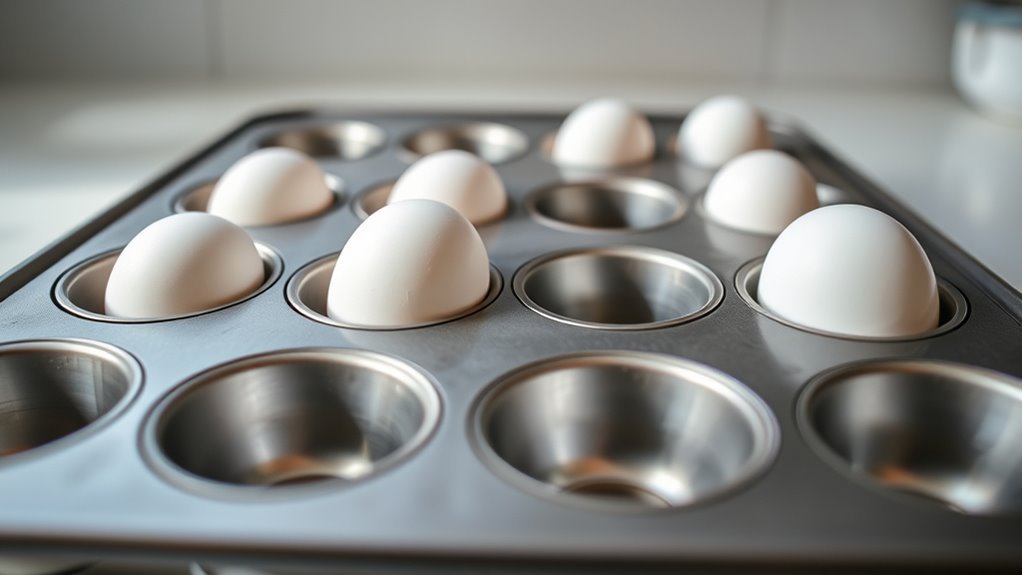
Once your oven has reached the desired temperature, line a muffin tin with silicone cups or foil cradles. This helps keep the eggs from cracking and sticking.
Preheat the oven and line a muffin tin with silicone or foil to protect eggs from cracking and sticking.
Carefully place one egg into each muffin cup, making sure they’re stable and upright. Don’t add water or oil to the muffin tin—the eggs will be baked directly in it.
Position the muffin tin on the middle rack of the preheated oven. This guarantees even heat circulates around the eggs.
This setup helps the eggs cook evenly without rolling around or touching each other, which can cause cracking. By properly preparing the muffin tin and placing the eggs securely, you set the stage for perfectly baked hard boiled eggs with consistent texture and doneness.
Bake Hard Boiled Eggs at the Right Temperature
With your eggs securely placed in the muffin tin, it’s time to focus on baking them at the right temperature. Preheat your oven to 325°F if you want a softer yolk or 350°F for a firmer yolk.
Baking eggs at these temperatures for 20 to 30 minutes allows you to control doneness precisely. Lower oven temperatures like 325°F help prevent brown spots on the shells and reduce overcooking.
Maintaining a consistent oven temperature guarantees even cooking and minimizes cracking or green rings around the yolk. To perfect your hard boiled eggs, test different temperatures within this range until you find the best setting for your oven and preferred firm yolk texture.
This way, you’ll bake eggs to perfection every time.
Cool Eggs in an Ice Bath and Peel Easily
To stop the cooking process and make peeling easier, transfer your baked eggs immediately into an ice bath. Let the hard boiled eggs sit in the ice water bath for at least 10 minutes to cool eggs thoroughly.
This cooling creates a temperature contrast that helps the shell separate easily from the egg white, allowing you to peel easily. When ready, gently tap each egg on a hard surface to crack the shell, then peel while rinsing under cool water to remove shell fragments smoothly.
This simple step guarantees clean peeling and prevents frustration during peeling.
| Step | Action | Benefit |
|---|---|---|
| Transfer to Ice Bath | Place eggs in ice water | Halt cooking, cool eggs |
| Wait 10 minutes | Let eggs sit in bath | Shell separates easily |
| Tap and Peel | Crack and rinse shells | Peel easily with no mess |
How to Prevent Eggshell Discoloration and Cracking
To keep your eggs from discoloring or cracking, it helps to understand what causes these issues in the first place. Using silicone muffin pans instead of metal ones can prevent brown spots.
Also, adjusting the temperature and timing guarantees the shells stay intact. Let’s explore these simple tricks to get perfect, evenly cooked eggs every time.
Causes Of Discoloration
Why do your hard boiled eggs sometimes end up with discoloration or cracks after baking? Several factors cause brown scorch marks and shell discoloration.
Direct contact with hot metal pans often leads to those unsightly marks. Overcooking eggs causes greenish rings and weakens the shell, making cracking shells more likely.
Uneven heat in the oven can create inconsistent cooking, causing both shell discoloration and cracks. High humidity during baking also contributes to cracking shells and uneven coloration.
To visualize:
- Eggs touching hot stainless steel develop brown scorch marks
- Baking too long results in overcooking and discoloration
- Uneven oven heat causes cracks and patchy shells
- High humidity weakens shells, increasing cracking risk
Understanding these causes helps you prevent discoloration and keep your eggs perfect.
Using Silicone Muffin Pans
Although baking eggs directly on metal pans can cause discoloration and cracks, using silicone muffin pans offers a simple solution. When you bake hard boiled eggs in silicone muffin pans, the eggs don’t touch metal, which reduces shell discoloration and scorch marks.
The flexible mold provides a gentle, non-stick surface that prevents cracking and promotes even cooking. Because silicone doesn’t conduct heat as aggressively as metal, your eggs maintain consistent color and shell integrity.
Plus, the non-stick nature of silicone muffin pans makes shell removal easier, helping you achieve cleaner egg peeling without fragments. Using this method, you’ll enjoy perfectly cooked eggs with intact shells and a smooth peeling experience every time.
Temperature And Timing Adjustments
When you lower the oven temperature to 325°F and bake eggs for 20 to 28 minutes, you give them a gentler, more even heat that reduces eggshell discoloration and cracking. Adjusting the oven temperature and cooking time helps guarantee even heat distribution, preventing shell cracking caused by hot spots.
To perfect your baking eggs routine, try these tips:
- Flip eggs halfway through baking to promote uniform doneness
- Use silicone muffin pans to avoid direct heat contact
- Reduce oven temperature from 350°F to 325°F to minimize scorch marks
- Immediately cool eggs in an ice bath to stop residual cooking
These temperature adjustments keep your eggs evenly cooked and free from shell damage. This way, your hard boiled eggs turn out flawless every time!
Creative Ways to Enjoy Oven-Baked Hard Boiled Eggs
You can easily turn your oven-baked hard boiled eggs into flavorful deviled eggs by adding creative twists like bacon or jalapeno. They also make a great addition to salads, boosting both protein and taste.
Let’s explore how to make the most of these versatile eggs in your meals.
Flavorful Deviled Egg Ideas
Since oven-baked hard boiled eggs offer a perfect base, you can easily transform them into flavorful deviled eggs by mixing in creative ingredients like bacon, jalapeños, and cream cheese. This oven recipe lets you craft a delicious filling that’s both creamy and tangy.
To elevate your deviled eggs, try mixing finely chopped bacon and jalapeños into the yolk filling for a smoky, spicy kick. Adding cream cheese, Dijon mustard, and hot sauce gives a rich, zesty texture that’s hard to resist.
If you want something a bit healthier, using avocado or Greek yogurt as a creamy alternative in the filling works wonderfully. Then, top your eggs with crispy bacon bits, sliced jalapeños, or fresh herbs like chives and dill for that extra pop of flavor.
With these toppings and fillings, your baked eggs become a versatile, flavorful snack or appetizer. They’re perfect for any occasion and sure to impress!
Versatile Salad Enhancements
How can you easily boost the flavor and nutrition of your salads? Using oven-baked hard boiled eggs is a simple way to add protein enhancement and texture.
Sliced eggs make excellent salad toppings, especially in Cobb or 7-layer salads, giving you a rich, creamy bite. You can also chop these versatile eggs and mix them into egg salad, which turns out creamier and less overcooked than traditional methods.
Besides salads, sliced eggs lend extra richness and visual appeal to noodle bowls like ramen. Don’t forget, hard boiled eggs from the oven work great as fillings for deviled eggs or stuffed vegetables.
This just shows how versatile oven-baked eggs are in elevating your meals beyond the ordinary.
Frequently Asked Questions
How to Hard Boil Eggs in the Oven Easily?
You preheat your oven to 325°F, place eggs in muffin tins, and bake for 20-30 minutes. Then, dunk them in ice water for 10 minutes to stop cooking and make peeling easy and mess-free.
How Long Do Eggs Take in the Oven at 400 Degrees?
You’ll need about 18 to 20 minutes at 400°F to cook eggs fully. Use a silicone muffin pan to prevent cracking, then plunge them in ice water to stop cooking and make peeling easier.
What’s a Hack for Making Hard-Boiled Eggs in the Oven?
Think of your oven as a gentle river shaping smooth stones—place eggs in a silicone muffin tin, bake at 325°F, flip halfway, then ice bath them. This hack guarantees perfect, crack-free, easy-to-peel hard-boiled eggs every time.
How Do You Make Perfect Hard-Boiled Eggs Step-By-Step?
You preheat the oven to 325°F, place eggs in muffin tins, bake for 20-30 minutes, then cool them in an ice bath. Crack and peel under cold water for perfect hard-boiled eggs every time.
Conclusion
Now that you know how to make hard boiled eggs in the oven, you’re just minutes away from egg-cellent perfection! This method is so easy, it could make even a kitchen novice feel like a gourmet chef.
Say goodbye to boiling water drama and hello to perfectly cooked eggs every time. With these simple steps, you’ll have a batch ready to enjoy or get creative with, making your breakfast or snacks absolutely unforgettable!
Using the oven to make hard boiled eggs is a game changer. It’s hands-off, less messy, and super reliable for consistent results. Whether you’re prepping for a busy week or just want a quick protein-packed snack, this oven method is perfect for you.
Give it a try, and soon you’ll wonder why you ever boiled eggs on the stove. Hard boiled eggs in the oven are not only easy and convenient but also deliciously satisfying every single time. Happy cooking!