

How to Tell If Eggs Are Fertile in 3 Simple Steps
You can tell if eggs are fertile in three simple steps. Fertile eggs show early signs of life that you can spot with a little practice. Knowing how to check for fertility helps ensure you’re on track for healthy embryos and successful hatching.
First, candle the eggs between days 5-7 by shining a bright light through them. Look closely for blood vessel networks and a dark embryo spot—these are key signs of fertility.
Second, cracking an egg lets you check for a clear, well-defined germinal disc surrounded by tiny blood vessels. This is a more direct way to confirm fertility.
Third, monitor embryo development around day nine by candling again. You should see growing blood vessels and even some movement inside the egg.
Keep exploring to uncover more about ensuring healthy hatch success. It’s a rewarding process once you get the hang of it!
Key Takeaways
- Candle eggs between days 5-7 using a bright light to spot blood vessels and a dark embryo spot indicating fertility.
- Look for a network of blood vessels radiating from a visible embryo during candling for positive fertility signs.
- Crack eggs to directly observe a well-defined germinal disc surrounded by tiny blood vessels for fertility confirmation.
- Infertile eggs appear clear, lack blood vessels, or show only a faint germinal disc when candled or cracked.
- Regular candling throughout incubation monitors embryo development and confirms ongoing viability by spotting movement and vessel growth.
It’s a pretty straightforward process once you get the hang of it! Just remember, candling is best done in a dark room with a strong light source. Checking regularly helps you catch any changes early on.
How to Candle Eggs to Spot Fertile Eggs Early
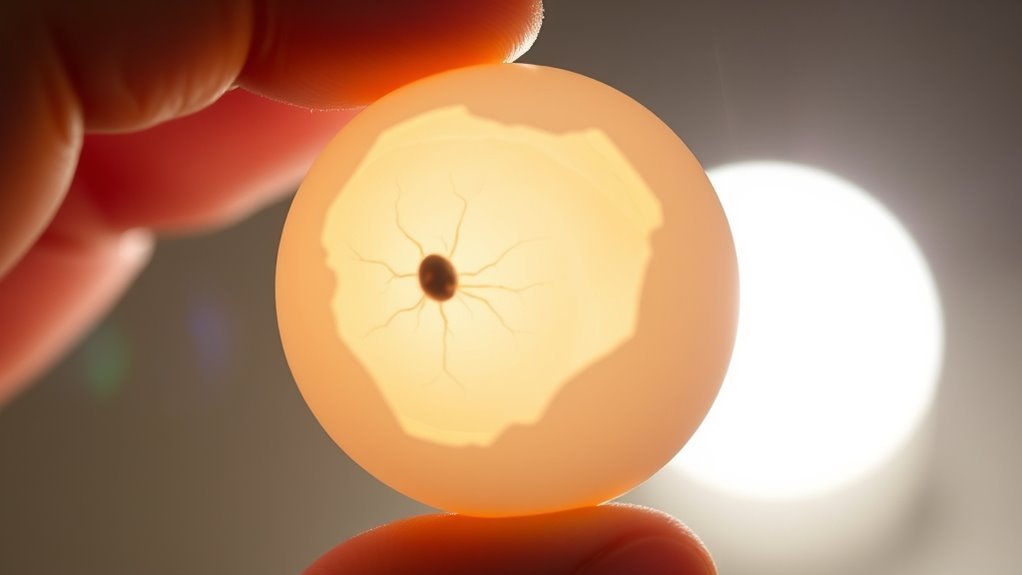
When you candle eggs between days 5 and 7 of incubation, you’ll shine a bright light through each egg to check for blood vessels and embryo development. Candling lets you observe internal development clearly, revealing signs of fertile eggs.
Around day 5 to 7, a fertilized egg shows a network of blood vessels spreading from a dark embryo spot. This contrast confirms the embryo is growing properly during incubation. Using a focused light source helps you spot these details easily.
If the egg is infertile, it appears clear or only shows a faint germinal disc without visible blood vessels. By candling at this stage, you can quickly distinguish fertile eggs from infertile ones and monitor embryo progress. This way, you make sure your incubation process is on the right track.
How to Identify Fertility Signs When Cracking Eggs

Although candling helps spot fertile eggs during incubation, cracking eggs open provides a direct way to identify fertility signs. When you crack open an egg, look for the germinal disc—a bright, round white spot about 4mm wide on the yolk.
In a fertilized egg, this white spot is well-defined and often surrounded by tiny blood vessels, which might also be visible during candling. If the egg is laid recently, these fertility signs are clearer.
Infertile eggs usually lack a visible germinal disc or show only a faint, translucent white spot. By checking these features when you crack open an egg, you can confirm if it’s fertilized and potentially viable to hatch.
This method complements candling by giving you a direct, visible confirmation of fertility. It’s a handy way to double-check if you’re unsure after candling.
How to Monitor Embryo Development During Incubation
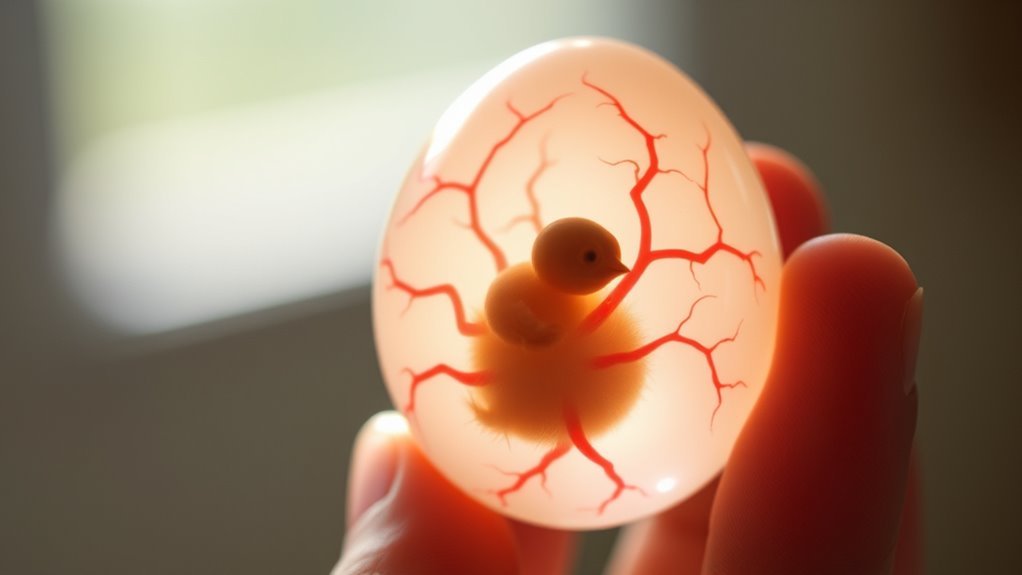
To track embryo development during incubation, you’ll want to candle your eggs around day nine. Candling helps you monitor embryo growth by revealing blood vessels and other signs of life inside fertilized eggs.
Using a candling device like the Brinsea Ovaview improves visibility, making it easier to see the developing embryo and confirm viability. If you spot clear blood vessels and movement, the embryo is progressing well and should hatch on time.
A candling device like the Brinsea Ovaview enhances visibility to confirm embryo growth and viability.
On the other hand, if you don’t see any blood vessels or embryo growth, the egg may be infertile or non-viable and should be removed promptly. Regular candling throughout incubation lets you keep an eye on embryo development.
This way, you ensure you only continue with healthy eggs and improve your hatch success.
Frequently Asked Questions
How to Tell if an Egg Is Fertile?
You can tell if an egg is fertile by cracking it open and looking for a small white spot on the yolk called the germinal disc. Fertile eggs show this disc, often surrounded by blood vessels after incubation.
What Do Fertile Eggs Look Like on Day 3?
On day 3, fertile eggs show tiny blood vessels spreading from a small, dark germinal disc. You’ll see a faint network of veins, indicating the embryo’s starting to develop, unlike infertile eggs which look clear.
How to Confirm if an Egg Is Fertilized?
You can confirm fertilization by candling the egg after a week—like spotting a tiny spider web, you’ll see blood vessels or embryo movement inside. It’s a clear sign life is growing within the shell.
How to Tell What Stage an Egg Is At?
You can tell an egg’s stage by candling it around day 7 to 10. Look for blood vessels, a dark spot, or embryo movement. Clear signs show development; no signs mean it’s likely not progressing.
Conclusion
By candling eggs early, you can spot fertility signs quickly and avoid guesswork. Did you know that up to 85% of fertile eggs show clear embryo development by day 7 of incubation?
Cracking eggs to check for fertility can also save time and effort.
With these simple steps, you’ll confidently identify fertile eggs and monitor their growth. This helps ensure a higher hatch rate and a rewarding experience.
Keep practicing, and you’ll get better every time! Remember, knowing how to tell if eggs are fertile is key to successful hatching. Whether you’re candling or cracking eggs, these methods make the process easier and more accurate. Stick with it, and you’ll enjoy watching your fertile eggs develop into healthy chicks.