How to Place Eggs in an Incubator in 10 Essential Steps
Choose fertile eggs from certified flocks and store them pointed end down at 55-60°F with 75% humidity. This careful selection and storage help ensure the best start for your hatching process.
Next, clean and set your incubator to about 99.5°F with 50-55% humidity. It’s important to get these settings right to create the perfect environment for your eggs.
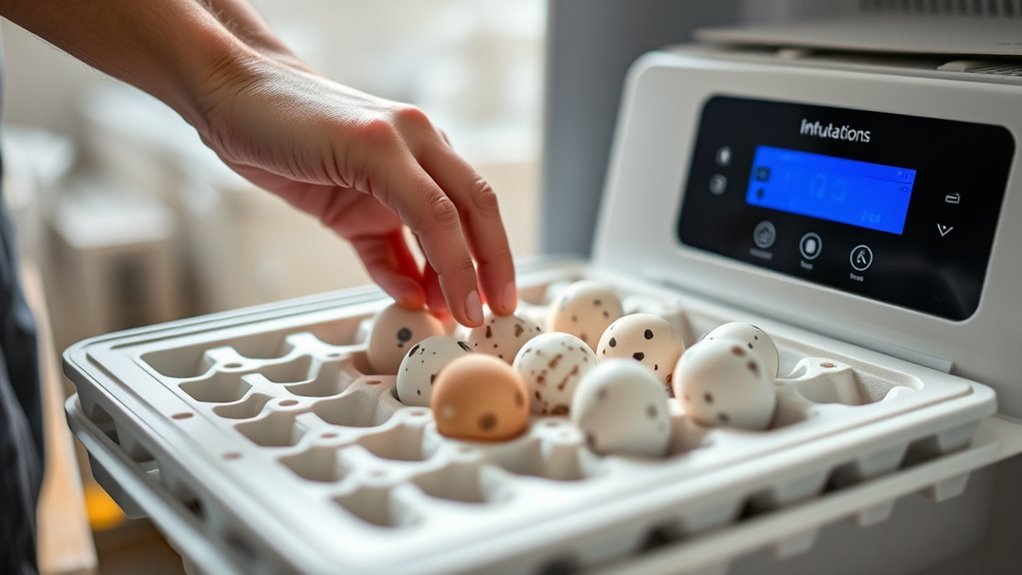
Place eggs pointed end down in individual slots, spacing them evenly. Mark each egg to track turning, then turn them gently 3-5 times daily until three days before hatching.
Keep a close eye on temperature and humidity, and try to minimize how often you open the incubator. Follow these steps, and you’ll be well on your way to healthy, successful hatches.
Ready to dive deeper? Keep exploring for more details!
Key Takeaways
- Place eggs in the incubator with the pointed end facing down to protect the air cell and support embryo development.
- Arrange eggs in a single layer with at least 1/2 inch spacing for proper airflow and uniform temperature.
- Use an egg tray with individual slots to maintain stable orientation and prevent eggs from rolling.
- Mark eggs with a pencil (“X” on one side, “O” on the opposite) to track turning and orientation.
- Position eggs with the large end slightly elevated or facing up to ensure proper air cell placement and airflow.
Choose Fertile Eggs From Certified Flocks
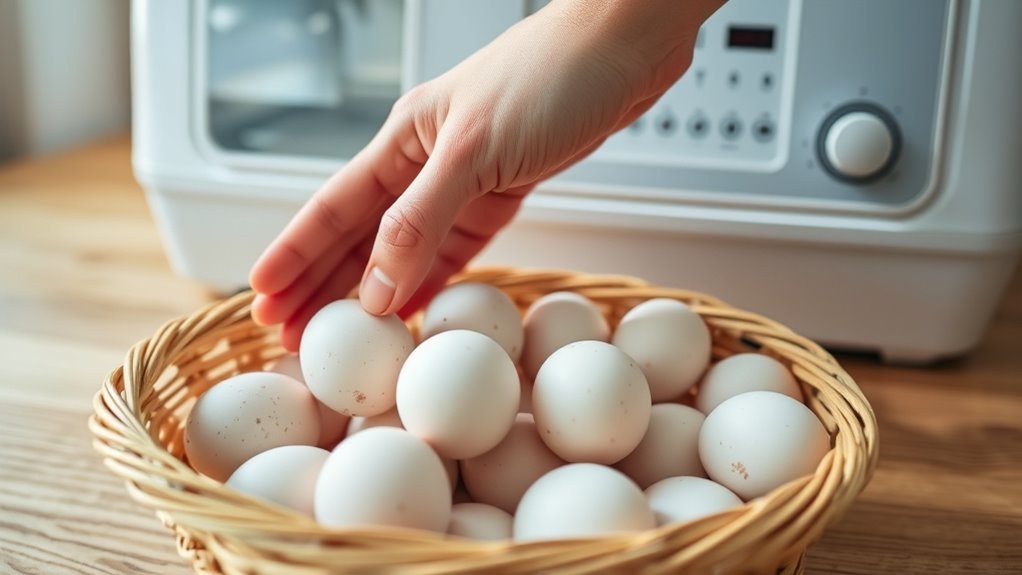
Before placing eggs in your incubator, you need to choose fertile eggs from certified flocks. Fertile eggs come from hens housed with roosters, ensuring successful fertilization. Grocery store eggs usually aren’t fertile, so they won’t hatch.
It’s best to prioritize eggs from NPIP-certified flocks. This helps reduce disease risk and improves hatchability. When collecting eggs, try to gather them at least three times a day to keep them fresh and ready for incubation.
Collecting eggs regularly also helps maintain ideal storage conditions before you put them in the incubator. Remember, careful egg selection has a big impact on your hatch’s success. By focusing on fertile eggs from certified flocks and collecting them often, you set a strong foundation for a great incubation experience and better results.
Store Eggs Properly Before Incubation
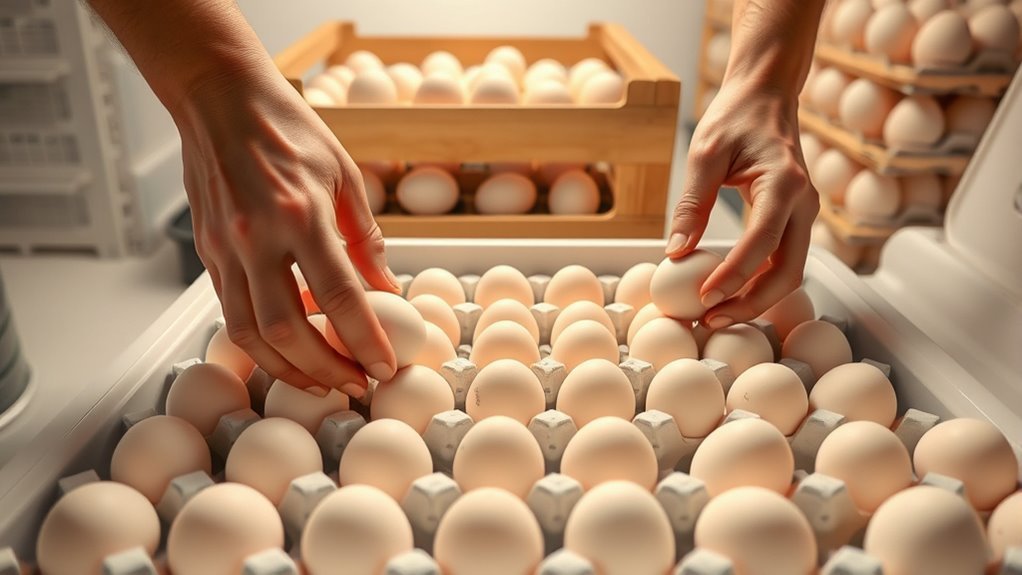
Before you start incubation, store your fertilized eggs at 55°F to 60°F with about 75% humidity to keep them viable. Always place eggs pointed end down in a clean, ventilated container to protect them and guarantee proper airflow.
Ideal Storage Temperature
How should you store eggs to keep them viable for incubation? Maintain a consistent storage temperature between 55°F and 60°F (13°C to 16°C) to guarantee ideal egg viability. Avoid refrigeration below 45°F, as lower temperatures can harm the embryo and reduce hatchability.
Proper temperature control is essential to preserve the delicate air cell inside each egg, which supports embryo health. Store eggs in about 75% humidity to prevent dehydration, aiding in egg preservation.
Keep eggs pointed end down during storage to help maintain the air cell’s position. Limiting storage time to no more than seven days ensures the highest hatch rates.
Egg Positioning During Storage
Maintaining the right temperature and humidity helps keep your eggs viable, but how you position them during storage also plays a big part. Proper egg positioning ensures the air cell stays correctly placed at the pointed end, which is really important for embryo development.
Store eggs with the pointed end down in a cool, humid environment around 55°F to 65°F and about 75% humidity. Handle eggs gently to avoid damaging the shell since the shell protects the embryo.
Try to avoid washing eggs before storage because washing can remove the shell’s natural protection. If you plan to store eggs for longer than 4-6 days before you prepare them for incubation, make sure to turn them daily to keep the embryo viable.
| Aspect | Recommendation |
|---|---|
| Egg Orientation | Pointed end facing down |
| Temperature | 55°F to 65°F |
| Humidity | About 75% |
| Handling | Gentle, avoid washing |
| Turning | Daily if stored over 4-6 days |
Storage Duration Limits
Although you can store fertile eggs for a short time before incubation, it’s important to keep them at the right temperature and humidity to preserve viability. Proper egg storage directly affects hatchability and egg viability, especially when facing an incubation delay.
Generally, you should limit storage duration to 7 days to avoid declining hatchability, but never exceed 3 weeks. During storage time, keep eggs at 55-60°F with 75% humidity and avoid refrigeration.
- Store eggs with the pointed end down to protect the embryo.
- Turn eggs daily if incubation delay goes beyond 4-6 days.
- Maintain consistent temperature and humidity to sustain fertility.
- Avoid prolonged storage, as extended storage reduces hatchability and egg viability.
Following these guidelines ensures fertile eggs stay viable until incubation.
Clean and Prepare Your Incubator
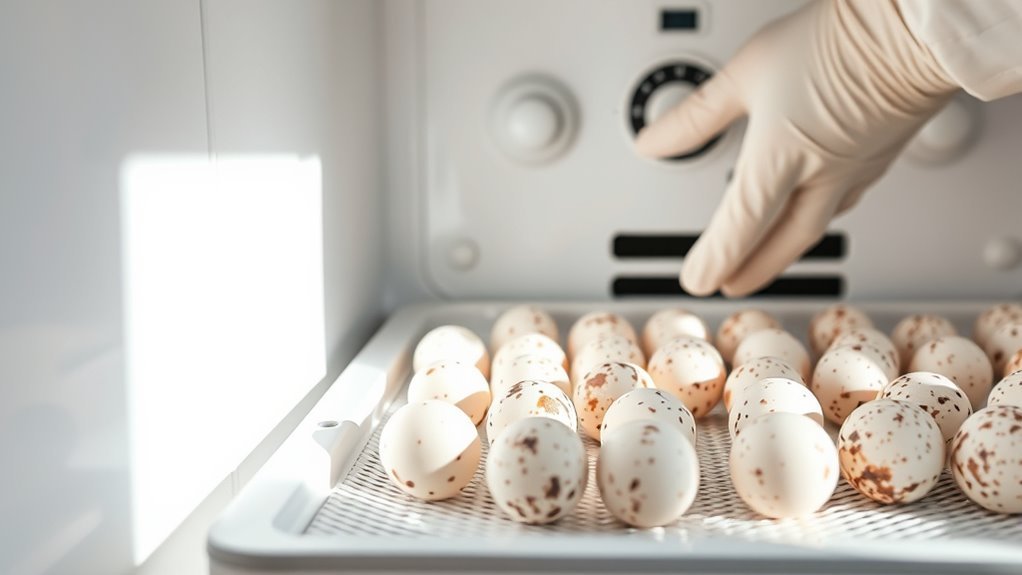
Before placing any eggs, you’ll want to thoroughly clean and disinfect your incubator to prevent contamination. Use warm soapy water and a disinfectant like quaternary ammonia on all surfaces, trays, and vents.
Make sure to rinse well to remove any residue, and let it dry completely to avoid mold growth. It’s a good idea to run the incubator empty for 24 hours to stabilize the temperature and humidity.
Also, calibrate your thermometer and hygrometer using ice water and salt tests to ensure accurate readings. Finally, place the incubator on a level, stable surface away from drafts and direct sunlight.
| Step | Action | Purpose |
|---|---|---|
| Clean | Wash with soap and disinfect | Remove dirt and bacteria |
| Rinse | Remove all cleaning residue | Prevent chemical buildup |
| Dry | Air dry completely | Avoid mold and bacteria |
| Stabilize | Run empty for 24 hours | Stabilize temp and humidity |
| Calibrate | Test instruments | Ensure accurate readings |
Set Incubator Temperature and Humidity
You’ll want to set your incubator’s temperature carefully—around 99.5°F for forced-air models or slightly higher for still-air types.
Keep humidity between 50-55% for most of the incubation, then raise it to 65-70% in the last few days.
Use a calibrated thermometer and hygrometer to monitor and adjust these settings precisely.
It really helps to check these regularly so you can make small tweaks as needed. This way, you give your eggs the best chance to hatch successfully!
Optimal Temperature Range
When setting your incubator, aim for a temperature around 100.5°F (38°C) if you’re using a forced-air model, or slightly higher—between 101 and 102°F (38.3–38.9°C)—for still-air types, measuring at the egg level. Maintaining this essential temperature range is vital for a stable environment that supports embryo development and maximizes hatch rate.
Use a calibrated thermometer to guarantee accuracy and perform regular temperature monitoring. Avoid sudden fluctuations by keeping the incubator away from drafts and direct sunlight.
- Forced-air incubator provides consistent air circulation for even temperature distribution
- Still-air incubator requires slightly higher temperature settings due to less air movement
- Calibrated thermometer guarantees precise incubator temperature readings
- Stable environment prevents stress on embryos, improving hatch success
Humidity Level Settings
Setting the right humidity level works hand-in-hand with maintaining proper temperature to create the ideal environment for your eggs. In your incubator, keep humidity levels at 50-55% during most of the incubation, then raise it to 65-70% during the last three days before lockdown.
Use a hygrometer for accurate humidity measurement, and regularly calibrate your thermometer and humidity tools to guarantee precision. Adjust moisture by adding or reducing water inside the incubator—this helps maintain consistent moisture loss of about 11-13% by lockdown.
Keep an eye on water surfaces or damp materials to fine-tune humidity, assuring your eggs stay in excellent conditions throughout the process. Proper humidity control is essential for healthy embryo development and successful hatching.
Monitoring Equipment Use
Although maintaining proper temperature and humidity levels is essential, consistently monitoring your incubator’s equipment guarantees these conditions stay stable throughout the incubation period.
Use a reliable digital thermometer for accurate temperature monitoring, aiming for around 99.5°F in forced-air incubators. Regularly calibrate your hygrometer using simple tests to ensure precise humidity readings.
Place water trays inside to regulate moisture levels, adjusting as needed. It’s a simple way to keep things balanced.
- Perform daily checks of temperature and humidity levels to catch fluctuations early
- Calibrate your hygrometer regularly for accurate humidity readings
- Use water trays or sponges to maintain stable moisture levels
- Record all data to track incubator conditions throughout incubation
This hands-on approach really helps you create an ideal environment for healthy embryo development.
Position Eggs Pointed End Down in the Incubator
If you want your embryos to develop properly, always position the eggs with the pointed end down in the incubator. This egg positioning is essential for embryo stability throughout the incubation process.
Using an egg tray with individual slots helps maintain this proper orientation, ensuring each egg stays securely pointed end down. This setup prevents the embryo from shifting inside the shell, reducing the risk of deformities or embryo death.
Consistently maintaining this position improves hatch success by supporting ideal embryo development. Even if you’re not using a tray, aim for the pointed end to face downward or slightly elevated at the large end for best results.
Just make sure to prioritize this step in your incubation setup to give your eggs the best chance for healthy hatching. It really makes a difference!
Arrange Eggs for Proper Airflow and Spacing
You’ll want to place each egg with the larger end slightly elevated to keep the air cell at the top. Make sure there’s enough space between eggs to allow proper airflow and prevent overheating.
Avoid crowding the tray so every egg gets consistent warmth and fresh air. It really helps to keep things evenly heated and fresh throughout.
Optimal Egg Orientation
When placing eggs in your incubator, orient them with the large end up or slightly elevated to promote proper airflow and support healthy embryo development. Proper egg orientation guarantees ideal air circulation and prevents embryo displacement.
Avoid placing eggs with the small end down, as this restricts airflow and hinders development. You can also use horizontal placement with the large end slightly raised for balanced positioning.
To maintain proper egg positioning on the incubator tray:
- Place eggs in a single layer to ensure uniform temperature and humidity.
- Space eggs evenly without touching to allow consistent air circulation.
- Use the large end up or elevate it slightly during horizontal placement.
- Avoid crowding to prevent uneven heating and airflow disruptions.
Correct egg orientation promotes healthy embryo development and efficient incubation. So, take a little extra care with how you place those eggs—it really makes a difference!
Maintaining Adequate Spacing
Proper egg orientation sets the stage, but maintaining adequate spacing guarantees each egg gets enough airflow and consistent temperature. When placing eggs in the incubator tray, make sure to space them evenly with at least 1/2 inch between each.
This spacing prevents crowding, allowing proper airflow and effective air circulation around every egg. Avoid stacking eggs or letting them touch, as that restricts air movement and disrupts uniform temperature and incubation conditions.
Position eggs with the pointed end down if using a horizontal tray, or with the air cell upward in vertical trays, to support healthy embryo development. Thoughtful egg placement and careful egg positioning ensure consistent incubation conditions and maximize hatch success by promoting uniform temperature and proper airflow throughout the incubator.
Mark Eggs to Track Turning and Incubation
Although turning eggs regularly is vital during incubation, marking them helps you track their orientation accurately. To maintain proper egg orientation and guarantee successful development, you should mark eggs with a pencil by drawing an “X” on one side and an “O” on the opposite.
This simple egg marking technique really boosts your egg tracking efforts in the incubator setup and monitoring eggs.
- Turn eggs at least three times daily and mark each turn to confirm accurate handling.
- Use light pencil marks that won’t penetrate the shell but remain visible for easy monitoring.
- Re-mark eggs if moved or repositioned to maintain consistent egg orientation.
- Rely on these marks throughout the incubation process to verify correct turning eggs and avoid embryo damage.
Marking eggs is a vital step in effective incubation management. It might seem small, but it makes a big difference!
Turn Eggs Regularly Until Three Days Before Hatching
Marking eggs helps you keep track of their orientation, which is key for turning them correctly throughout incubation. You should turn the eggs gently at least 3 to 5 times daily during this period.
Marking eggs ensures proper orientation, so you can gently turn them 3 to 5 times daily during incubation.
Proper turning prevents the embryo from sticking to the shell membrane, which is essential for healthy development. Avoid rolling or shaking the eggs; instead, tilt or rotate them side to side carefully.
Keep up this routine consistently until three days before the hatch. Then, stop turning to let the embryo position itself for hatching.
Sticking to this regular turning schedule really bumps up the chances of a successful hatch by supporting proper embryo growth throughout incubation.
Following these steps helps guarantee your eggs develop well and hatch successfully.
Minimize Incubator Opening to Maintain Stable Conditions
Since temperature and humidity levels inside the incubator are essential for embryo development, you should minimize how often you open it. Frequent openings cause fluctuations in temperature and humidity, which disrupt stability and lower hatch success.
Instead, plan all monitoring and adjustments to happen in one quick session to keep conditions steady. Each opening drops humidity, risking dehydration or shrink wrapping in hatchlings.
To maintain stable incubator conditions:
- Limit openings during critical hatching periods
- Perform monitoring and adjustments swiftly
- Avoid unnecessary checks to preserve temperature and humidity
- Only open for essential tasks like assisting chicks
Monitor Temperature, Humidity, and Embryo Development
To guarantee a successful hatch, you need to monitor temperature and humidity closely while tracking embryo development through candling. Maintain an incubation temperature of about 99.5°F (37.5°C) for forced-air incubators or 101-102°F (38.3-38.9°C) for still-air types, using a calibrated thermometer.
Keep humidity at 50-55% during most of the incubation period, raising it to 65-70% in the last three days. Candle eggs on days 7 and 14 to observe blood vessels, embryo growth, and air cell size, which reflects moisture loss.
Proper egg turning supports development, while candling helps detect viable embryos or failures. Monitoring these factors guarantees ideal embryo development and increases your hatch success rate.
Frequently Asked Questions
How to Place Eggs in an Incubator Step by Step?
You’ll gently wash your hands, place eggs large end up or slightly elevated, space them apart on the tray, mark them if turning manually, and avoid opening the incubator early to keep temperature and humidity steady for hatching success.
Which Way to Put Eggs in an Incubator?
Place eggs with the larger end up, like a boat’s bow cutting through water. You’ll want them upright or slightly tilted, never small end up, to keep embryos positioned properly for healthy development and hatching success.
What Common Mistakes Ruin Egg Incubation?
You ruin incubation by placing eggs incorrectly, handling them with dirty hands, failing to mark or turn them, opening the incubator too often, and neglecting consistent temperature and humidity. Avoid these to boost your hatch success.
How Fresh Do Eggs Need to Be to Put in an Incubator?
You should use eggs no older than 7 days for best results—fertility and hatchability drop sharply after that. Storing them properly before incubation helps keep them fresh and boosts your chances of a successful hatch.
Conclusion
By carefully following these steps, you give your eggs the best chance to hatch healthy chicks. Did you know that nearly 85% of properly incubated fertile eggs successfully hatch?
That’s a powerful reminder of how your attention to detail truly makes a difference. Keep monitoring conditions closely and turn the eggs regularly.
Stay patient—you’re nurturing new life, and your care can create something amazing. Remember, placing eggs in an incubator correctly is key to successful hatching.
Consistent temperature, proper humidity, and gentle handling all play vital roles. With these tips, you’re well on your way to raising healthy chicks. Happy hatching!