10 Easy Steps to Cook Sunny Side Up Eggs in the Microwave
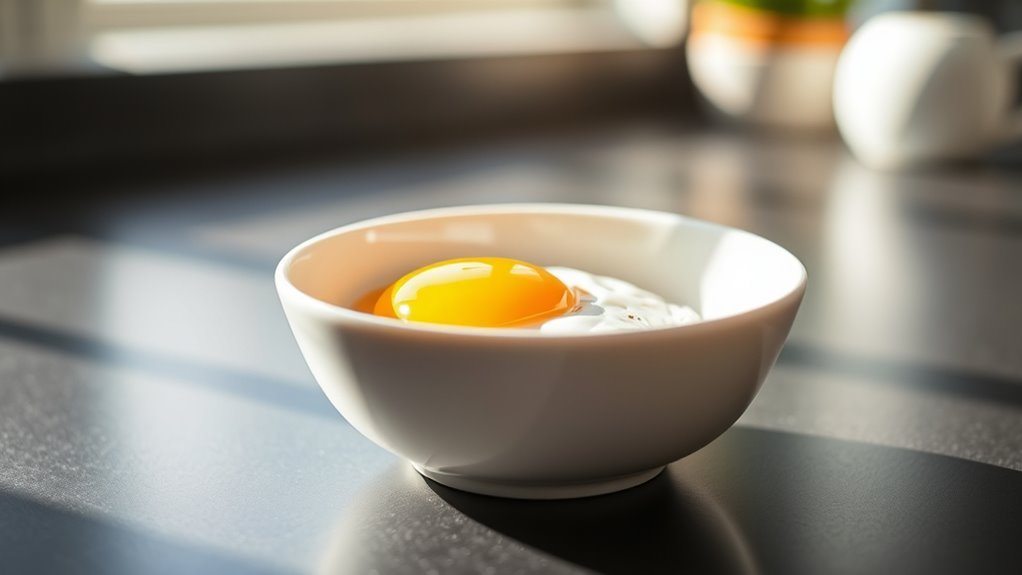
Start by greasing a microwave-safe dish to prevent sticking, then crack your egg in, keeping the yolk centered. Season with salt and pepper, and gently prick the yolk to avoid bursts.
Microwave on high for 30-45 seconds, checking often, then let it rest for a minute.
Use a spatula to loosen edges and slide it onto a plate without breaking the yolk.
Add your favorite toppings and enjoy.
Keep going to discover tips for perfect timing and tasty variations. Cooking sunny side up eggs in the microwave is super quick and easy, making it a great option for busy mornings or when you want a simple, delicious breakfast without the fuss.
Key Takeaways
- Use a lightly greased, microwave-safe shallow dish to cook the egg evenly and prevent sticking.
- Crack the egg gently into the dish, center the yolk, and season with salt and pepper.
- Prick the yolk carefully with a toothpick to release steam and prevent bursting during microwaving.
- Microwave on high for 30-45 seconds, checking frequently and adding time in short increments as needed.
- Let the egg rest for 1 minute after cooking, then loosen edges with a spatula and transfer gently to serve.
Gather Ingredients and Tools
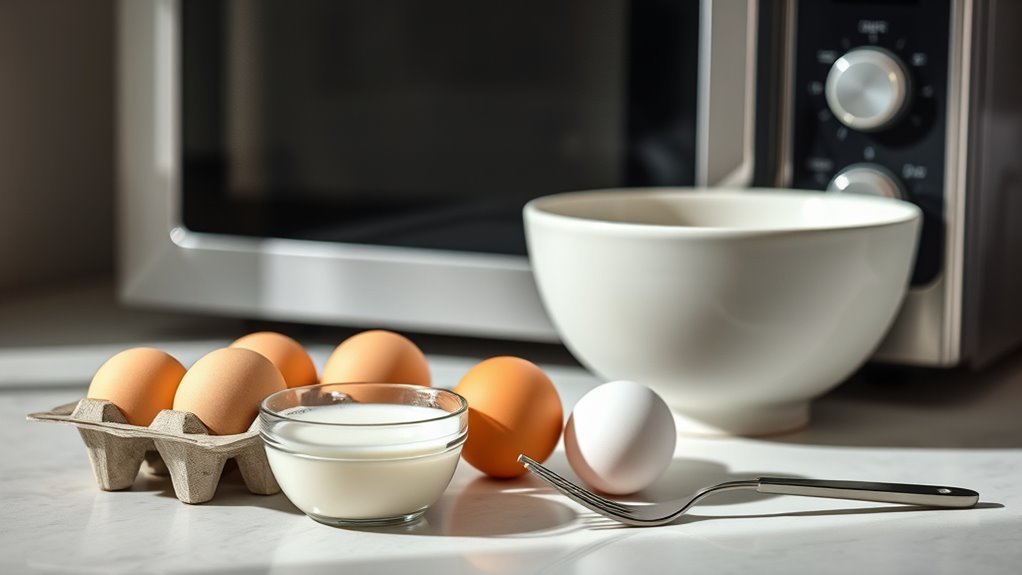
Before you start cooking, gather all the ingredients and tools you’ll need. Choose a microwave-safe dish or small bowl, preferably nonstick, to make certain your egg doesn’t stick and cleanup is a breeze.
Have one large egg ready, making sure the yolk is intact and free from cracks. Keep a cooking spray, like avocado oil spray, nearby to apply a light coating on the dish—this helps prevent sticking even more.
You’ll want salt and pepper close for seasoning after cooking. If you like, prep optional extras such as cheese, herbs, or diced vegetables in advance to add flavor.
Grease Your Microwave-Safe Dish
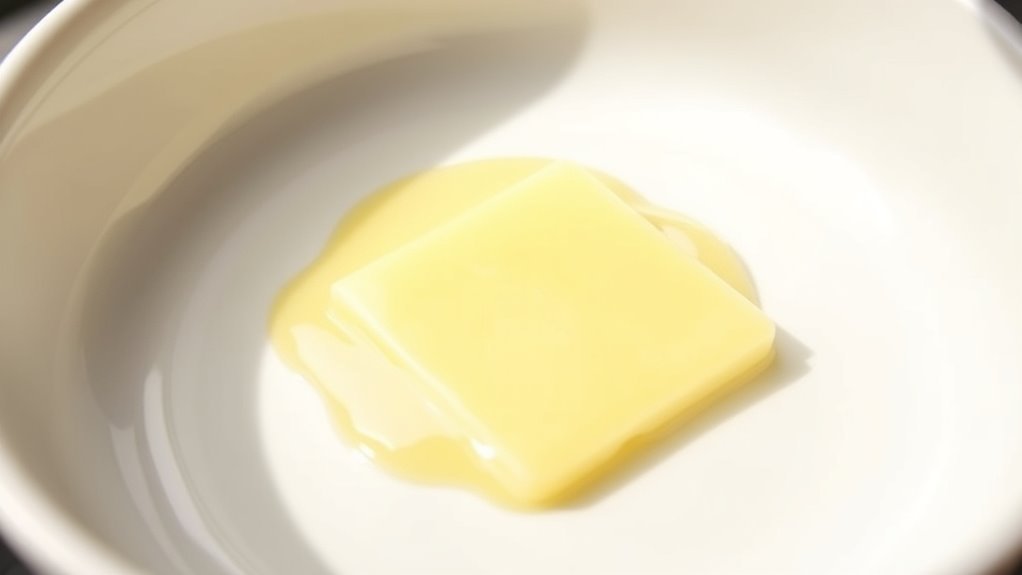
Choose a microwave-safe dish that fits your egg comfortably. Lightly spray the dish with cooking spray, making sure to coat the entire surface evenly.
This simple step prevents your egg from sticking and makes cleanup much easier. Trust me, it’s worth the extra minute!
Choosing The Right Dish
Selecting the right microwave-safe dish is essential for cooking perfect sunny side up eggs. Choose a shallow dish to guarantee even heat distribution. This helps cook the egg evenly while maintaining that runny yolk you want.
Make certain the dish is microwave-safe to avoid melting, cracking, or any safety hazards. Avoid metal or non-microwave-safe materials completely. You don’t want any surprises in the microwave!
Before cooking, grease or lightly spray the dish with oil or butter to create a non-stick surface. This prevents the egg from sticking and makes cleanup easier. Also, pick a dish large enough to hold your egg without spilling over during microwaving.
Applying Cooking Spray
Once you’ve prepped your microwave-safe dish, it’s time to grease it with cooking spray to stop the egg from sticking. Applying a light, even coat of cooking spray guarantees a non-stick surface, making your sunny side up eggs easy to remove and preventing sticking during cooking.
This step is vital for easy cleanup afterward, as it minimizes residue in the dish. If needed, just reapply the spray before cracking your egg to keep that excellent non-stick performance going.
Opt for a neutral-flavored spray like avocado or canola oil to keep the taste of your eggs pure.
- Use a microwave-safe dish for safety and even cooking
- Apply cooking spray evenly to cover the entire surface
- Reapply spray if the dish looks dry before adding the egg
- Choose a neutral-flavored cooking spray to avoid overpowering taste
- Cooking spray promotes easy cleanup with minimal mess
Preventing Egg Sticking
To prevent your sunny side up eggs from sticking, always grease your microwave-safe dish with butter, oil, or non-stick spray before cooking. Greasing creates a protective barrier that keeps eggs from sticking to the surface.
This helps them cook evenly and stay intact. Use a silicone brush or paper towel to spread the grease so it covers the dish evenly.
This non-stick layer makes it super easy to lift the eggs after cooking and makes cleanup a breeze. Just don’t cook on a dry, ungreased dish—eggs will stick and break apart.
For the best results, re-grease your dish before every microwave session. That way, you keep the non-stick layer effective and enjoy hassle-free cleanup every time you make sunny side up eggs.
Crack and Season the Egg
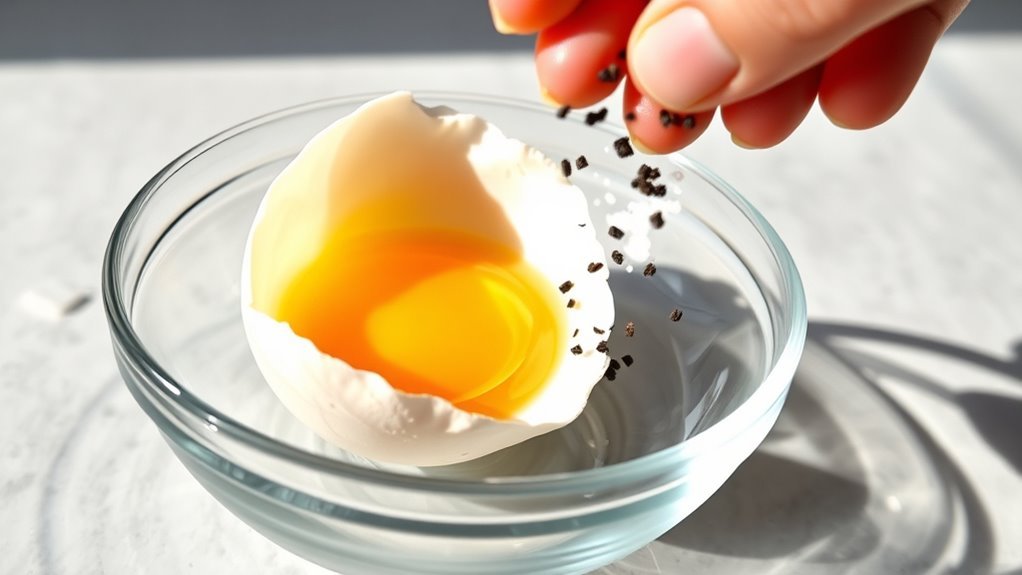
Before microwaving, crack your egg carefully into a clean, microwave-safe dish. Make sure the yolk stays centered. This step helps the egg cook evenly and keeps the yolk intact for that perfect sunny side up look.
Next, season the egg to boost its flavor right from the start.
Keep these tips in mind when you crack and season your egg: use a clean, dry, microwave-safe dish to avoid sticking. Also, remove any shell fragments immediately to keep the egg safe.
Season the egg with a pinch of salt and pepper for a seasoned finish. Try to center the yolk to promote even microwaving.
If you want, you can gently prick the yolk to reduce the risk of bursting.
Following these steps will get your egg ready perfectly for microwaving.
Prevent Yolk Explosions
To keep your egg yolk from bursting, you need to release built-up steam before microwaving. Carefully prick the yolk with a toothpick or fork to let pressure escape safely.
This simple step helps you avoid messy explosions and keeps your egg intact. It’s quick and totally worth it!
Why Yolk Bursts
Although cooking sunny side up eggs in the microwave is quick and convenient, you need to be careful because the yolk can burst unexpectedly. This happens due to steam pressure and pressure buildup inside the yolk during microwave cooking.
The liquid and trapped air in the yolk expand rapidly when heated, causing a sudden yolk burst if there’s no venting. So, it’s kind of like a little pressure cooker inside the egg.
To prevent this, consider these factors:
- The yolk contains liquid and air that expand with heat.
- Microwave heating causes uneven temperature, increasing burst risk.
- Covering eggs traps steam pressure, adding to pressure buildup.
- Venting the yolk lets steam escape safely.
- Shorter cooking intervals help control pressure buildup.
Understanding why the yolk bursts helps you avoid messy explosions and enjoy perfectly cooked eggs. It’s all about managing the heat and pressure!
Safe Puncture Techniques
When you prick the yolk carefully with a toothpick or pin, you create a small vent that lets steam escape and prevents the yolk from bursting during microwaving. For microwave safety, make sure your puncture is small and centered to avoid weakening the yolk’s structure.
Use a fine needle or sharp pin to make a quick, clean puncture without damaging the surrounding egg white. Always puncture the yolk before microwaving, especially if cooking longer than 45 seconds, to release built-up steam safely.
After the initial cooking time, check the egg, and if you notice pressure building inside the yolk, re-puncture it gently. These safe puncture techniques help you avoid messy explosions and keep your sunny side up egg intact.
Microwave Your Sunny Side Up Egg: Timing Tips
Since microwaves vary in power, you’ll want to start cooking your sunny side up egg on high for about 45 seconds. But be sure to check it at 30 seconds so you don’t overcook it.
Microwave your sunny side up egg on high for 45 seconds, checking at 30 to avoid overcooking.
Adjust your microwave timing based on the wattage—700-900W models usually need 60-75 seconds. To get that perfect doneness, especially if you want the yolk runny, start with shorter cook times.
Then, add time in 10-15 second increments if you need to. Remember, getting your timing just right guarantees your sunny side up eggs come out perfect every time.
Keep these tips in mind:
- Prick the yolk to prevent explosions
- Monitor cook duration closely
- Adjust timing for your microwave wattage
- Let the egg rest 1 minute after cooking
- Avoid overcooking to maintain yolk consistency
Check and Adjust Cooking Time
To avoid overcooking or causing your egg to explode, start checking it about 30 seconds into microwaving. Keep an eye on the egg whites to verify they’re fully set while the yolk remains runny.
If the doneness isn’t right, adjust the cooking time in short 10-15 second intervals. Remember, each microwave varies, so note your ideal cooking time for consistent results.
| Microwave Wattage | Typical Cooking Time |
|---|---|
| 700W | 45-50 seconds |
| 900W | 35-40 seconds |
| 1100W | 25-30 seconds |
| 1300W | 20-25 seconds |
Use this as a guideline to adjust based on your microwave’s power and desired doneness. Easy, right? Just keep tweaking until you get it perfect!
How to Slide the Egg Without Breaking the Yolk
Although the yolk is delicate, you can slide your sunny side up egg onto a plate without breaking it by loosening the edges gently with a rubber spatula and tilting the dish to guide the egg smoothly.
To prevent the yolk from breaking during transfer, follow these steps carefully:
- Use a rubber spatula to gently loosen the egg edges.
- Tilt the microwave-safe dish slightly to help the egg slide.
- Make certain the whites are fully set but the yolk remains runny.
- Carefully lift the egg at a slight angle with the spatula.
- Let the egg rest a few seconds after cooking to firm up the whites.
Just take it slow and steady, and you’ll have a perfect sunny side up egg on your plate in no time!
Add Toppings and Serve
How will you take your sunny side up eggs to the next level? Once you carefully slide your eggs onto a plate or toast, it’s time to add toppings that boost both flavor and presentation.
Sprinkle shredded cheese for a melty touch, or scatter chopped herbs and diced vegetables to brighten the dish. If you like a bit of crunch, cooked bacon works great, too.
Don’t forget to season with salt, pepper, or a dash of chili crisp to enhance the taste. Serve your eggs immediately to enjoy them warm and fresh, with toppings perfectly complementing every bite.
For a satisfying meal, pair your eggs with toast, hashbrowns, or your favorite breakfast sides before you dig in.
Try These Microwave Egg Variations
When you want to mix things up, microwave eggs offer plenty of tasty variations that are quick and easy to prepare. Beyond sunny side up, you can cook eggs quickly with different textures and flavors using a microwave-safe plate or bowl.
Try these egg variations to keep breakfast interesting:
- Add cheese, herbs, or diced vegetables before cooking for a flavorful twist.
- Whisk eggs with fillings to make microwave omelettes in short bursts.
- Poach eggs by microwaving them in water with vinegar for about 60 seconds.
- Cover eggs while microwaving to control yolk doneness, from runny to firm.
- Mix in cooked bacon or chili crisp for a spicy, savory upgrade.
Go ahead and experiment with these microwave egg variations to enjoy your sunny side up eggs in new, delicious ways. You might find a new favorite!
Store and Reheat Leftovers
To keep your microwave-cooked sunny side up eggs fresh, store any leftovers in an airtight container and place them in the refrigerator for up to 24 hours. Avoid freezing leftover eggs, as this can ruin their texture.
When you’re ready to reheat, place the eggs on a microwave-safe plate, cover them with a damp paper towel, and heat in the microwave at 10-15 second intervals. This method helps preserve moisture and prevents the eggs from drying out or overcooking.
Always check that the eggs reach an internal temperature of 165°F before eating to ensure they’re safe. By following these simple storage and reheating tips, you can enjoy your sunny side up eggs just as deliciously the second time around.
Frequently Asked Questions
How to Cook Sunny Side up Eggs in the Microwave?
You crack an egg on a microwaved, greased plate, prick the yolk, then microwave on high for 45 seconds. Check and add time if needed, let it rest, then serve immediately for perfect sunny side up eggs.
How Long to Microwave Sunny Side Up?
You should microwave sunny side up eggs for about 30 seconds, then add 10-15 second intervals until the whites set but yolk stays runny. Watch closely to avoid overcooking and adjust time based on your microwave.
What Is the Best Method for Microwaving Eggs?
To microwave eggs masterfully, you’ll want to grease a microwave-safe dish, cover it to contain the cooking chaos, poke the yolk to prevent pops, and zap at high power in short spurts for perfect, plump whites.
What’s the Easiest Way to Make Sunny Side up Eggs?
The easiest way to make sunny side up eggs is to crack one into a buttered microwave-safe dish, prick the yolk, cover it, and microwave on high for about 45 seconds, adjusting time as needed for your microwave.
Conclusion
You’ve just mastered the ancient art of microwaving sunny side up eggs—because who needs a stove when you have a magical box that nukes your breakfast in seconds?
Now you can impress absolutely no one with your microwave skills, yet enjoy perfectly cooked eggs without breaking a sweat.
Remember, if your yolk explodes, just call it modern art.
Bon appétit, chef!
Cooking sunny side up eggs in the microwave is a quick and easy way to enjoy breakfast without the hassle of a stove or frying pan. With these simple steps, you get perfectly cooked eggs fast, saving time and effort. So next time you’re in a rush or just want a fuss-free meal, try microwaving your sunny side up eggs for a delicious, hassle-free start to your day.