How to Dye Eggs With Food Dye in 10 Easy Steps
To dye eggs with food dye in 10 easy steps, start by boiling the eggs fully and letting them cool completely to avoid cracks. This simple step sets the stage for vibrant, beautifully colored eggs.
Next, prepare your dye baths by mixing boiling water, food coloring, and a bit of vinegar. The vinegar really helps the colors stick, making the eggs come out bright and bold.
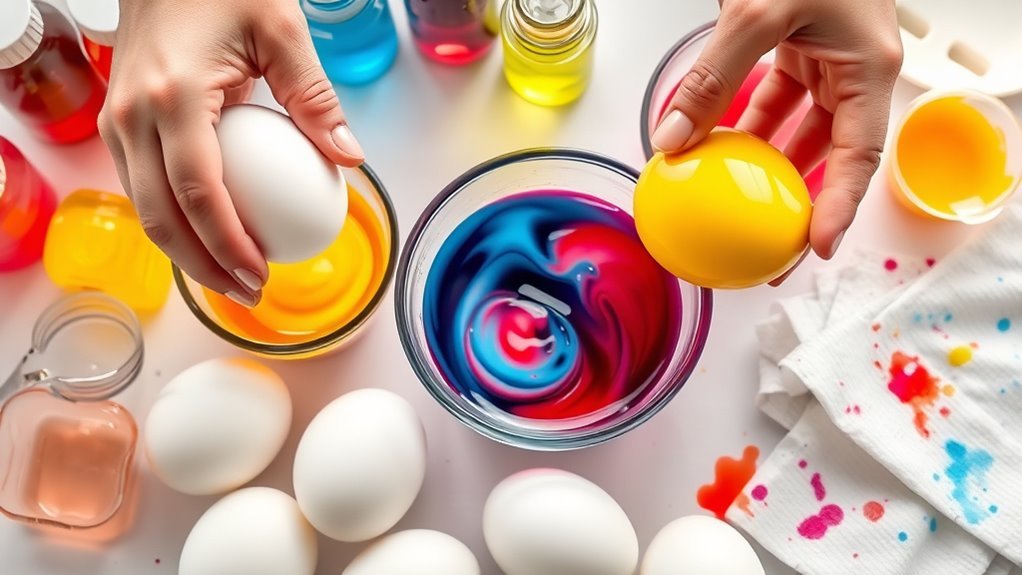
When you’re ready, dip the eggs into the dye for about 5 minutes to get those vibrant colors. Use tongs to handle the eggs carefully and avoid smudging the dye.
After dyeing, let the eggs dry completely on a rack or paper towel.
If you want to get creative, add details with edible markers once the eggs are dry.
To finish, apply a light coat of oil to give the eggs a lovely shine.
Remember to keep the dyed eggs refrigerated until you’re ready to use them.
Keep following for more creative decorating tips and storage advice!
Key Takeaways
- Use fully cooled, hard-boiled eggs and handle them carefully to prevent cracking or shell damage before dyeing.
- Mix ¾ cup boiling water, 10-20 drops of food coloring, and 1 tablespoon vinegar per color for vibrant dye baths.
- Soak eggs in dye for 5 minutes for bright colors, using tongs to avoid smudges and a timer for consistent results.
- Allow eggs to dry completely before decorating with edible markers or applying additional designs for best results.
- Store dyed eggs refrigerated below 40°F in sealed containers and limit room temperature display to 2 hours for safety.
Select And Prepare Eggs For Dyeing
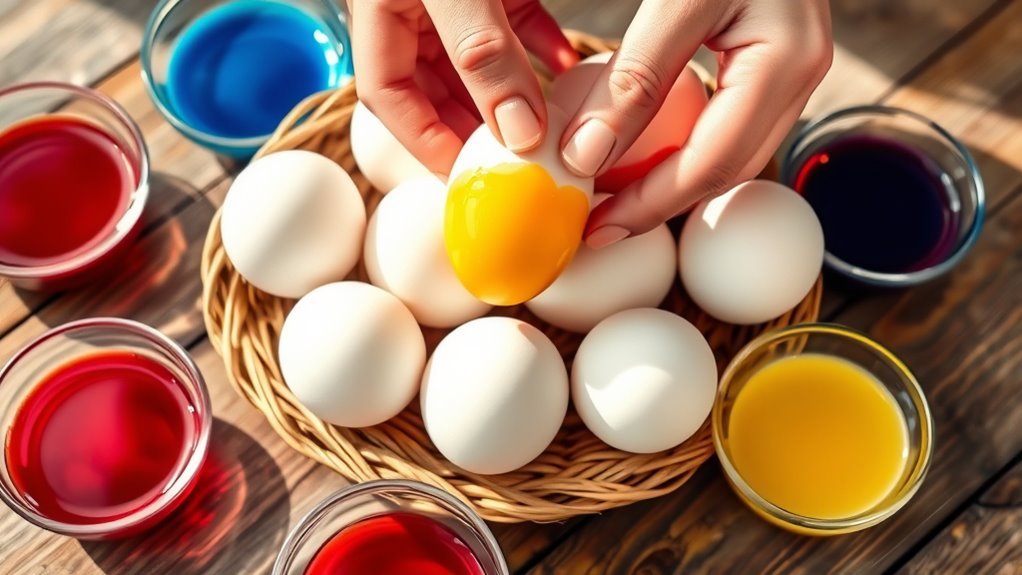
Before you start dyeing, make sure to use fully cooled, hard-boiled eggs to prevent cracking during the process. Begin by boiling your eggs in a single layer in a saucepan to guarantee even cooking.
Once done, immediately transfer them to cold water to stop the cooking and initiate the cooling phase. This cooling step makes peeling easier and helps protect the shell’s integrity.
Store your hard-boiled eggs in the refrigerator until you’re ready to dye—they’ll stay fresh and safe this way. While handling your eggs during preparation, be gentle to avoid any shell damage that might affect the dyeing results.
Proper preparation of your eggs, including careful cooling and handling, sets the stage for vibrant, crack-free colors in your egg-dyeing project.
Gather Supplies And Ingredients For Egg Dyeing
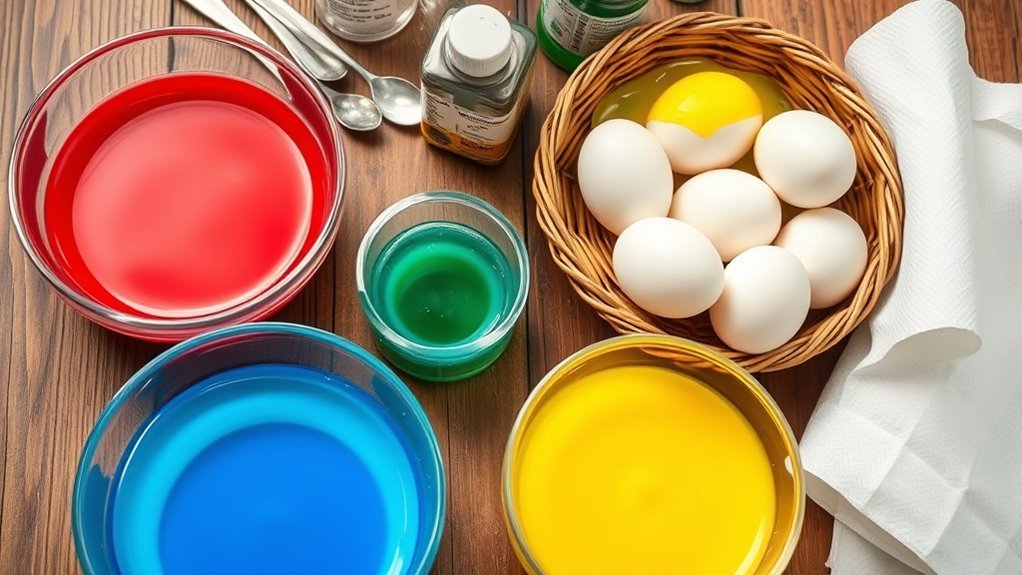
When you’re ready to dye your eggs, gather all the essential ingredients and supplies to streamline the process. You’ll need hard-boiled eggs, food coloring, vinegar, and boiling water to create vibrant dye baths.
Use about 10-20 drops of food coloring mixed with ¾ cup boiling water and 1 tablespoon vinegar for each color.
For supplies, have a muffin pan to hold the eggs, spoons for dipping, and paper towels to dry them off. Wearing gloves will protect your hands from staining, and disposable covers help keep your workspace clean.
After the eggs dry, you can add extra details with edible markers or additional dyes to customize your creations. Having everything ready makes dyeing eggs quick and enjoyable.
How To Boil Eggs Without Cracking
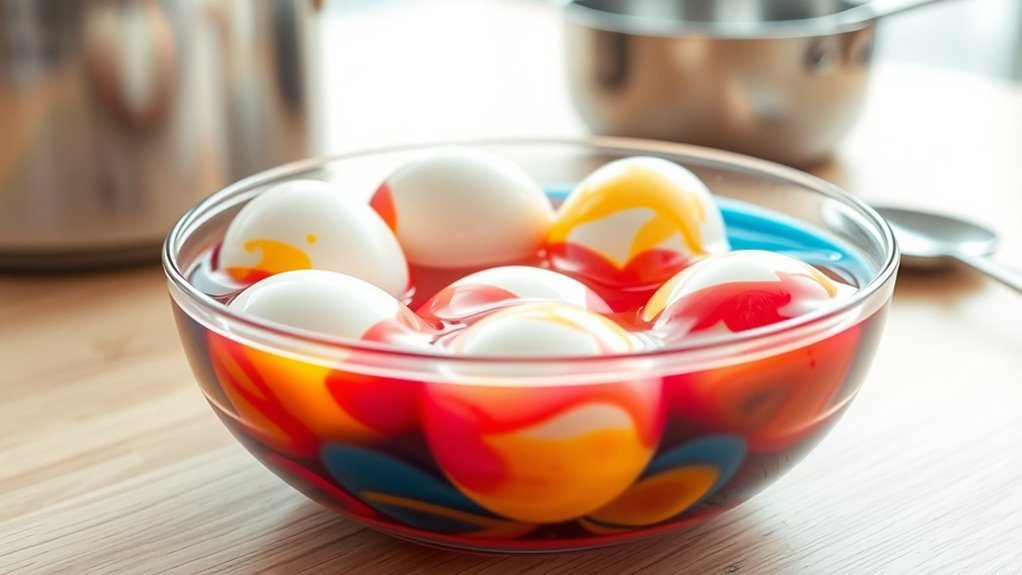
How can you boil eggs without cracking their shells? Start with eggs at room temperature to minimize cracking risk during boiling. Place them in a single layer in your saucepan, avoiding overcrowding to prevent bumping.
Cover the eggs with cold water by about an inch for a gradual temperature change. Bring the water to a gentle boil over medium heat, then reduce to a simmer immediately to ease shell stress.
After boiling, transfer the eggs to ice water or cold running water to cool rapidly and prevent cracking. This quick cool down keeps the shells intact and makes peeling easier.
| Step | Tip |
|---|---|
| Start | Use room temperature eggs |
| Boiling | Simmer after gentle boil |
| Cooling | Ice water prevents cracking |
Mix Food Coloring Dye Baths Correctly
Although it might seem simple, mixing your food coloring dye baths correctly is key to achieving vibrant, evenly colored eggs. Start by combining ¾ cup of boiling water with 10-20 drops of food coloring in a separate container for each color.
Add 1 tablespoon of white distilled vinegar to each dye bath, which helps the color stick better to the eggshells. Stir thoroughly until the food coloring is fully dissolved to avoid uneven patches.
Adjust the number of drops if you want a lighter or more intense shade. Using separate containers prevents colors from mixing and keeps each dye bath pure, ensuring bright, distinct colors on your eggs.
Following these steps will set you up for beautifully dyed eggs every time. It’s pretty easy once you get the hang of it!
How Long To Dye Eggs For Perfect Color
You’ll want to time how long you soak your eggs carefully to get the perfect color intensity. Short dips around 2-3 minutes create soft pastels, while about 5 minutes gives vibrant, solid hues.
Keep in mind that soaking too long can cause uneven or overly dark colors. So, using a timer really helps keep your results consistent.
Optimal Soaking Times
When you soak eggs in food dye, the duration directly affects the color’s intensity and quality. Short soaking times, about 1-2 minutes, give you soft pastel shades, perfect for a subtle look.
If you want more defined and vibrant colors, soak your eggs around 5 minutes. For bold, saturated hues, extend the soaking times to 7-10 minutes.
Keep in mind, dipping eggs beyond 10 minutes can lead to uneven coloring or excessive dye saturation, which might ruin the smoothness of the finish. Soaking eggs for 15 minutes or more usually isn’t necessary and often causes streaky or over-dyed results.
Color Intensity Factors
Adjusting how long you leave your eggs in the dye directly influences the final color intensity. The longer the dyeing time, the greater the color saturation. You’ll see a range from soft pastels at 2-3 minutes to rich, vibrant hues after 10-15 minutes.
Using concentrated food coloring or neon dyes usually requires about 10-15 minutes for a uniform, deep color. If you soak eggs for less than 5 minutes, expect lighter, more delicate shades — perfect for subtle designs.
However, leaving eggs in the dye beyond 20 minutes can cause uneven or overly dark results. So, it’s a good idea to keep a close eye on the timing.
Using a timer helps you maintain consistent color saturation. This way, you can easily adjust the dyeing time based on your desired vibrancy and the specific food coloring you choose.
Dry And Handle Dyed Eggs Carefully
After dyeing your eggs, let them air dry completely on a rack or paper towels to avoid smudging.
Handle them gently with clean, dry hands or gloves to keep the colors vibrant and prevent fingerprints.
Be sure not to stack the eggs while drying to maintain their perfect finish.
Proper Drying Techniques
Although the dye may look dry to the touch, you should let your eggs sit on a cooling rack or paper towels until completely dry to prevent smudging. Proper drying guarantees vibrant colors and prevents damage when handling.
When you’re ready to move them, carefully remove each egg without squeezing or stacking to avoid cracks.
Follow these steps for effective drying:
- Place eggs on paper towels or a cooling rack to air dry fully.
- Wait at least 30 minutes after dyeing for colors to set.
- Use clean, dry hands or gloves to handle eggs gently.
- Store dry eggs in a single layer to keep shells intact.
This drying process protects your handiwork and keeps eggs looking their best.
Safe Egg Handling
Once your eggs are completely dry, handle them with care to keep the colors vibrant and the shells intact. For safe handling, always cool eggs completely before dyeing to avoid cracking from temperature shock.
When moving dyed eggs, use tongs or a spoon to gently lift them without smudging the color. Wearing gloves during dyeing protects your hands from stains and helps maintain cleanliness.
After handling, rinse eggs in cold water to remove any leftover dye or dirt on the surface. For storage, place the finished eggs in the refrigerator to keep them fresh and prevent spoilage.
Create Marbled And Speckled Egg Designs
If you want to create eye-catching marbled and speckled egg designs, try swirling your eggs in Cool Whip mixed with drops of food coloring for a space-like effect. Let them sit in the fridge for 30 minutes before rinsing.
You can also shake eggs with rice and food coloring to get colorful speckled patterns as the grains rub against the shell. Rolling eggs in a Cool Whip and food coloring layer adds unique marbled textures.
For extra detail, dab food coloring onto eggs with a sponge or brush to create speckled or patterned accents.
- Use Cool Whip for smooth, marbled designs.
- Shake with rice for natural speckles.
- Roll in Cool Whip for varied textures.
- Dab color for personalized speckling.
These techniques give your eggs vibrant, textured looks.
Add Final Touches With Markers And Oil
To give your dyed eggs a polished, vibrant look, start by applying a thin layer of vegetable oil. This enhances their natural sheen and helps preserve color.
Apply a thin layer of vegetable oil to enhance your dyed eggs’ shine and preserve their vibrant colors.
Once your eggs are completely dry, use edible markers to add decorative touches and intricate designs that make each egg unique. Just be sure to wait until the dye is fully set to avoid smudging your artwork.
After decorating, apply another light coat of oil to seal in the colors and protect your designs from fading during handling. Remember to use oil sparingly so you don’t end up with a greasy film on the eggs’ surfaces.
These final steps with edible markers and oil will give your eggs a beautiful, lasting finish that’s perfect for display or gifting.
Store Dyed Eggs Safely For Display Or Eating
When you’ve finished decorating your eggs, storing them properly is key to keeping them fresh and vibrant. To guarantee safety and maintain their colorful appearance, follow these guidelines:
First, store your dyed eggs refrigerated at or below 40°F. This helps prevent spoilage and keeps them safe to eat.
Keep your eggs in a sealed container or carton. This avoids cross-contamination and helps preserve their bright colors.
Be gentle when handling the eggs. You don’t want to chip or crack the dye coating while they’re in storage.
If you want to display eggs at room temperature, try to limit it to 2 hours. This reduces the chance of bacteria growing on them.
Tips For Easy And Fun Easter Egg Dyeing
Although dyeing eggs might seem straightforward, using a few simple tips can make the process easier and more enjoyable. Use a muffin pan to hold multiple food coloring dyes, keeping your workspace tidy.
Add 1 tablespoon of vinegar to each dye to help colors stick vibrantly. Soak eggs for about 5 minutes; longer for richer colors.
Handle eggs with tongs to avoid fingerprints and keep colors clean. Let eggs dry fully on a rack or paper towels before decorating further.
| Tip | Why It Helps | Result |
|---|---|---|
| Muffin pan | Organizes dye colors | Less mess, efficient dyeing |
| Vinegar in dye | Enhances color adhesion | Brighter, vivid colors |
| 5-minute soak | Proper color absorption | Even, consistent coloring |
| Use tongs | Avoids fingerprints | Clean, smooth eggs |
| Dry on rack/paper towel | Prevents smudging | Neat, ready-to-decorate eggs |
Frequently Asked Questions
How to Dye Eggs With Food Coloring Step by Step?
You boil eggs, then mix boiling water, vinegar, and food coloring. Submerge cooled eggs in dye for five minutes or longer for deeper hues. Remove carefully, let dry, and rinse lightly if needed to avoid cracks.
What Are Different Ways to Dye Eggs?
Imagine swirling colors dancing on eggshells—you can dye eggs using vinegar and food coloring for solid hues, shake them with rice for speckles, or roll in whipped cream for marbled, cosmic patterns. Don’t forget salt or oil marbling!
Will Regular Food Coloring Work for Dying Eggs?
Yes, regular food coloring works great for dyeing eggs. You’ll get vibrant colors easily by adding vinegar and adjusting drops for intensity. It’s simple, quick, and lets you mix shades to create unique, colorful eggs.
Does Vinegar and Food Coloring Dye Eggs?
Yes, vinegar and food coloring dye eggs effectively. You’ll get brighter, more vibrant colors because vinegar helps the dye stick to the eggshell faster and more evenly. Without vinegar, colors can look dull or patchy.
Conclusion
Dyeing eggs with food coloring is a fun, simple way to celebrate Easter or any festive occasion. Did you know over 1.5 billion eggs are dyed each year in the U.S. alone? With just a few easy steps, you can create vibrant, beautiful eggs that brighten your holiday.
Remember, prepping and dyeing carefully guarantees perfect colors every time. So grab your supplies, get creative, and enjoy this colorful tradition with family and friends!
Using food dye to color eggs is a fantastic way to add some extra joy to your celebrations. Whether it’s Easter or another special event, brightly dyed eggs bring smiles and warmth to everyone involved. Follow these 10 easy steps, and you’ll have beautifully dyed eggs that impress. Have fun experimenting and making memories with loved ones as you dive into this colorful tradition.