How to Make Egg Dye With Food Colouring in 7 Easy Steps
To make egg dye with food coloring in 7 easy steps, start by hard-boiling your eggs and letting them cool completely. This is the first and most important step to ensure your eggs are ready for coloring.
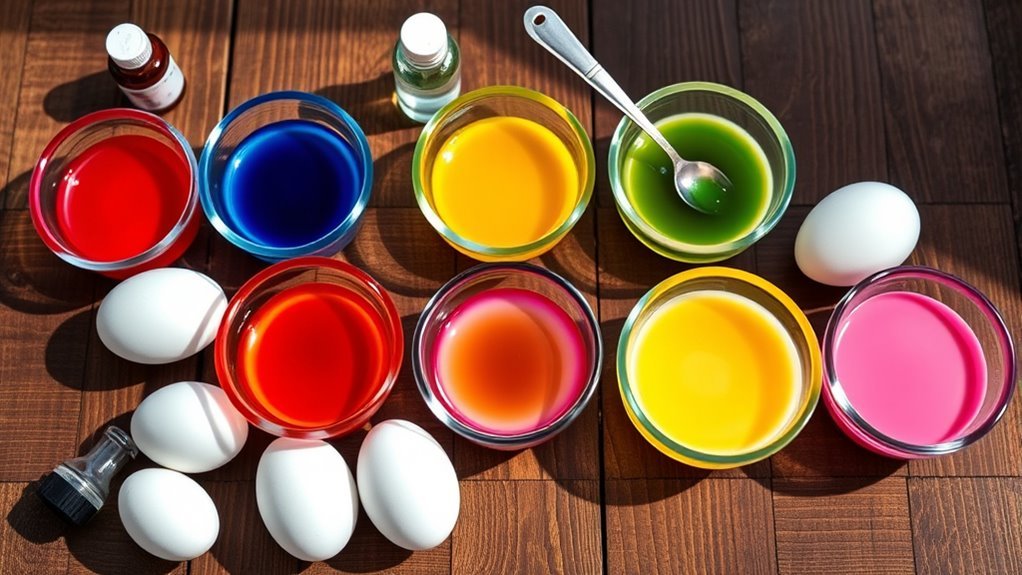
Next, mix ½ cup of hot water, 1 teaspoon of vinegar, and 10-20 drops of your favorite food coloring in a jar. The vinegar helps the color stick better to the eggshells, giving you brighter results.
Dip your eggs into the dye for 5-10 minutes, depending on how deep you want the color to be. Want a lighter shade? Just dip for a shorter time. For a bolder color, let them soak longer.
Use tongs to handle the eggs carefully and avoid smudging the color. Then, place them on a drying rack and let them dry completely before storing.
Finally, keep your dyed eggs in a covered container in the fridge to maintain those vibrant colors. Keep going to explore more tips for perfect results!
Key Takeaways
- Mix ½ cup boiling water, 1 tsp vinegar, and 10-20 drops of food coloring for vibrant egg dye.
- Use small jars or bowls to create separate dye baths for each color.
- Dip hard-boiled, room-temperature eggs fully into the dye for 5-10 minutes for desired shade depth.
- Remove eggs with tongs or a slotted spoon to avoid smudging and let dry on a wire rack.
- Store dyed eggs in a covered container in the refrigerator to maintain color and freshness.
Gather Your Ingredients and Supplies for Egg Dyeing
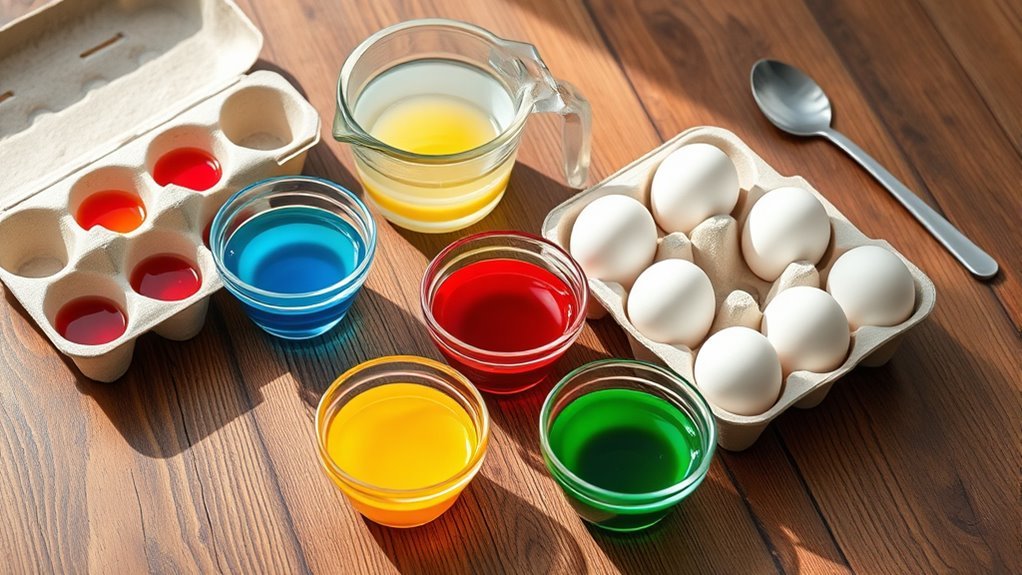
Before you begin dyeing your eggs, gather all the necessary ingredients and supplies to streamline the process. You’ll need hard-boiled eggs, white distilled vinegar, and McCormick food coloring in various shades.
Prepare small glass jars or narrow bowls to hold individual dye baths; these make handling easier and prevent colors from mixing. For each dye bath, mix ¾ cup of hot water with 1 teaspoon of vinegar and 10-20 drops of food coloring.
Have a slotted spoon or tongs ready to safely submerge and remove your eggs from the dye bath without making a mess. Don’t forget workspace protection—cover your table with newspaper or a drop cloth to avoid staining from the vibrant dyes.
This setup guarantees a smooth and colorful egg-dyeing experience. It’s all about making things easy and fun!
How to Hard-Boil and Prepare Your Eggs for Dyeing
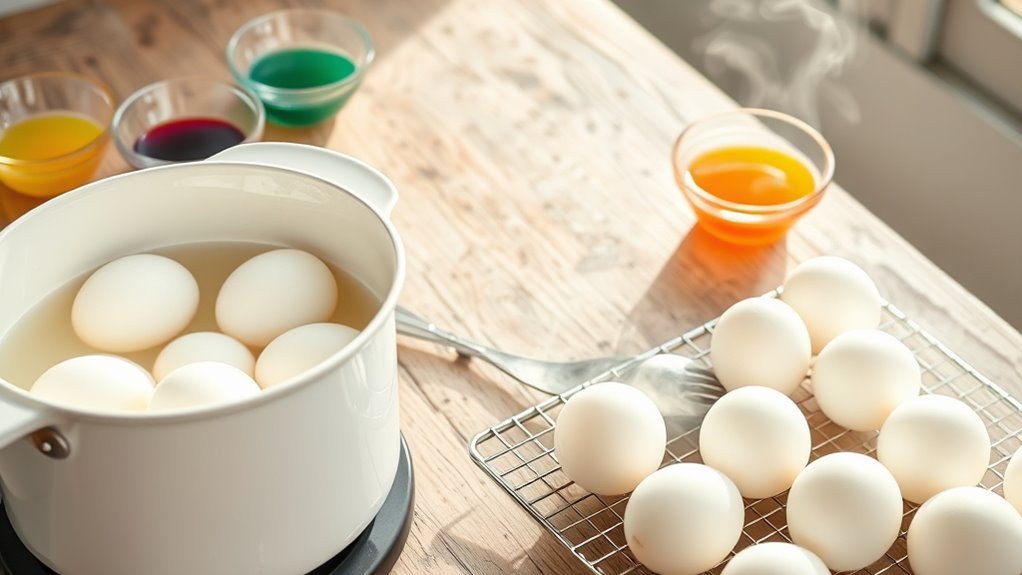
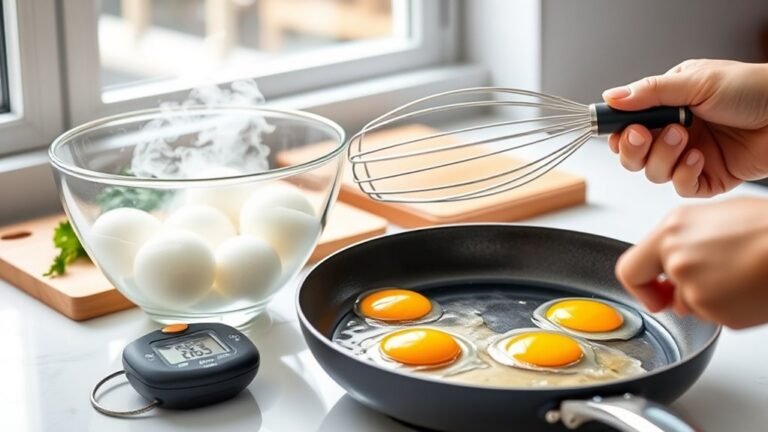
Start by placing your eggs in a single layer in cold water. Then, bring it to a rapid boil before turning off the heat. Let them sit covered for 12-15 minutes.
Quickly cool the eggs under cold running water or in ice. This stops the cooking process and helps prevent cracking.
Make sure your eggs reach room temperature before dyeing. This way, you’ll get the best results.
Perfect Boiling Technique
When you place your eggs in a saucepan and cover them with cold water about an inch above, you set the stage for perfectly hard-boiled eggs. Put the saucepan over medium-high heat and bring the water to a rolling boil.
Once boiling, immediately remove the pan from the heat and cover it. This method uses the residual temperature of the water to gently cook the eggs, preventing overcooking.
Let the eggs sit in the hot water for 12 to 15 minutes to guarantee they cook through evenly. This technique avoids harsh boiling that can crack eggs or cause uneven cooking.
Cooling And Handling Eggs
Although your eggs are perfectly cooked, you’ll want to cool them quickly by rinsing in cold or ice water. This stops the cooking process and makes peeling easier.
Once cooled, place the eggs on a cooling rack or in an egg carton. This helps you handle them safely and lets them dry completely.
Be gentle when handling the eggs now to avoid cracks. Cracks can mess up how the dye soaks in later on.
Before you start dyeing, make sure the eggs reach room temperature. Sudden temperature changes can cause cracking, and we don’t want that!
Adding salt to the boiling water can help make peeling smoother, but quick cooling is just as important.
Keep your eggs dry and at room temperature so they’re ready for vibrant, evenly dyed results.
Mix Food Coloring With Water and Vinegar to Create Dye
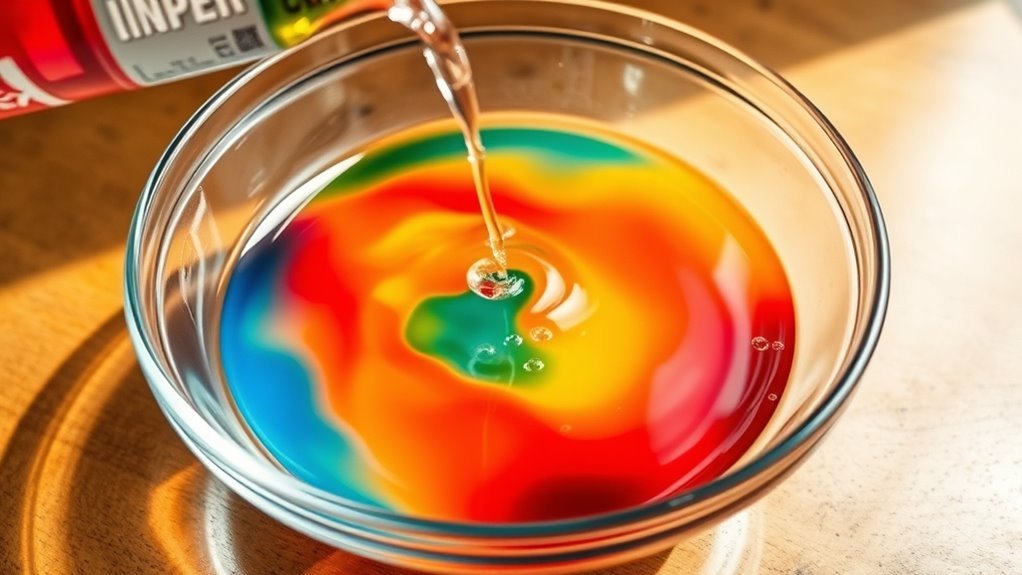
To create vibrant egg dye, combine 1/2 cup of boiling water with 1 teaspoon of vinegar. The vinegar helps the color stick better to the eggshells.
Next, add 10-20 drops of food coloring to the water and vinegar mixture. You can adjust the number of drops to control how intense the color will be. Stir it all up well to make sure the color is spread evenly.
Follow these steps for effective egg dyeing:
- Use boiling water for better color absorption.
- Add vinegar to enhance dye adherence.
- Adjust food coloring drops to get your desired shade.
- Mix well before dipping eggs.
This simple combo of water, vinegar, and food coloring makes a reliable dye mixture. It’s an easy and colorful way to get your eggs looking great!
Dip Eggs Into Food Coloring Dye for Best Results
Since vibrant colors depend on thorough soaking, you’ll want to fully submerge each egg in the dye for about five minutes. This immersion with food coloring guarantees even coverage and vibrant colors that really pop.
Use a slotted spoon or tongs to carefully dip and remove the eggs, minimizing smudging or uneven dyeing eggs. If you want deeper, more saturated hues, leave them in the dye for up to ten minutes, depending on how intense you want the colors.
Make certain the dye is at room temperature or slightly cooled to avoid cracking the shell during immersion. After dipping, let your eggs dry completely on a wire rack or paper towels to prevent color transfer and keep those vibrant colors looking sharp.
Soak Eggs for Vibrant or Pastel Dye Colors
When you soak your eggs in food coloring, the length of time you leave them in the dye directly affects the intensity of the color. To achieve vibrant colors or pastel shades, you need to adjust the soak duration and dyeing time carefully.
Here’s how to soak eggs for the best results:
- Soak eggs for 5 minutes for bright, vibrant colors.
- For deeper hues, extend the soak duration to 10-15 minutes.
- To get pastel shades, shorten the dyeing time to 2-3 minutes or dilute the food coloring.
- Use hot dye to enhance color absorption, making colors more vivid.
Remove and Dry Dyed Eggs Without Smudging Color
When you remove dyed eggs, handle them gently by the uncolored ends or wear gloves to avoid smudging.
Place them on a wire rack or paper towels and let them dry completely without disturbing them. Waiting at least 30 minutes before moving or stacking helps keep the colors vibrant and intact.
Handling Eggs Carefully
Although the vibrant colors are tempting to touch right away, you’ll want to lift dyed eggs gently with a slotted spoon or tongs to avoid smudging.
To handle eggs carefully and keep your designs crisp, follow these steps:
- Gently lift eggs from the dye bath to prevent smudges.
- Place eggs on a wire rack or paper towels to air-dry, allowing excess dye to drip off.
- Handle eggs by the ends or shell, avoiding contact with decorated surfaces.
- Let dry eggs sit completely at room temperature before moving or stacking.
When handling dry eggs, use clean, dry hands or gloves to maintain color sharpness.
Optimal Drying Surfaces
After carefully lifting your dyed eggs, choosing the right surface to dry them on helps preserve their vibrant colors and prevents smudging. A wire cooling rack works perfectly as a drying surface because it lets excess dye drip off and air circulate evenly around the eggs.
Alternatively, you can line an egg carton with paper towels to create a soft, absorbent base that keeps the eggs steady and reduces contact with smudge-prone surfaces. Make certain to place your eggs in a ventilated area to speed drying and avoid humidity-related smudging.
Avoid stacking or crowding the eggs; giving each egg enough space ensures they dry thoroughly without touching each other. Using these methods will help you achieve beautifully dried eggs without unwanted color transfer or smudges.
Preventing Color Smudges
To keep your dyed eggs looking vibrant, handle them with care by allowing them to dry fully on a wire rack or paper towels before touching. This prevents smudges and preserves the bright colors.
When dying and drying colored eggs, follow these steps:
- Gently pat eggs dry with a paper towel to remove excess moisture without disturbing the dye.
- Place eggs on a drying rack or paper towels without stacking to avoid color transfer and smudges.
- Handle carefully by the edges or shells, minimizing contact with the decorated surfaces.
- Wear gloves to prevent oils from your skin causing smudges or fingerprints.
Creative Decorating Ideas and How to Store Dyed Eggs Safely
When you finish dyeing your eggs, try using a soft cloth or paper towel to gently pat them dry so the colors don’t smudge. For creative decorating ideas, experiment with patterns by wrapping eggs in rubber bands before dyeing or adding stickers afterward.
You can also mix food coloring to create unique shades for your dyed eggs. When it comes to storage, place your eggs in a covered container and keep them in the refrigerator to maintain freshness and color vibrancy.
Avoid exposing dyed eggs to direct sunlight or heat, as this can cause fading. For safe handling, rinse eggs gently with cold water if needed, but never use soap.
If you display eggs outside, replace them daily to prevent spoilage and guarantee safe enjoyment.
Frequently Asked Questions
How to Make Egg Dye With Food Coloring?
You mix boiling water, vinegar, and food coloring in a jar, then dip hard-boiled eggs into the mixture. Let them soak for vibrant colors, remove carefully, and let the eggs dry completely before handling or decorating.
How Do I Make Natural Egg Dye?
You boil natural ingredients like onion skins, beetroot, or turmeric in water for 30-60 minutes, strain the liquid, then soak your eggs in the dye. Repeat for deeper colors and enjoy earthy, beautiful hues.
How Long to Dye Eggs in Food Coloring?
Think of dyeing eggs like painting your own sunrise—dip them 5 minutes for vibrant hues, 1-2 minutes for pastels, or over 10 for deep shades. You’ll control the colors, just like crafting your morning glow.
Is It Better to Dye Eggs Hot or Cold?
It’s better to dye eggs hot if you want vibrant, long-lasting colors, but be careful to cool the dye first to avoid cracking. For safer, softer pastel shades—especially with kids—cold dyeing works best.
Conclusion
Now that you’ve mastered these simple steps, your eggs are ready to impress—but wait, there’s more! Imagine the endless creative twists you can add, from intricate patterns to dazzling designs.
And when you’re done, storing them safely keeps your colorful masterpieces fresh longer than you’d expect. Ready to turn ordinary eggs into unforgettable art?
Embark on this fun journey, experiment with different food colouring techniques, and watch your creations come to life like never before! Making egg dye with food colouring is not just easy, it’s a fantastic way to add a personal touch to your eggs. So grab your supplies, get creative, and enjoy the vibrant results every time!