
How to Fix a Broken Double Pane Window in 10 Easy Steps
To fix a broken double-pane window, start by carefully removing the sash and glazing beads without damaging the frame. It’s important to wear safety gear during this process to protect yourself from sharp edges.
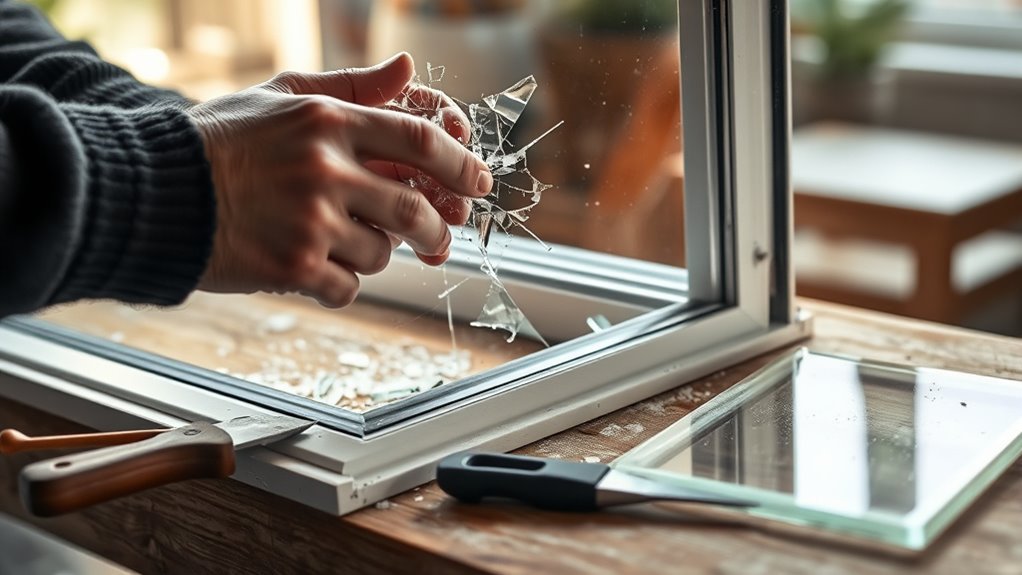
Next, remove all the broken glass pieces and clean the frame thoroughly to ensure a smooth surface for the replacement.
Make sure to measure the window opening precisely before ordering a replacement unit. Accurate measurements are key to getting the perfect fit and avoiding any gaps or leaks.
Once your new glass arrives, apply an even bead of silicone around the frame for a strong seal.
Then, position the new glass securely and reinstall the glazing beads to hold it firmly in place.
Finally, check the seal and test the window’s operation to make sure everything fits perfectly and works smoothly.
Keep going to uncover more detailed tips!
Key Takeaways
- Remove the window sash carefully by loosening fasteners and supporting it to access the broken double-pane glass safely. Take your time with this step to avoid any additional damage.
- Pry off glazing beads gently with plastic tools to avoid frame damage and safely remove broken glass shards. Be cautious as the shards can be sharp.
- Measure the window frame and glass precisely to order a matching double-pane replacement unit from a reliable supplier. Getting the exact size is key here.
- Clean the frame thoroughly and apply an even, continuous silicone bead to ensure an airtight seal for the new glass. This helps keep your window energy-efficient.
- Install the replacement glass carefully, secure with glazing beads, and inspect seals and window operation for proper fit and finish. Make sure everything sits snug and works smoothly.
Remove the Double-Pane Window Sash
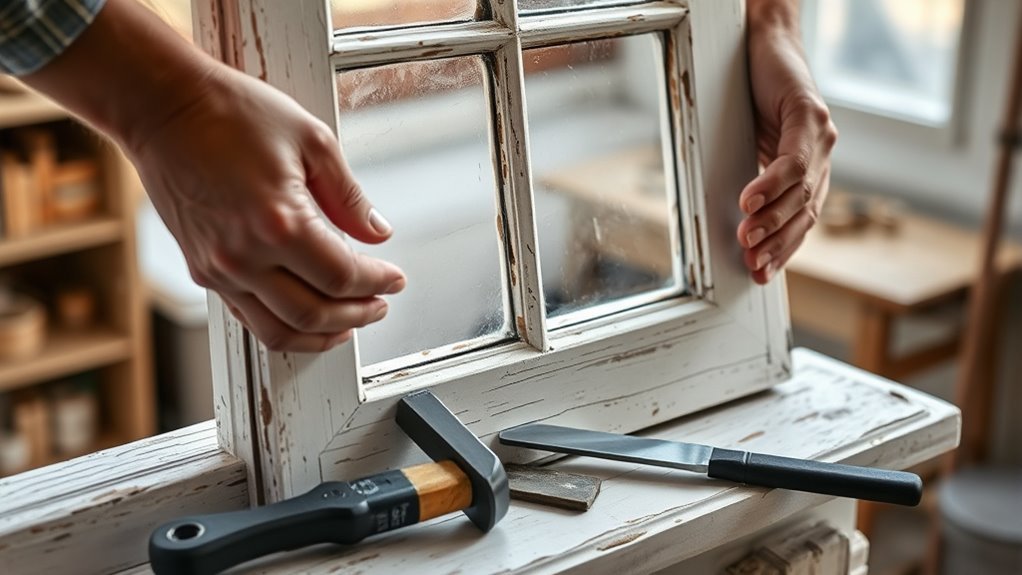
To begin fixing your broken double-pane window, start by removing the window sash from the frame. First, carefully loosen any screws, clips, or retaining brackets that hold the sash in place.
If your double-pane window is part of a sliding design, gently slide the sash out to avoid damaging the glass or frame. Once free, support the sash with a stand or prop to prevent accidental drops or damage during the repair process.
Pay close attention to how the sash is assembled and secured before removal—this will make reinstallation easier and help when ordering replacement parts. Taking these careful steps ensures you access the double-pane window safely and efficiently, setting you up for a smooth repair.
Get Your Tools and Safety Gear Ready
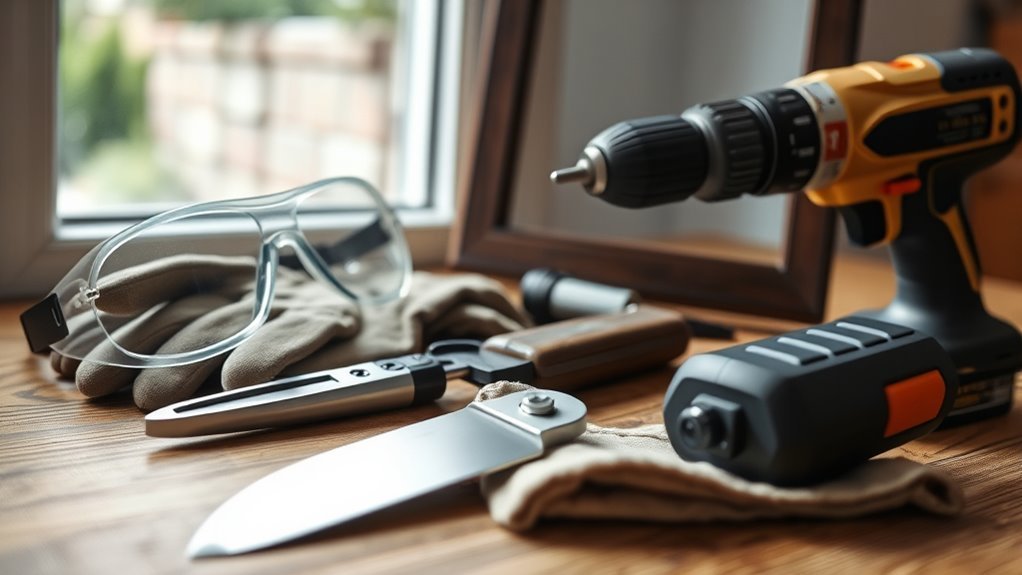
After removing the sash, focus on gathering the right tools and safety gear to protect yourself and make the repair process smoother.
For effective window repair, grab essential tools like a scraper, utility knife, suction cups, and a stiff-bladed moon knife to handle old glass and beading carefully. Don’t forget cut-resistant gloves and safety glasses—they’ll protect you from sharp glass shards during removal and installation.
Make sure you have the correct replacement double-pane window with precise measurements to match your frame. A heat gun will help soften old silicone, making it easier to remove.
Finally, set up a sturdy work surface and keep a disposal container nearby to manage broken glass and debris safely. This will keep your workspace organized and hazard-free throughout the repair.
Remove Glazing Beads Without Damaging the Frame
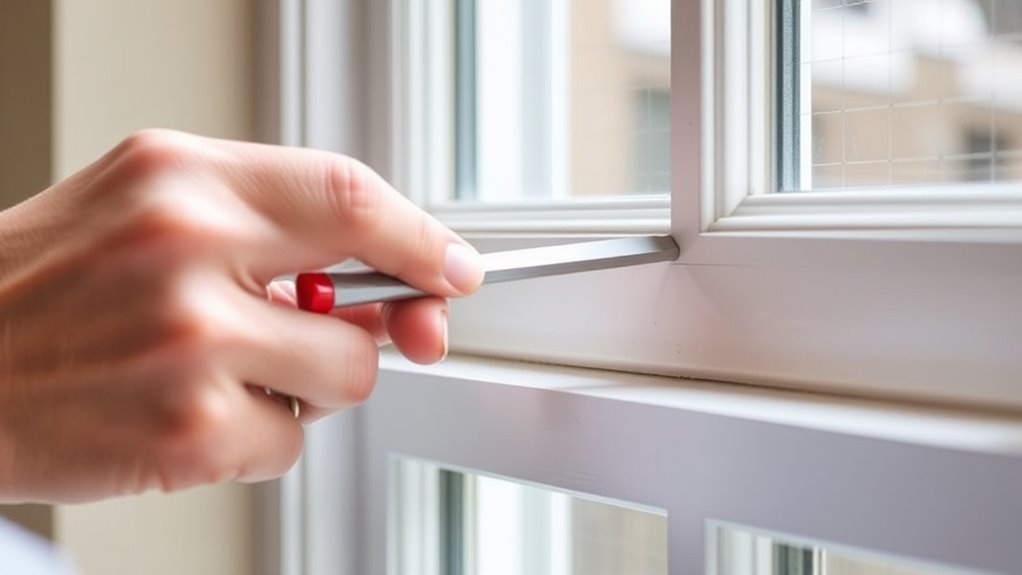
Start by gently prying off the glazing beads from the corners using a thin, plastic-tipped tool to protect the frame. Move slowly and evenly around the window to avoid cracking or warping any parts.
If clips or nails hold the beads, carefully release them before removal to keep everything intact. This way, you can make sure nothing gets damaged during the process. Just take your time and be patient!
Safe Beading Removal
Although removing glazing beads might seem straightforward, you’ll need to handle them carefully to avoid damaging the window frame. Start by gently prying the beading strips loose at the corners using a thin, stiff-bladed moon knife.
Work slowly around the perimeter, applying light pressure to prevent cracking or warping the beading. If the beading is glued or sealed, soften the adhesive by warming it with a hairdryer before attempting removal.
Always use a plastic or non-marring pry tool instead of metal tools to avoid scratching or gouging the frame. Keep track of each beading piece and its orientation for easier reinstallation and to maintain a proper seal later.
Taking these steps guarantees safe beading removal without harming your window frame. It’s all about being patient and using the right tools.
Frame Protection Tips
When removing glazing beads, protecting the window frame is just as important as carefully prying the beads loose. Start at the corners, using a plastic or nylon putty knife to gently lift the beads without scratching the frame.
Avoid metal tools—they can damage the window frame and complicate replacement later. Apply even, gentle pressure to prevent warping or breaking the frame material.
Removing the beading strips in one piece helps you reuse them when installing the new pane of glass. If your window has manufacturer-specific instructions, follow them carefully to avoid damaging the frame.
Handling glazing beads properly guarantees a smooth replacement process, protects the surrounding frame, and keeps broken glass contained. This makes your double pane window repair safer and more efficient.
Remove Broken Glass and Clean the Frame
Now that you’ve removed the glazing beads, carefully clear out all broken glass from the frame. Use a scraper or heated tool to remove any old silicone residue stuck to the frame.
This part can be a bit tedious, but take your time to get it all out. Finally, clean the surface thoroughly to prepare it for the new glass installation.
A clean frame makes a huge difference in how well the new glass will fit and stay put. So, don’t rush this step!
Clearing Old Glass
How do you safely remove broken glass without risking injury? Start by taping any intact panes with painter’s or duct tape to prevent shattering. Then, carefully remove all broken shards from the frame, disposing of them in a sturdy container.
Next, use a utility scraper or putty knife to cut through old silicone bedding. This loosens the glass without damaging the frame. Finally, clean the interior frame thoroughly to prepare for new glass installation.
Here’s a quick guide for removing old glass:
- Remove broken shards carefully and dispose of them safely.
- Use a scraper to loosen the glass by cutting through silicone bedding.
- Clean the frame with isopropyl alcohol and vacuum to clear debris.
This way, you’ll have a clean, safe surface ready for your replacement pane.
Removing Silicone Residue
Because silicone seals the glass tightly to the frame, you’ll need to soften it with a heat gun or hairdryer before removal. Gently warm the silicone, then carefully cut through the silicone bedding with a scraper or putty knife, running it along the entire edge to loosen the seal.
Remove any broken glass shards, and tape the remaining intact pane with painter’s or duct tape to prevent injury during cleaning. Next, clean the frame thoroughly with a sponge, isopropyl alcohol, and a vacuum to eliminate all silicone residue and debris.
Make sure the surface is completely dry and free of leftover silicone before moving on. Removing all silicone residue is essential for a proper seal when installing the new glass pane.
Frame Surface Preparation
Before installing your replacement glass, carefully remove all shards of broken glass from the window sash while wearing gloves to protect your hands. Dispose of the shards in a sturdy container to avoid injury.
Next, prepare the frame surface to guarantee a secure fit for the new window glass. Follow these steps:
- Use a heat gun or hairdryer to soften old silicone sealant, then scrape it away gently without damaging the frame.
- Pry off the glazing bead with a thin-bladed tool, starting at the corners and working around the frame.
- Clean the frame thoroughly with a sponge, isopropyl alcohol, and a vacuum to remove dust, debris, and leftover silicone.
Make sure the frame is completely dry and smooth before installing the new window glass. That way, you’ll get the best fit and finish.
Measure the Window Opening Before Ordering
To guarantee your replacement double pane window fits perfectly, start by measuring the outside dimensions of the window opening to the nearest 1/16 inch. Remove any beading or trim temporarily to access the sealed unit for accurate measurements.
Make sure to measure the height, width, and thickness of the glass—typically ½”, 5/8”, ¾”, 7/8”, or 1”. Take multiple measurements at different points to catch any frame irregularities.
Then, record and double-check these measurements carefully to avoid costly mistakes.
| Dimension | Measurement 1 | Measurement 2 |
|---|---|---|
| Height | 35 1/16” | 35 1/8” |
| Width | 27 15/16” | 28” |
| Thickness | 5/8” | 5/8” |
| Notes | Frame uneven | Trim removed |
Order a Replacement Double-Pane Glass Unit
Once you’ve confirmed your measurements, you’ll want to order a replacement double-pane glass unit that matches the exact height, width, and thickness of your existing window. Accurate glass replacement depends on getting these specs right to guarantee a proper fit and seal.
Here’s how to order your replacement unit:
- Measure the outside dimensions of your window frame to the nearest 1/16” and note the overall glass thickness.
- Contact the window manufacturer or a specialized glass supplier with your precise measurements.
- Choose a sealed double-pane unit that matches your size and thickness, and consider ordering online or locally for convenience and timely delivery.
This careful ordering process will set you up for a smooth installation. Just take your time with the measurements, and you’ll be good to go!
Apply Silicone Bedding Evenly for New Glass
Before you apply silicone bedding, make sure the window frame is clean and dry for better adhesion. Use a caulking gun to lay a continuous, even bead around the frame’s lip.
Keep the silicone smooth and consistent to create a perfect seal for the new glass. This way, you’ll avoid any gaps or leaks. It really makes a difference!
Preparing Frame Surface
Although it might seem straightforward, applying silicone bedding evenly is essential for securing your new glass properly. Before you start, preparing the frame surface is key to a lasting seal for your window pane.
Follow these steps:
- Clean the frame thoroughly by removing all old silicone and debris. Make sure the surface is smooth.
- Use a caulking gun or squeeze tube to apply a continuous, even bead of high-quality silicone around the frame’s lip.
- Smooth the silicone with your finger or a tool. Remove any ridges and make sure it’s slightly recessed to hold the new glass securely.
Proper preparation guarantees your new window pane fits airtight and stays firmly in place. It really makes all the difference in how well your window performs.
Applying Silicone Bead
When you apply the silicone bead, make certain to use a continuous, even line around the window frame’s lip. This helps create a strong, airtight seal for your new glass.
Use a caulking gun loaded with silicone bedding made specifically for glass to prevent seal failure. Keep a steady hand to avoid gaps or uneven thickness, which can compromise the seal.
Apply the bead slightly larger than the glass edge to allow proper compression when installed. Once applied, smooth the silicone bead with a damp finger or a silicone smoothing tool.
This will ensure a uniform, airtight seal around the pane. Taking these careful steps with your silicone bedding will help secure your new double pane window and maintain its insulation and durability.
Ensuring Even Coverage
How do you guarantee your new glass sits securely and seals properly? When you order replacement parts or decide you need to remove and replace the glass instead of replacing the entire window, applying silicone bedding evenly is essential.
Here’s how to make sure the whole interior frame supports your new double pane window:
- Apply a continuous, uniform silicone bead about 1/4 inch thick around the entire frame edge.
- Use a steady hand to avoid gaps or excess buildup that could misalign the new glass.
- Let the silicone cure fully before installing the glass to ensure an airtight seal.
If you have questions about your new window or need tips on how to replace the glass, don’t hesitate to email the supplier’s customer service using their email address.
Position the New Double-Pane Glass Securely
Before securing the new double-pane glass, carefully align it within the window frame so it sits evenly on the silicone bedding. Use suction cups to lift the glass gently, which helps prevent damage and guarantees precise placement.
Once positioned, apply steady pressure around the edges to seat the glass firmly into the silicone seal, creating a reliable, secure fit. Make sure the glass is flush with the frame or beading, avoiding any gaps that could weaken insulation or allow drafts.
Take your time to confirm the glass is properly seated and stable before moving forward. This careful positioning is vital for maintaining the window’s energy efficiency and structural integrity as you prepare to reinstall the glazing beads.
Reinstall Glazing Beads to Secure the Glass
Once the new double-pane glass sits securely in the silicone bedding, you’ll need to reinstall the glazing beads to hold it firmly in place. Start by cutting the glazing bead to the correct size with tough scissors for a snug fit.
Then, follow these steps:
- Attach the top and bottom sections of the glazing bead first to help align and stabilize the glass.
- Press the vinyl glazing bead firmly along the entire perimeter by hand—avoid using tools like rubber mallets to prevent damage.
- Carefully inspect all sides to ensure the glazing bead is fully seated and the glass is secure.
Inspect the Window Seal and Test Operation
Why does the window seal matter so much? It keeps moisture and air from sneaking between the panes, preserving insulation and clarity.
To inspect it, check for visible damage, cracks, or gaps. Use a flashlight to examine closely for any deterioration or separation from the frame.
Fogging or moisture between the panes signals a broken seal. Next, test the window’s operation by opening and closing it, ensuring smooth movement and proper alignment.
Also, confirm the locks and latches secure tightly, as they help maintain the seal when closed. If you spot any issues, the seal may need repair or replacement to restore your window’s efficiency and function.
This step is essential before moving on to further fixes.
Frequently Asked Questions
How to Fix a Double-Pane Window Without Replacing It?
You can’t truly fix a broken double-pane window without replacing the sealed unit; temporary fixes like clear tape or sealants help but won’t restore insulation or clarity. For lasting results, swapping the sealed unit is necessary.
What to Do When a Double-Pane Window Breaks?
When a double-pane window breaks, you’ve got shards flying like a tornado! First, remove glass safely, tape the intact pane, clean the frame, measure precisely, and secure a new pane with silicone and glazing beads to finish strong.
Can You Replace One Piece of Glass in a Double-Pane Window?
Yes, you can replace one piece of glass in a double-pane window if the sealed unit isn’t fully damaged. Just remove the sash carefully, get a custom glass cut, and install it to restore clarity and efficiency.
How to Temporarily Fix a Broken Window Pane?
You can reduce heat loss by up to 25% by temporarily sealing your broken window with clear plastic sheeting. Tape it securely, and add a wooden frame if possible. This quick fix keeps drafts and moisture out effectively.
Conclusion
Now that you’ve tackled this double-pane window like a seasoned pro, your home’s practically a fortress against the elements! No more shivering in winter or sweating in summer—your cozy comfort zone is fully restored.
Sure, it might’ve felt like you were defusing a bomb at times, but hey, you nailed it! With your new skills, broken windows don’t stand a chance.
You’re basically a window-fixing superhero now! Fixing a broken double pane window isn’t as scary as it sounds. Following these 10 easy steps has not only saved you money but also improved your home’s energy efficiency and comfort.
So next time you face a cracked or foggy double-pane window, remember you’ve got this. Your home is safer, warmer, and cooler thanks to your handy work—congratulations!