How to Make an Egg Incubator in 10 Easy Steps
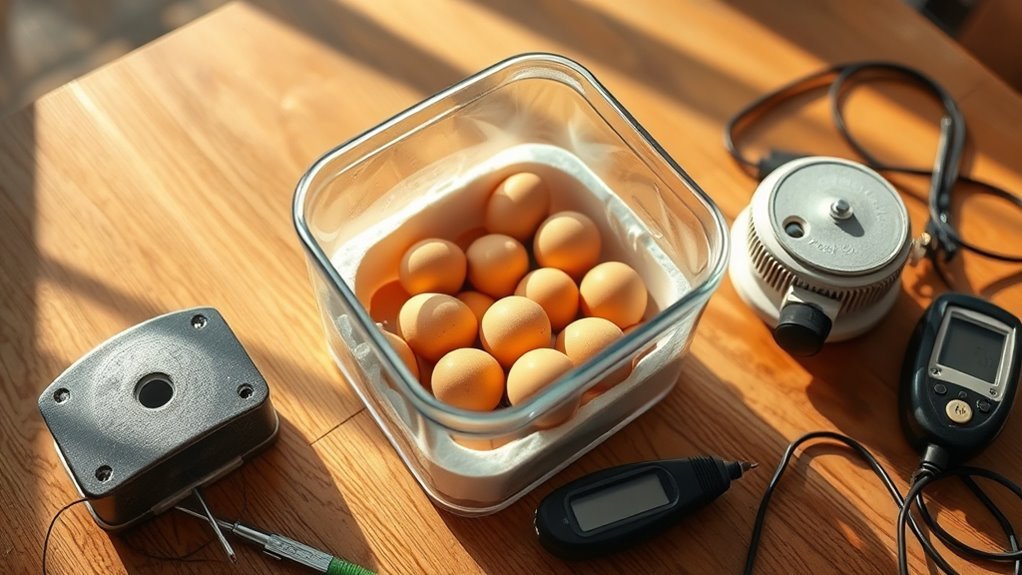
You can make an egg incubator by first choosing a well-insulated container like a foam cooler. This helps keep the temperature stable, which is super important for hatching eggs.
Then, install a low-watt heat source such as a 60W bulb to provide gentle, consistent warmth.
Add a thermostat and temperature sensor set around 99.5°F to keep conditions steady. This way, your incubator won’t get too hot or too cold, which can harm the eggs.
Create ventilation holes and include a small fan to ensure proper airflow, so the eggs get fresh air.
Place a water tray inside to maintain the right humidity level.
Build an egg rack to keep the eggs organized and make sure to turn them regularly. Just remember to stop turning the eggs during the last few days before they hatch.
Keep monitoring temperature and humidity closely.
With these simple steps, you’ll find key tips to improve hatch success and enjoy watching your eggs develop into healthy chicks!
Key Takeaways
- Choose an insulated container like a styrofoam cooler and seal gaps to maintain stable temperatures inside the incubator. This helps keep the heat in and the cold out.
- Install a low-wattage heat source, such as a 60W bulb, paired with a thermostat set around 99.5°F for precise temperature control. That way, you won’t have to worry about the temperature swinging too much.
- Add ventilation holes and a small fan to ensure even airflow and prevent temperature fluctuations. Good airflow is key to keeping things just right inside.
- Place a water tray with a sponge inside to maintain proper humidity levels, refilling regularly during incubation. Humidity is just as important as temperature, so don’t forget to check it often.
- Use an egg rack to support eggs and turn them manually or automatically at least three times daily until three days before hatching. Turning the eggs helps the embryos develop evenly and stay healthy.
Choose the Right Container for Your Incubator
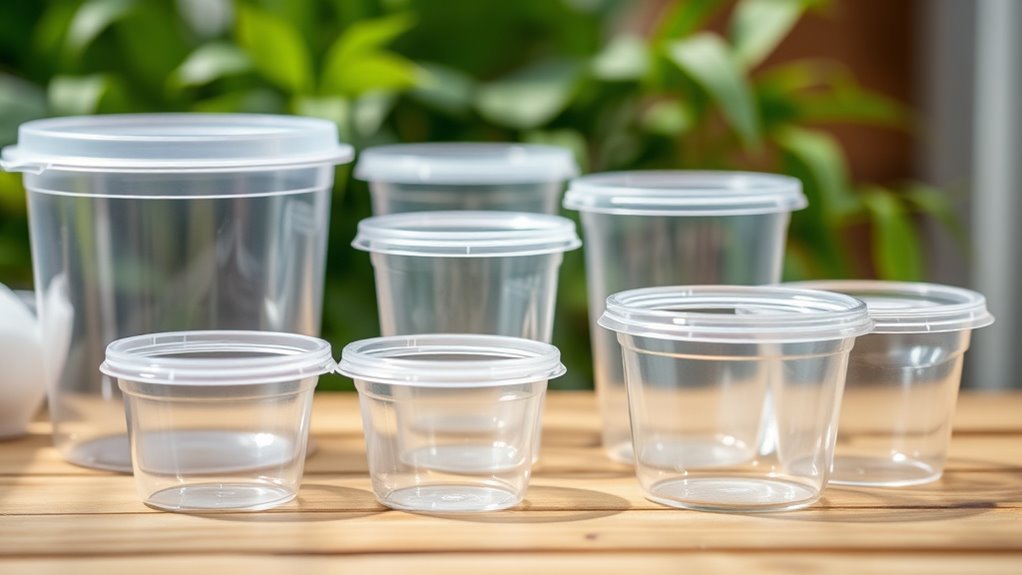
When you choose the right container for your incubator, you’ll create a stable environment that supports successful egg hatching. Start with an insulated container like a styrofoam cooler or a cardboard box lined with foam insulation. This helps maintain a consistent temperature.
Choosing an insulated container ensures a stable, consistent temperature for successful egg incubation.
Make sure the size and capacity fit all your eggs comfortably. You’ll also need enough room for a heat source and a water tray to control humidity.
Cut ventilation holes near the top and bottom to promote proper air circulation and oxygen flow. The heat source, often a light bulb, should fit securely through a hole in the container. This way, you minimize heat loss.
Opt for materials that are moisture-resistant and easy to clean, like plastic-coated surfaces. Keeping your incubator hygienic and durable throughout the incubation process really makes a difference.
Insulate the Incubator to Keep Heat Stable
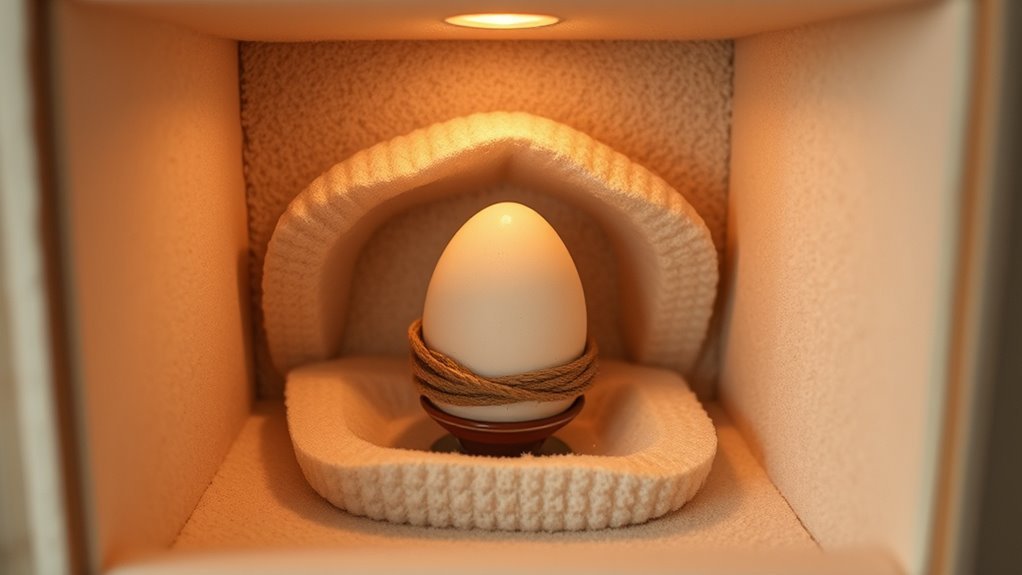
Choosing the right container sets the foundation, but insulating your incubator properly keeps the temperature steady throughout the hatching process. Use polystyrene or Styrofoam for excellent insulation, and add foam layers or fiberglass between walls to boost thermal stability.
Make certain you’re sealing gaps with duct tape to prevent heat loss and drafts. A snug-fitting lid is essential for heat retention and consistent temperature control. Place your incubator away from drafts, sunlight, and temperature swings to maintain a stable environment.
Here’s a quick guide to insulation essentials:
| Material | Purpose | Tip |
|---|---|---|
| Polystyrene | Base insulation | Choose thick coolers |
| Foam layers | Added thermal stability | Layer between walls |
| Duct tape | Sealing gaps | Cover all seams & holes |
| Snug lid | Heat retention | Ensure tight fit |
| Location | Stable environment | Avoid drafts & sunlight |
Install a Reliable Heat Source
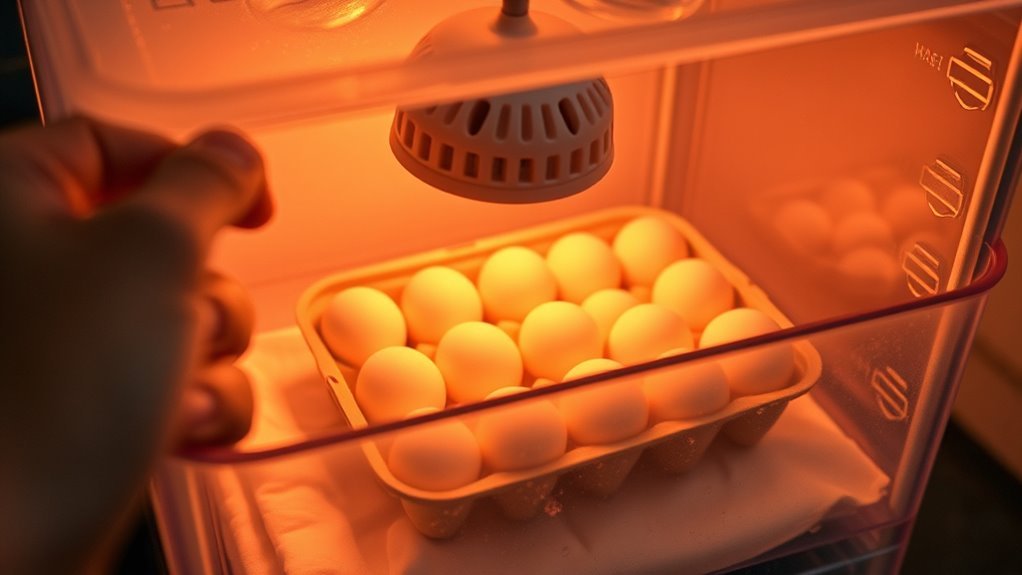
To maintain the ideal temperature for your eggs, you’ll need to install a reliable heat source that provides steady warmth without overheating. Use a low-wattage heat source, like a 60W incandescent bulb, mounted securely inside the incubator to guarantee consistent heat distribution.
Position it safely to avoid hot spots. Pair this with proper insulation, such as polystyrene or Styrofoam, to minimize heat loss and create a stable environment.
While you’ll set up temperature control next, it helps to monitor the incubator’s heat source regularly using a calibrated sensor like the DS18B20. This sensor will help you track temperature fluctuations and confirm your heat source maintains steady warmth, which is vital for successful incubation.
Together, these steps create a dependable base to keep your eggs cozy and healthy. It’s all about making sure your little ones have the perfect environment to thrive.
Set Up a Thermostat to Control Temperature
After setting up a reliable heat source, you’ll want to install a thermostat to keep the temperature steady. Connect the thermostat’s input terminals to both the power source and your heating element. This will enable automatic regulation.
Attach the temperature sensor—usually a DS18B20 or NTC probe—to the thermostat’s sensor port. Then, place it inside the incubator away from direct heat or drafts for accurate readings.
Set the desired temperature, typically around 99.5°F, on the thermostat display. Program its relay to switch the heating device on or off based on the sensor’s feedback. This way, you maintain precise temperature control within ±0.5°F.
Proper thermostat installation guarantees a stable environment critical for successful incubation. It also completes your incubator setup efficiently.
Set Up Ventilation for Airflow
While maintaining temperature is crucial, proper ventilation guarantees your eggs receive enough oxygen and prevents stale air buildup. Start by installing ventilation holes about 1.5 cm in diameter near the incubator’s bottom to provide a steady oxygen supply.
Use PVC fittings or vents on opposite sides to create fresh air intake and exhaust vents, ensuring stale air escapes effectively. Position these openings carefully to allow smooth airflow without causing drafts or temperature fluctuations.
Adding a small, adjustable fan helps circulate air evenly inside the incubator, promoting uniform temperature and humidity. Balancing intake and exhaust vents prevents excessive cooling or dehydration, making sure the incubator environment stays stable.
Proper ventilation keeps your eggs healthy by maintaining essential airflow throughout the incubation process. So, keeping the air moving just right really makes a big difference!
Add a Water Tray to Manage Humidity Levels
To keep your eggs developing properly, you’ll need to manage humidity with a water tray inside the incubator. Placing a shallow, wide tray in the right spot helps boost evaporation and maintain steady moisture levels.
You can also use a sponge or cloth over the tray to quickly raise humidity if it starts to drop. It’s a simple trick that can make a big difference. Just keep an eye on it to make sure the levels stay just right!
Importance Of Humidity
How can you guarantee the right humidity levels inside your egg incubator? Proper humidity regulation is vital for successful incubation and improving hatch rates. Using a water tray inside your incubator helps maintain the essential moisture balance eggs need.
Here’s why humidity matters: During incubation, keeping humidity between 40-50% prevents eggs from drying out. Then, increasing humidity to 65-75% in the last days supports the hatching process.
The water tray’s surface area controls evaporation, which directly affects humidity levels. To maintain steady moisture, regularly check and refill the water tray. This manual humidity regulation protects the embryo from harmful fluctuations, giving your eggs the best chance to develop and hatch successfully.
Water Tray Placement
Where you place the water tray inside your egg incubator plays a crucial role in maintaining proper humidity levels. Position the water tray at the bottom of the incubator, making sure it doesn’t interfere with egg placement or turning mechanisms.
Choose a shallow, wide water tray to maximize surface area. This helps achieve even distribution of humidity throughout the incubation chamber. Fill the tray with clean, room-temperature water and check water levels regularly. Refill as needed to keep humidity consistent.
Avoid placing the tray near direct heat sources. This prevents rapid evaporation and fluctuating humidity. During incubation, adjust water levels to increase humidity during lockdown and reduce it in the early days. This way, you ensure the right temperature and humidity balance for ideal embryo development.
Enhancing Evaporation Methods
Although maintaining proper humidity can be challenging, adding a water tray inside your incubator considerably boosts evaporation and helps stabilize moisture levels.
To enhance evaporation and manage humidity levels effectively, follow these steps:
- Use a shallow water tray that’s large enough to increase the surface area but safe enough to prevent eggs or chicks from falling in.
- Position the water tray near a heat source or where airflow circulates to promote even evaporation throughout the incubator.
- Regularly monitor the water tray’s levels and refill it as needed to maintain consistent humidity during incubation.
For extra evaporation in dry environments, consider placing a sponge or hanging cloth over the water tray.
This simple addition maximizes moisture without complicating your setup.
Build or Buy an Egg Rack and Turner for Your Incubator
Since your eggs need stable support and proper airflow during incubation, choosing or building the right egg rack and turner is vital. Use galvanized wire or heat-resistant materials for your egg rack to securely hold eggs without causing cracks.
Make certain the egg spacing allows for adequate air circulation around each egg, which is essential for a successful incubation process.
When it comes to turning, you can opt for a manual turner like push rods or invest in an automatic turner with a small motor that rotates eggs every four hours, mimicking nature.
Choose or design an egg rack that fits snugly inside your incubator build and accommodates the number and size of eggs you’re incubating. This setup guarantees consistent turning and stable positioning, improving hatch rates effectively.
Place Temperature Sensors for Accurate Readings
After setting up your egg rack and turner, the next step is to guarantee you monitor the temperature accurately inside your incubator. Proper placement of the temperature sensor is vital for obtaining accurate readings that reflect the real environment your eggs experience.
Follow these guidelines:
- Place the temperature sensor at egg level to capture the true temperature surrounding the eggs. This helps avoid false data from higher or lower points.
- Use a waterproof sensor setup, like wrapping an NTC sensor around a water-filled bag. This simulates egg conditions and improves accuracy.
- Keep the sensor away from direct heat sources, drafts, or vents. That way, your readings won’t get skewed.
Don’t forget to regularly perform calibration with a reliable thermometer. This helps maintain precise control over temperature and humidity throughout incubation.
Monitor and Adjust Temperature and Humidity
To guarantee successful incubation, you need to monitor temperature and humidity closely using a reliable digital thermometer and hygrometer. Keep the incubator’s temperature steady around 99.5°F and humidity levels between 40-50% during most of the incubation.
Adjust the heat source gradually—like a lamp or resistor—and give the incubator time to stabilize before making more changes. If temperature fluctuates, improve insulation or tweak the heat source to maintain consistent warmth.
During the final days, increase humidity to 65-75% by adding water to a shallow basin or sponge inside the incubator. Regularly monitor and record your readings so you can spot trends and make precise adjustments, especially during critical phases like lockdown.
This careful monitoring assures a healthy environment for your eggs. Just keep an eye on things, and you’ll help your eggs hatch strong and healthy!
Turn Eggs Regularly During Incubation
Turning your eggs regularly during incubation plays an essential role in guaranteeing healthy embryo development. You need to turn eggs at least three times daily during the first 18 days to maintain proper orientation and prevent the embryo from sticking to the shell.
Using an egg turner can simplify this process and help keep a consistent schedule, which improves hatch rate.
Follow these steps:
- Mark each egg with an X and O to track orientation and confirm you turn them correctly.
- Handle eggs gently to avoid damaging blood vessels critical for embryo development.
- Stop turning eggs during the last three days to let the embryo position itself for hatching.
Consistent turning ensures stable incubation conditions and maximizes your hatch rate success. It really makes a difference!
Frequently Asked Questions
How to Make an Incubator at Home Is Simple and Easy for Eggs?
You can make an incubator easily by using a styrofoam cooler, adding a small light bulb for warmth, monitoring temperature and humidity, ensuring ventilation, and turning the eggs regularly to help them hatch successfully.
How to Incubate Eggs Step by Step?
Imagine using a rotary phone to turn eggs; you’ll turn them thrice daily, keep 99.5°F, adjust humidity from 40% to 75%, candle weekly, and avoid opening during hatching’s last three days for success.
How to Make an Egg Incubator Step by Step Pdf Free?
You can find free step-by-step egg incubator PDFs online by searching educational sites or hobbyist forums. Download guides with diagrams, material lists, and safety tips to help you build your incubator easily and effectively at home.
How Can I Hatch My Own Egg at Home?
To hatch your own eggs, keep consistent warmth, watch humidity, and wisely turn them daily. Weekly candling helps check growth. With careful care and constant control, you’ll welcome healthy hatchlings home happily and hassle-free.
Conclusion
Building your egg incubator is like tending a delicate garden—each step you take nurtures tiny seeds of life waiting to bloom. With steady warmth, gentle airflow, and careful turning, you create a cozy nest where new beginnings quietly unfold.
Stay attentive and adjust with care. Watch as your efforts hatch success, turning simple eggs into vibrant new stories.
Your hands become the guardians of life’s fragile promise, guiding it into the light. By maintaining the right temperature and humidity, and ensuring proper ventilation, you give those eggs the best chance to develop and hatch.
Making an egg incubator is a rewarding process that combines patience and precision. When you follow these steps, you’re not just building a device—you’re creating a nurturing environment that supports life’s earliest stages. The joy of seeing chicks hatch makes every careful adjustment worth it.