How to Hatch Chicken Eggs in an Incubator in 10 Essential Steps
Start by selecting clean, fertile eggs from healthy hens. Preparing your incubator is just as important—make sure to clean it thoroughly and preheat it to about 99.5°F for the best hatching results.
Place the eggs with the large end up and remember to turn them at least three times daily.
Around day 7, candle the eggs to check on the development inside.
By day 18, stop turning the eggs and increase the humidity to prepare for lockdown.
Keep an eye out for hatching signs, but try not to interfere with the process.
Once the chicks hatch, move them gently to a warm brooder to keep them comfortable.
Follow these key steps, and you’ll soon uncover detailed tips for success in hatching chicken eggs in an incubator!
Key Takeaways
- Select clean, fertile eggs from healthy hens. Handle them gently, and store at 55-60°F before incubation.
- Preheat and calibrate the incubator to 99.5°F with 50-55% humidity. Place the eggs large end up inside.
- Turn the eggs at least three times daily. Candle them between days 7-10 to check on embryo development.
- Stop turning on day 18. Increase humidity to 70%, and keep ventilation steady during lockdown until hatching.
- When chicks hatch, transfer the dry, fluffy little ones to a warm, draft-free brooder. Keep it at 90-95°F and provide fresh food and water.
Choose Fertile Eggs From Healthy Hens
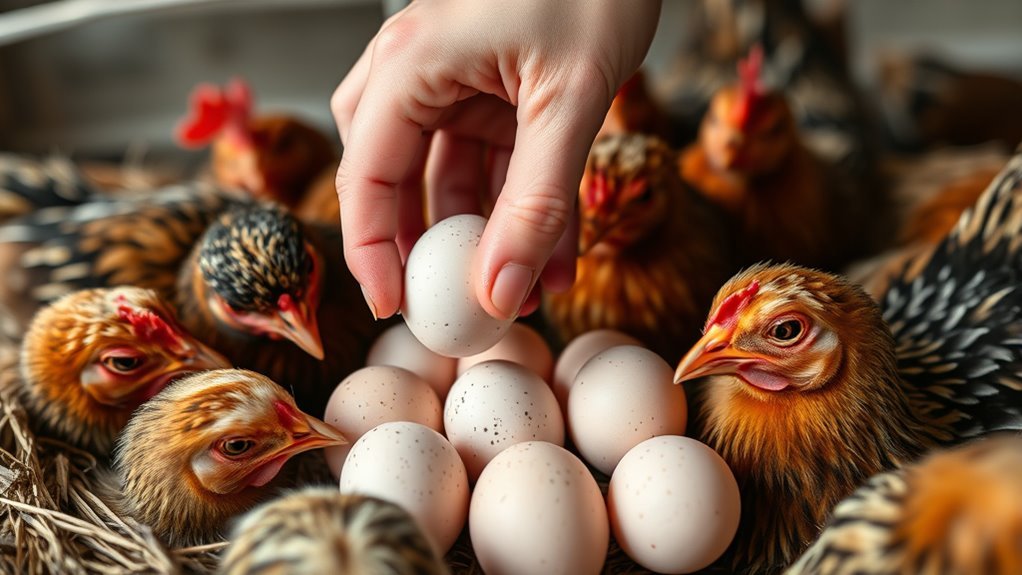
Before you begin incubating, make sure you choose fertile eggs from healthy hens that have been housed with a rooster. Unfertilized eggs won’t hatch, so this step is super important.
Always select fertile eggs from healthy hens paired with a rooster to ensure successful hatching.
For successful embryo development, select eggs from NPIP-certified flocks. This helps verify that you’re getting disease-free, high-quality fertilized eggs.
During egg selection, pick clean, evenly shaped eggs without cracks or deformities. Egg quality directly impacts hatch rates, so don’t overlook this.
Handle eggs carefully to keep their protective bloom intact. Avoid washing them before incubation because that can lead to bacterial contamination.
Proper egg storage is essential—keep fertilized eggs in a cool, well-ventilated room at 55-60°F. You can store them like this for up to seven days.
This careful egg handling and storage preserves fertility and sets you up for a successful incubation and healthy chick hatch.
Get Your Incubator Ready for Incubation
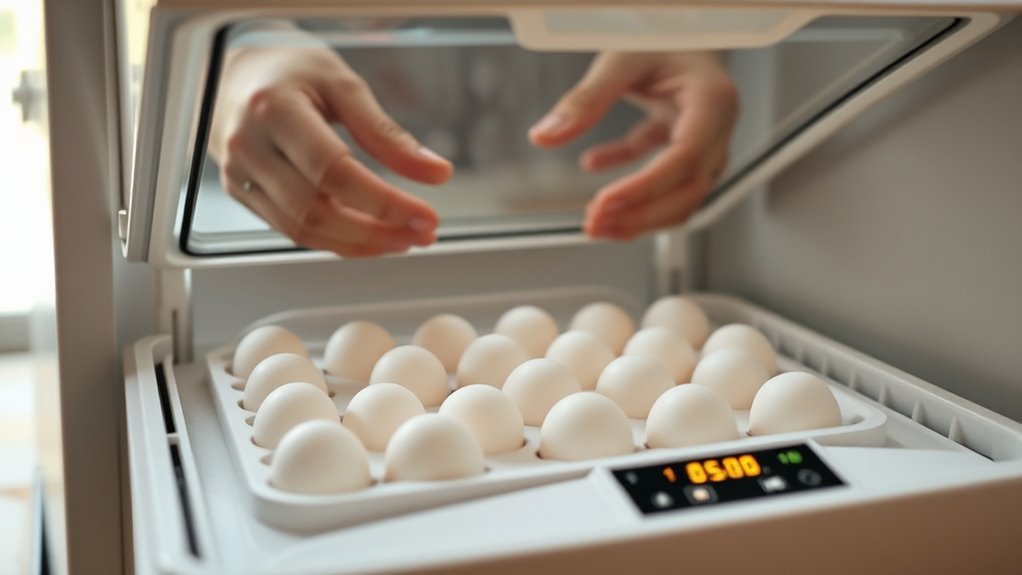
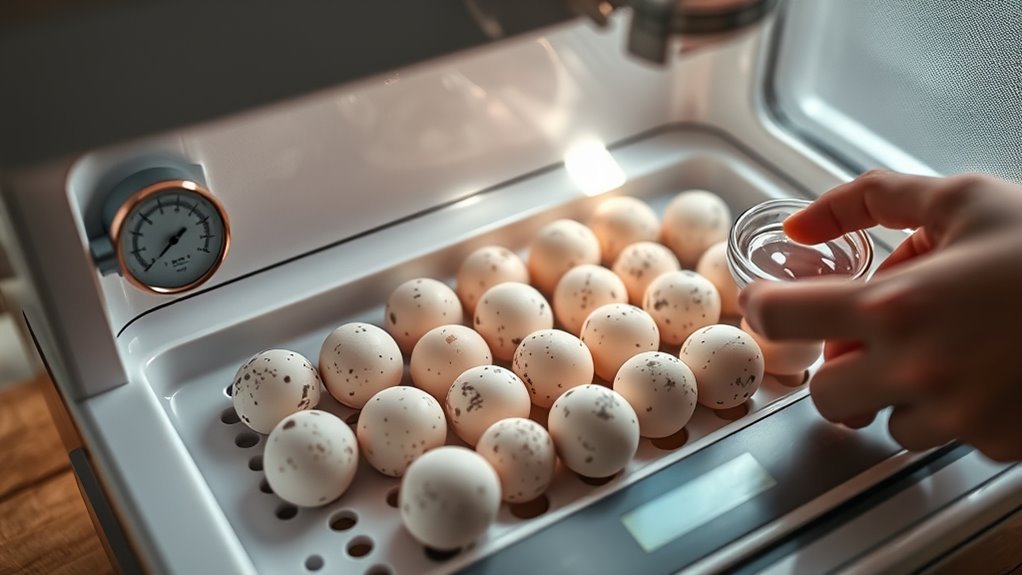
Once your fertile eggs are selected, you’ll need to prepare your incubator to provide a stable, controlled environment. Start by cleaning the incubator thoroughly with a 10% bleach solution and rinsing it well to prevent contamination.
Next, calibrate the thermometer and hygrometer to make sure you get accurate temperature and humidity readings. Then, set up the incubator in a draft-free, steady spot away from direct sunlight or any temperature fluctuations.
Follow these key steps to get your incubator ready:
- Heat the incubator to a steady temperature of about 99.5°F before placing eggs inside.
- Fill the water channels with room temperature water to maintain humidity around 50-55%.
- Double-check that the setup is draft-free and stable to avoid any temperature swings.
Set Eggs Properly on Day One
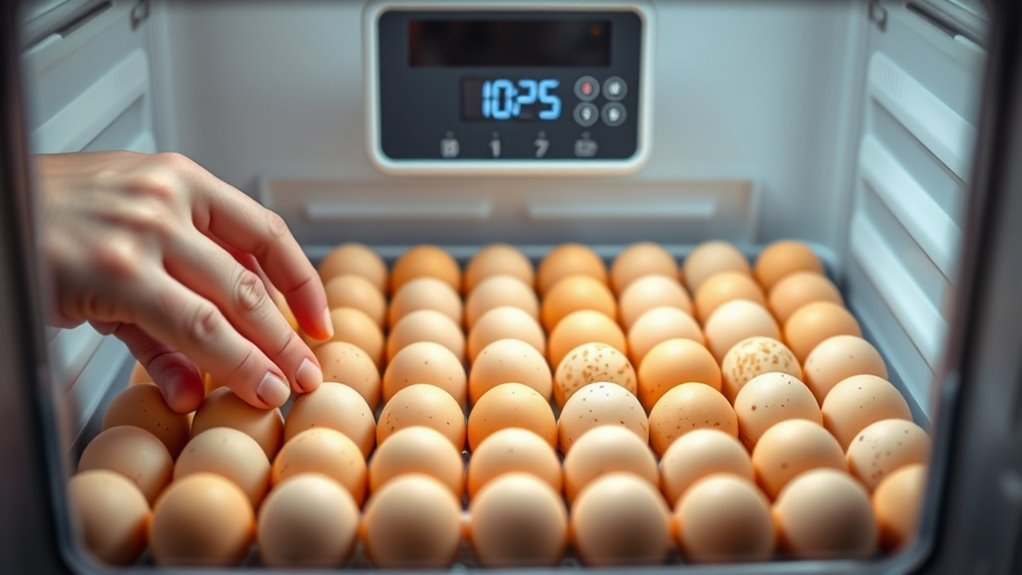
Although setting eggs properly on day one might seem straightforward, it’s vital for guaranteeing healthy embryo development. When you set eggs in the incubator, always place them with the larger end facing up for proper positioning.
This helps the embryo develop correctly by keeping the air sac in the right spot. Handle eggs gently with clean, dry hands or gloves to avoid contamination and protect the eggs’ natural bloom.
Maintain a stable temperature around 100.5°F and humidity between 50-55% to create the ideal environment for growth. Before placing eggs, mark them with a pencil to track their position and ensure consistent monitoring.
Turn Eggs Regularly During Incubation
You need to turn your eggs regularly to keep the embryos from sticking to the shell and to guarantee even heat distribution. Aim to turn them at least three times a day, or follow your automatic turner’s instructions for ideal frequency.
Proper turning is a simple but vital step for healthy embryo development. It really makes a big difference in the outcome. So, don’t skip it!
Importance Of Egg Turning
Because embryos can stick to the shell membrane without regular movement, you need to turn your eggs at least three times daily during incubation.
Egg turning in your incubator is vital to prevent embryo sticking and guarantee even heat distribution. This promotes proper development of the developing embryo and boosts your hatch rate.
Here’s why consistent turning matters:
- It mimics a hen’s natural behavior, encouraging healthy growth throughout the incubation process.
- It prevents the embryo from adhering to the shell membrane, which can be fatal.
- It ensures the developing embryo receives uniform warmth, supporting balanced growth.
Using an automatic egg turner can simplify this task by providing consistent turning without manual effort.
Optimal Turning Frequency
When turning chicken eggs during incubation, maintaining a regular schedule is vital for healthy embryo development. You should turn eggs at least three times daily from day 1 to 18 to guarantee even heat and nutrient distribution.
Increasing the turning frequency to five times daily can further prevent the embryo from sticking to the shell. If you’re using an automated incubator, it will handle turning every few hours, closely mimicking a hen’s natural behavior.
Candle Eggs to Check Embryo Development
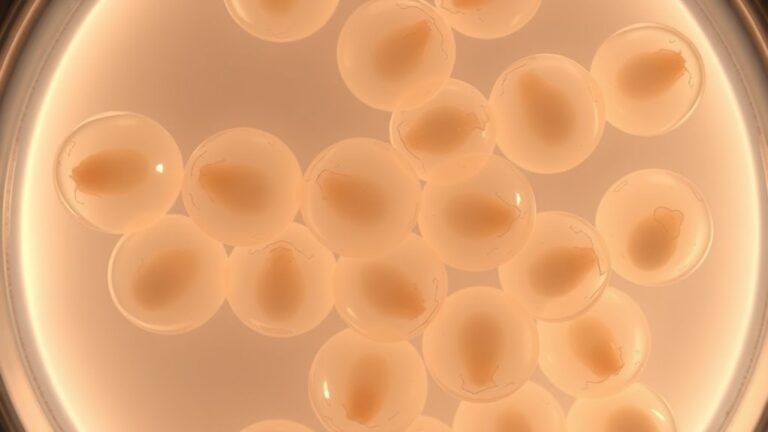
Although it might seem delicate, candling your eggs between days 7 and 10 of incubation gives you a clear view of the embryo’s progress inside the shell.
To candle effectively, use a bright, focused light in a dark room. This lets you check embryo development and viability without disturbing the incubator environment.
When candling, look for:
- Blood vessels spreading inside the shell, indicating healthy growth.
- Embryo movement, a sign the chick is alive and developing.
- Absence of blood rings or dark spots, which suggest embryo death.
Handle the eggs gently to avoid damage. Candling helps you identify which eggs are on track to hatch.
That way, you can remove the non-viable ones and focus on healthy embryos.
Maintain Temperature and Humidity Throughout Incubation
To guarantee your eggs develop properly, you need to maintain a steady temperature of about 99.5°F (37.5°C) and carefully control humidity levels throughout incubation. Use a calibrated thermometer to monitor the temperature inside your incubator daily, adjusting as needed to keep it consistent.
For humidity, keep levels between 50-55% for days 1-17, then increase to around 70% from days 18-21. Regularly check a hygrometer to monitor humidity, adding or removing water from the incubator’s water channels to maintain proper moisture levels.
Try to avoid opening the incubator frequently, as this causes fluctuations in temperature and humidity, which can harm embryo development. By carefully monitoring and adjusting both temperature and humidity, you secure ideal conditions for a successful hatch.
Stop Turning and Increase Humidity for Lockdown
Around day 18, you’ll stop turning the eggs to let the embryos settle into the right position for hatching. This marks the start of lockdown, which is a critical phase in the hatching process.
To improve hatch rate, you need to:
- Cease turning the eggs and switch off automatic turners so you don’t disturb the embryo.
- Increase humidity in the incubator to at least 70%. This softens the eggshell, making it easier for chicks to break through.
- Keep ventilation vents fully open to maintain proper airflow and oxygen exchange. This is essential for healthy development.
Try to avoid opening the incubator during lockdown. Keeping temperature and humidity stable is super important.
Following these steps gives the embryo the best chance to hatch successfully without any complications.
Identify Signs of Imminent Hatching
When you start hearing faint peeping sounds from the eggs, it’s a clear sign that the chicks are moving and getting ready to hatch. Listen closely for increased chirping inside the eggs—these hatching signs indicate the chicks’ growing activity and hatching readiness.
Check for small cracks or pips near the air sac, where external pipping usually begins. This is when the chick pecks through the shell, marking the start of the zipping process.
During zipping, the chick carefully pecks a circular opening, which can take several hours. Observing chick movement and these external changes signals that hatching is imminent.
Avoid Interfering With Hatching Chicks
Although it’s tempting to help, you should never open the incubator or assist chicks during the last three days of incubation. Interfering during hatching can cause serious injury or delay, increasing stress for the chicks.
Resist the urge to intervene in the final days; it ensures safer, less stressful hatching for chicks.
To guarantee a successful hatch, follow these guidelines:
- Avoid opening the incubator to maintain stable temperature and humidity—disturbance can halt the hatch process.
- Don’t assist chicks struggling to break the shell; premature help may cause bleeding or shell attachment issues.
- Let chicks fully zip and hatch naturally; removing them early risks injury and stress.
Transfer Chicks to a Warm, Safe Brooder
Before moving your chicks, make sure the brooder is warm, set between 90-95°F, and ready with fresh water and chick starter feed. Handle the chicks gently once they’re dry and fluffy to keep them safe and comfortable.
Place the brooder in a quiet, draft-free spot with good ventilation to create the best environment for their growth. This way, your little chicks will feel cozy and secure as they start to grow.
Brooder Temperature Setup
As soon as your chicks hatch, you’ll want to transfer them to a brooder set between 90 and 95°F. This keeps them warm and comfortable during their first weeks. Use a reliable heat source like a heat lamp or brooder plate, and don’t forget to place a thermometer inside to monitor the temperature closely.
It’s super important to adjust the heat as the hatchlings grow.
Follow these steps to regulate the brooder temperature effectively:
- Set the initial brooder temperature at 90-95°F. Make sure there’s enough space for the hatchlings to move closer or farther from the heat source.
- Use a thermometer to check the temperature regularly. Then, adjust the heat source accordingly.
- Gradually decrease the temperature by 5°F each week. This helps the chicks get used to cooler conditions.
Doing all this ensures your chicks stay warm and healthy.
Provide Food And Water
Once you transfer your newly hatched chicks to a brooder set at 90-95°F, it’s vital to supply them with fresh food and water right away to support their rapid growth and keep them hydrated. Offer chick starter feed immediately to meet their nutritional needs and encourage feeding.
Provide clean, shallow water dishes to prevent drowning and promote easy drinking. During transfer, dip each chick’s beak into the water to teach them where to find hydration.
Keep a close eye on their moisture and food consumption, refilling dishes regularly to guarantee continuous access. Proper feeding and hydration at this stage are critical to helping your chicks thrive and develop healthily in their new environment.
Ensure Safety And Comfort
Transfer your newly hatched chicks to a brooder set between 90 and 95°F within 48 hours to keep them warm and comfortable. To guarantee their safety and comfort, follow these key steps:
First, secure the brooder in a quiet, draft-free area. This helps minimize stress and keeps the temperature and humidity stable.
Next, protect your chicks from hazards by removing any sharp edges. Also, make sure the brooder is predator-proof to keep them safe.
Finally, provide a soft, non-slip surface like paper towels or straw. This cushions their legs and helps prevent injuries.
Frequently Asked Questions
How to Hatch Eggs in an Incubator Step by Step?
You’ll set your incubator to 99.5°F, keep humidity at 50-55%, turn eggs several times daily until day 18, then increase humidity, stop turning, and wait for chicks to hatch naturally around days 19-21.
How Long Do You Leave Eggs in the Incubator After 21 Days?
You leave eggs in the incubator up to 23 days after day 21 since some chicks hatch late. Don’t open it immediately; give them time to hatch naturally and avoid disturbing unless you see clear signs of trouble.
What Should You Not Do When Hatching Eggs?
Don’t open the incubator or turn eggs after day 18; you risk harming the hatch. Instead of helping chicks break shells, let nature do its work, and avoid handling eggs too much to guarantee success.
How to Hatch a Chicken Egg for Beginners?
You’ll keep eggs at 99.5°F, maintain 50-55% humidity, turn them regularly, then stop turning on day 18 and raise humidity to 70%. Let chicks hatch naturally, then dry them in the incubator before moving to a brooder.
Conclusion
You might think hatching chicken eggs is all about precise timing and temperature, but it’s also about patience and a little bit of luck. Just when you’re ready to give up, you’ll notice those tiny cracks and hear the peeping sounds that make every step worthwhile.
By following these ten essential steps, you’re not just incubating eggs—you’re welcoming new life. And who knows? That perfect little chick might be waiting just around the corner.
Hatching chicken eggs in an incubator takes dedication, but it’s incredibly rewarding. With the right temperature, humidity, and care, you increase your chances of success. So stick with it, keep an eye on those eggs, and enjoy the miracle of life unfolding before you.