How to Dye Eggs With Gel Food Coloring in 7 Easy Steps
To dye eggs with gel food coloring, start by hard-boiling and cooling your eggs completely. This step is key to getting that perfect, vibrant color.
Next, gather all your supplies like gel colors, cups, vinegar, and gloves so you’re ready to go.
Mix a few drops of gel color with warm water and vinegar to create your dye baths. The vinegar helps the color stick better, making those eggs look amazing.
Dip your eggs for anywhere from 5 seconds to 2 minutes depending on how deep you want the shade to be.
Once dyed, let the eggs dry on a rack to avoid smudging.
For an extra touch, add some edible shimmer once they’re dry to make them sparkle.
When you’re done, store your eggs carefully to keep those colors bright and vibrant.
Keep going for more tips on creative designs and how to care for your beautiful dyed eggs!
Key Takeaways
- Hard-boil eggs, cool in ice water, and dry thoroughly before dyeing to ensure even color absorption.
- Prepare dye baths with 3/4 cup warm water, 3-5 drops gel food coloring, and 1 tablespoon white vinegar.
- Submerge eggs in dye for 5 seconds to 2 minutes, adjusting for desired pastel or vibrant shades.
- Use tongs to remove eggs, let excess dye drip off, and place on a drying rack to dry completely.
- Optionally, apply edible shimmer with a fine brush after drying for a decorative finish and let it dry fully.
How to Hard-Boil Eggs for Dyeing
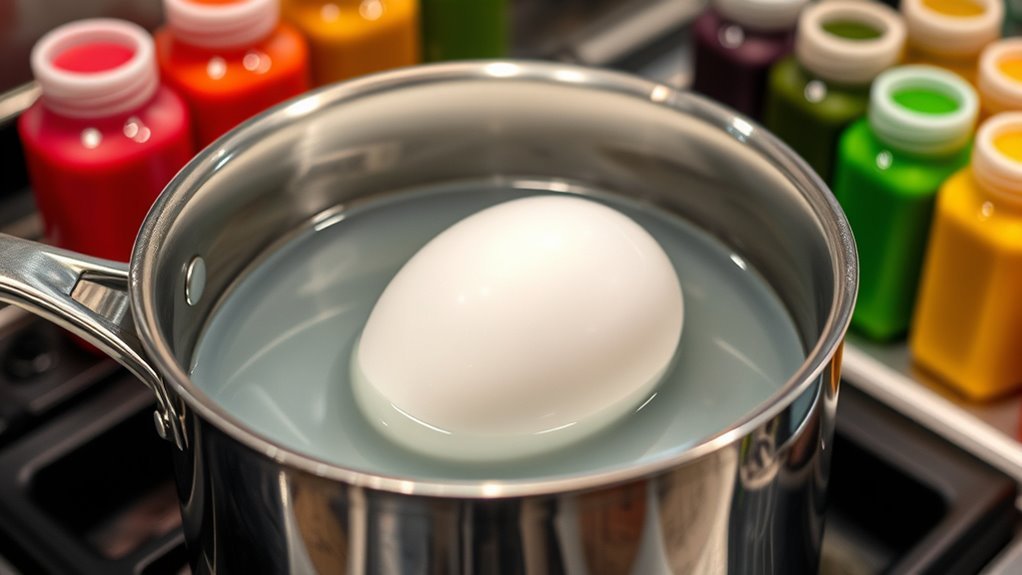
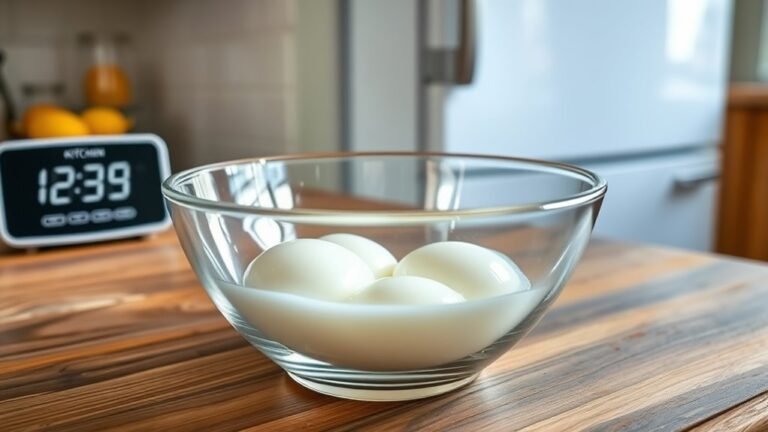
Before you start dyeing, you need to hard-boil your eggs properly. Place your eggs in a single layer at the bottom of a saucepan and cover them with cold water, about an inch above the eggs.
Start by hard-boiling eggs in cold water, fully covered, to prepare for dyeing.
Bring the water to a rolling boil over medium-high heat, then turn off the heat and cover the pan. Let the eggs sit in the hot water for 9-12 minutes, depending on size, to cook thoroughly.
Right after, transfer the eggs to a bowl of ice water to stop cooking and make peeling easier. Let them cool for at least 10 minutes.
Once dry on a paper towel, your eggs are ready for gel food coloring. By the way, last year, adding a splash of white vinegar to the dye really helped the Easter eggs hold vibrant color when you dye eggs.
Get Your Supplies Ready for Gel Food Coloring
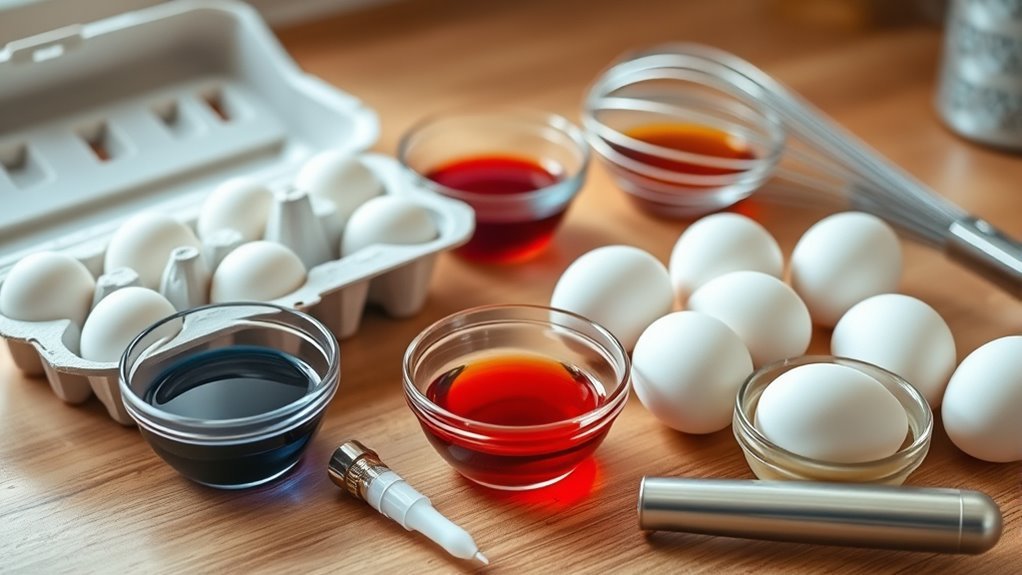
Before you start dyeing, gather your essential supplies like cups for each color, gel food coloring, white vinegar, and warm water.
Set up your workspace with everything within reach to stay organized and efficient.
Choosing quality gel colors will make a big difference in achieving vibrant, long-lasting results.
It’s worth taking a little extra time now to make sure you have everything ready. You’ll thank yourself later!
Essential Dyeing Ingredients
When you’re ready to dye your eggs with gel food coloring, gather warm water, gel food coloring, white vinegar, and food-safe rubber gloves to get started. Warm water acts as the perfect base for dissolving the gel food coloring, helping you achieve vibrant, bold colors.
Add 3-5 drops of gel food coloring per cup of warm water, then mix in 1 tablespoon of white vinegar to guarantee the dye sticks well to your eggs. Prepare several cups with different colors, stirring each until the gel is fully dissolved before soaking your eggs.
Wearing food-safe rubber gloves protects your hands from stains and keeps your process clean. This way, the dyeing experience stays both fun and mess-free. Easy, right?
Preparing Your Workstation
As you get ready to dye your eggs, set up your workstation by arranging all your supplies within easy reach. Start by gathering cups or bowls, filling each with 3/4 cup of warm water for the dye baths.
Add 3-5 drops of gel food coloring to each container, then stir until fully dissolved. Mix in 1 tablespoon of white vinegar per dye bath to help the color set better.
Lay out a drying rack and place a thick paper towel underneath to catch drips and protect your surfaces. Don’t forget to organize gloves, spoons, and eggs nearby, so you can easily access everything during the dyeing process.
This setup guarantees a smooth, mess-free experience as you bring your colorful eggs to life. Easy, right?
Selecting Quality Gel Colors
Although selecting gel food colors might seem straightforward, choosing high-quality, fresh gels from trusted brands like Wilton, AmeriColor, or Chefmaster makes a huge difference in achieving vibrant, even hues on your eggs.
Make certain your gels aren’t dried out, as older colors can cause dull or patchy results. Prepare a variety of shades ahead of time, including primary colors and blends, so you have plenty of options.
Store your gels in small, clean, airtight containers to keep them fresh and prevent contamination. Before dyeing your eggs, test each color on a scrap piece of egg or paper to check the shade and intensity.
This way, you’ll know your final colors turn out exactly how you want them. It makes your egg decorating both fun and successful!
Prepare Gel Food Coloring Dye Baths
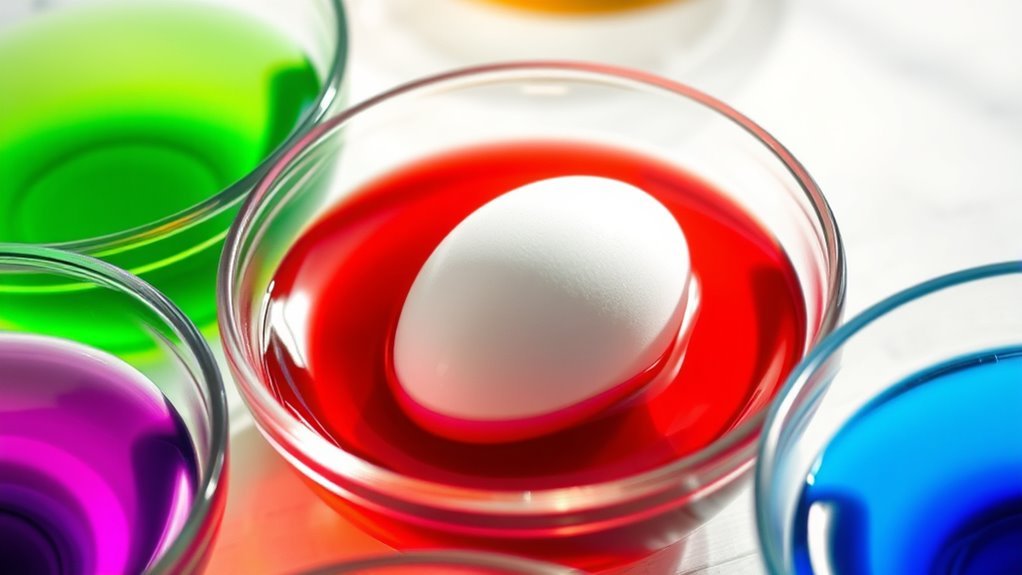
Start by mixing a few drops of gel food coloring with hot water and a tablespoon of white vinegar to create your dye bath. Make sure to stir well so the color is evenly blended.
Do this for each color you want to use. Setting up multiple dye baths will give you those vibrant results you’re after.
Selecting Dye Ingredients
How do you achieve vibrant, even colors when dyeing eggs with gel food coloring? Start by selecting the right ingredients for your dye baths. Use 3-5 drops of gel food coloring per cup of warm water.
Add 1 tablespoon of white vinegar to help the color set on the eggs. Make sure to mix each dye bath thoroughly until the gel dissolves completely. Prepare separate cups with different gel colors to create a variety of shades.
Keep the dye baths at a consistent temperature for the best results. Here’s a quick guide to help you select your dye ingredients:
| Ingredient | Amount per Cup | Purpose |
|---|---|---|
| Gel Food Coloring | 3-5 drops | Provides vibrant color |
| Warm Water | 1 cup | Base for the dye bath |
| White Vinegar | 1 tablespoon | Sets color on the eggs |
Mixing Color Solutions
Wondering how to create the perfect dye baths for your eggs? Start by combining 3/4 cup of hot water with 3 to 5 drops of gel food coloring in a small cup or bowl.
Add 1 tablespoon of white vinegar to each mixture—this helps the color stick better to the eggshells. Stir thoroughly until the gel coloring fully dissolves and the solution looks even.
Make sure to mix well using a spoon or stir stick right before you dip your eggs. This keeps the color consistent. Preparing each dye bath this way ensures vibrant, evenly colored eggs.
Taking these simple steps sets you up for a smooth dyeing process with rich, lasting colors. It’s easier than you think!
Preparing Multiple Colors
When you prepare multiple colors for your egg dyeing project, fill each cup with about 3/4 cup of warm water. Then, add 3 to 5 drops of gel food coloring depending on how vibrant you want the hues.
Stir each cup thoroughly until the gel dissolves completely. After that, add 1 tablespoon of white vinegar to every dye bath to help the color set better on the eggshells.
Set up several cups with different colors ahead of time to keep your workspace organized. This makes the dyeing process smooth and easy.
That way, you can quickly dip eggs into various colors without waiting or accidentally mixing colors. Preparing your dye baths like this ensures vibrant, evenly colored eggs and a fun, efficient dyeing experience.
Dip and Soak Eggs for Vibrant Colors
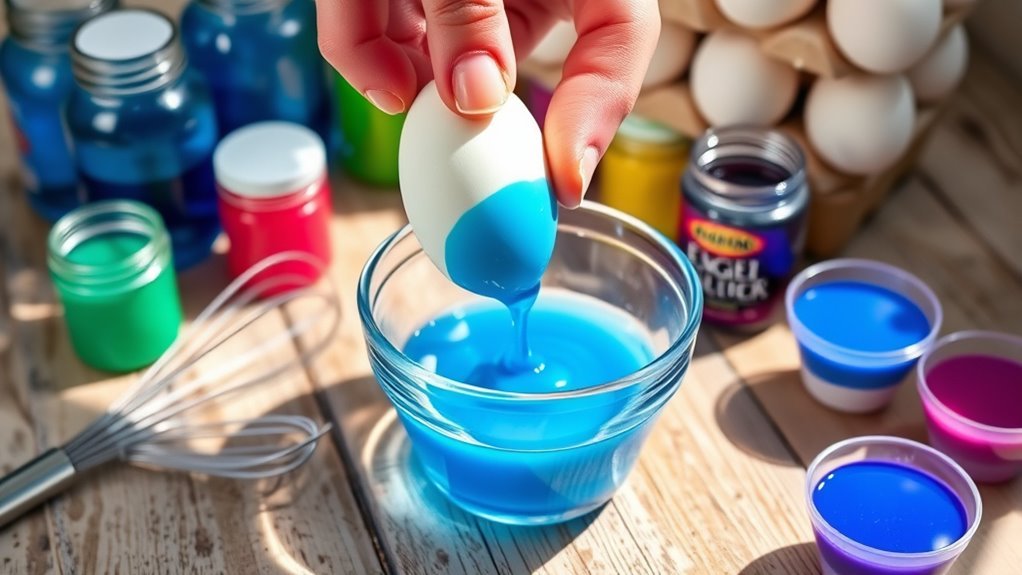
Although dipping eggs in gel food coloring may seem straightforward, the timing and technique you use greatly affect the vibrancy of your colors. Dip your hard-boiled eggs into the gel mixture for about 5 seconds for a soft pastel shade or 1 to 2 minutes if you want a more vibrant hue.
Make certain the eggs are fully submerged to coat them evenly. Use a slotted spoon or tongs to lift the eggs gently, preventing smudges. Let excess dye drip off before placing the eggs on a drying rack or paper towel.
For consistent results, soak the eggs repeatedly in shorter intervals, adjusting dipping time based on how intense you want the colors to be. This method ensures vibrant, even coloring every time.
Dry and Handle Gel Food Colored Eggs
Since gel food coloring can easily smudge while still wet, you should let your dyed eggs dry completely on a paper towel or drying rack before handling them. Wait at least 30 minutes to an hour to confirm the colors are set and the eggs are thoroughly dry.
When handling, wear food-safe gloves to prevent staining your hands with vibrant gel colors. Be gentle with the eggs, as they become more fragile once dry and can crack or break easily.
After drying, carefully store your eggs in an egg carton or on a protected surface to keep their colors vivid and avoid any smearing. Taking these steps will help you preserve your beautifully dyed eggs until you’re ready to display or use them.
Add Edible Shimmer for a Fancy Finish
To give your dyed eggs an elegant, sparkling finish, you can add edible shimmer paint that catches the light beautifully. Start by mixing 1/4 to 1/2 teaspoon of edible shimmer color with clear vanilla extract, vinegar, or alcohol until you get a paint-like consistency.
Enhance your dyed eggs with edible shimmer paint for a dazzling, light-catching finish.
Add one drop at a time to reach your preferred shimmer intensity. Use a fine brush or small sponge to gently apply the shimmer onto your dried, dyed eggs.
Let the shimmer paint dry completely before handling to avoid smudging. This simple step enhances your eggs with a festive glow that highlights their vibrant colors.
- Mix edible shimmer with a clear liquid for paint consistency
- Add shimmer gradually for desired sparkle
- Apply with fine brush or sponge
- Let shimmer dry fully before touching
- Enjoy a sparkling, festive egg finish
Store and Display Your Beautifully Dyed Eggs
After adding a shimmering finish, you’ll want to make certain your beautifully dyed eggs stay vibrant and intact. First, let them dry completely to prevent smudging or color transfer.
Store your eggs in the refrigerator, ideally in their original cartons or an egg box to keep them fresh and safe from breakage. Placing a paper towel underneath helps absorb moisture and prevents slipping or cracking.
When handling, use gloves or a soft cloth to avoid smearing the dye. For display, arrange the eggs in a decorative bowl or on a platter. This helps highlight their vivid colors while protecting them.
Following these steps ensures your stunning, gel-colored eggs remain a cheerful centerpiece for days to come.
Frequently Asked Questions
How to Dye Eggs With Gel Food Coloring?
You’ll mix gel food coloring with warm water and vinegar, then fully dissolve it. Submerge hard-boiled eggs for about five minutes, remove them carefully, and let them dry. You’ll get vibrant, colorful eggs ready to display.
What Is the Easiest Way to Dye Eggs?
You can dye eggs in just 15 seconds using gel food coloring and vinegar for vibrant colors. Mix them with warm water, dip your eggs, and let them dry—it’s quick, easy, and perfect for any skill level.
How to Get Food Coloring to Stick to Eggs?
You get food coloring to stick by first wiping the eggs with vinegar, then fully dissolving gel color in warm water. Dip dry eggs for about 5 minutes, and gently blot off excess dye to prevent smudging.
Can I Color Eggs With Just Food Coloring?
Yes, you can color eggs with just food coloring. Mix it with warm water and vinegar, then soak your eggs. This method gives you vibrant, customizable colors without needing extra dyes or supplies.
Conclusion
Now that you’ve transformed plain eggs into vibrant works of art with gel food coloring, you’re holding little jewels of spring in your hands. Just like a painter’s final brushstroke, your careful dipping and drying bring these eggs to life with color that sings.
Whether you add shimmer or keep them simple, your beautifully dyed eggs are ready to brighten any celebration. So, store them safely and let their hues tell your colorful story.
Using gel food coloring to dye eggs is such a fun and creative way to celebrate the season. These bright, vibrant colors last longer and look more vivid than traditional dyes. Plus, the process is simple and perfect for families or anyone who loves a hands-on craft.
So go ahead, show off your gorgeous gel food coloring dyed eggs at your next gathering and enjoy the springtime joy they bring!