How to Color Eggs Using Food Coloring in 10 Easy Steps
Start by picking large, fresh, smooth white eggs—they work best for vibrant colors. Hard-boil them, then let them sit for 12-15 minutes after boiling to make sure they’re fully cooked.
Next, cool the eggs quickly in ice water to stop the cooking process and make them easier to handle.
Meanwhile, prepare your dye by mixing hot water, vinegar, and food coloring in separate cups.
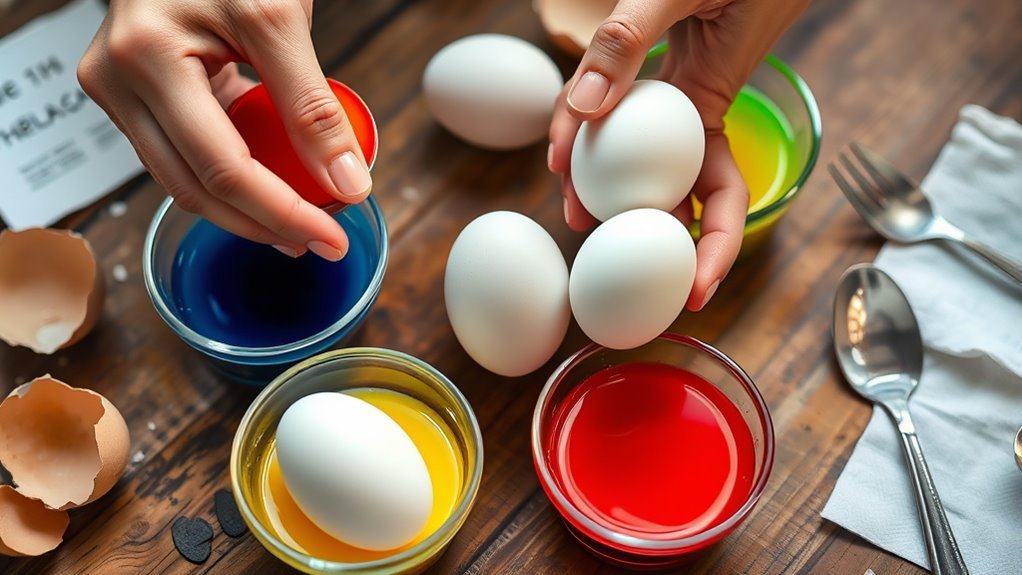
Dip each egg fully in the dye, rotating it gently to ensure even coverage. For bright, beautiful hues, soak the eggs for about 8-10 minutes.
If you want to get creative, use rubber bands or stickers to create fun patterns before dyeing.
Once done, let the eggs air dry carefully so the colors don’t smudge.
Keep experimenting with these simple steps to master egg dyeing and try out new designs or troubleshoot any issues along the way!
Key Takeaways
- Hard-boil fresh, large white eggs and cool them quickly. This helps ensure smooth, crack-free shells, which is key for vibrant dye absorption.
- Mix 2 tablespoons vinegar with 1 cup hot water. Then, add your food coloring to create bright, evenly distributed dye solutions.
- Fully submerge the eggs in the dye for 8-10 minutes. Gently rotate them to get consistent, saturated color coverage all around.
- Try using resist techniques like rubber bands or stickers to create cool patterns before you dye the eggs. It’s a fun way to make creative designs!
- Once dyed, air dry the eggs on racks for about 30 minutes. Handle them carefully, and store them in the refrigerator for up to 3 days.
Choose the Best Eggs for Dyeing
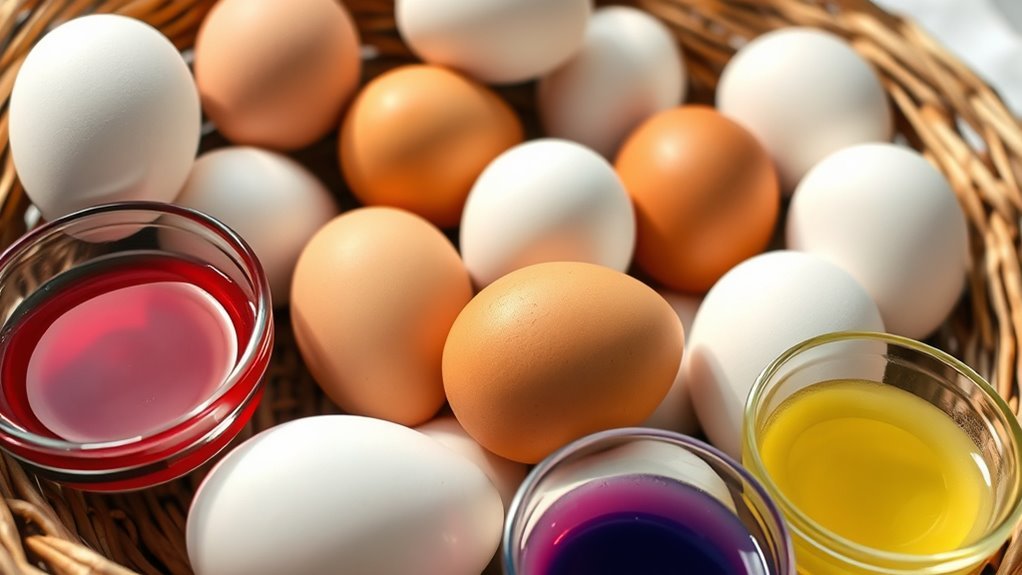
Before you start dyeing, choose large, fresh, hard-boiled eggs that have fully cooled. This helps prevent cracking and guarantees even color absorption.
Select large, fresh, fully cooled hard-boiled eggs to prevent cracks and ensure vibrant, even dyeing.
Opt for fresh eggs because they maintain better quality and are less likely to have preservatives that mess with the dyeing process. Also, make sure the eggs have clean shells without any cracks or blemishes. Smooth shells are key for vibrant, consistent colors.
You can use brown eggs, but keep in mind their shells usually produce darker, more muted hues compared to white eggs. Try to avoid eggs that are close to their expiration date to prevent any spoilage during dyeing.
Picking eggs with the right shell smoothness and integrity means your dye will stick evenly. That way, you’ll end up with beautifully colored eggs every time!
How to Hard-Boil Eggs for Dyeing
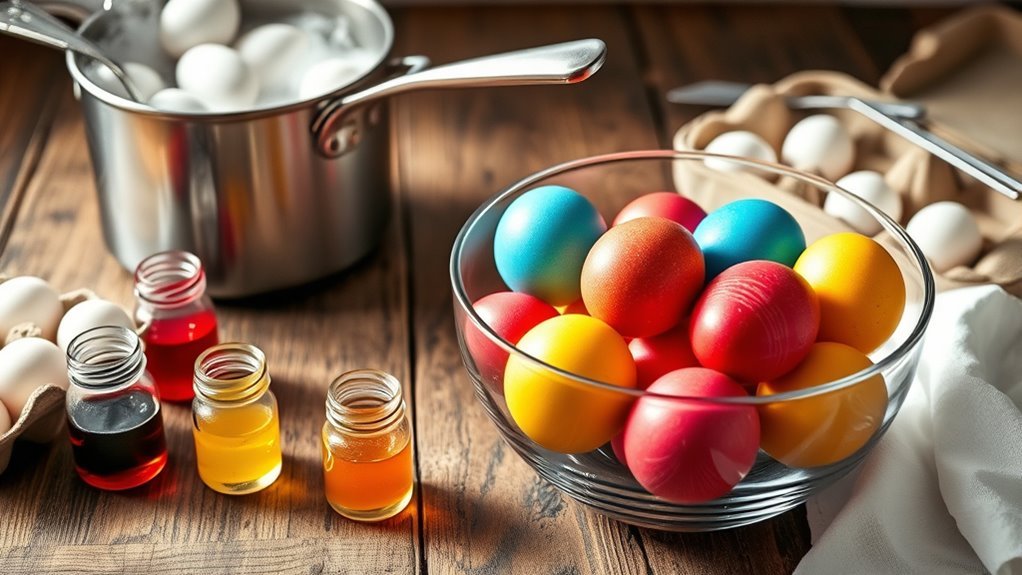
You’ll want to start with fresh eggs and place them in cold water, making sure they’re fully covered. Once the water reaches a rolling boil, turn off the heat and let the eggs sit covered for 12-15 minutes to cook through.
After that, cool them quickly under cold water to stop the cooking and get them ready for dyeing. This helps make peeling easier too!
Choosing The Right Eggs
When preparing eggs for dyeing, start by placing them in a saucepan and covering them with cold water. Make sure the water level is about an inch above the eggs.
Choosing white eggs is ideal since they showcase vibrant colors better than brown eggs. Once hard-boiled, cool your eggs quickly under cold running water or an ice bath to stop cooking and make handling easier.
Use a cooling rack or an egg carton to dry them. This helps prevent cracking and ensures even coloring during the dyeing process.
Proper cooling and drying are key to avoiding cracks that can ruin your designs. Selecting fresh, uncracked eggs and following these steps will give you a smooth surface, perfect for bright, uniform colors.
Boiling Techniques Explained
How do you achieve perfectly hard-boiled eggs that are ideal for dyeing? Start by placing your eggs in a saucepan and covering them with cold water, making sure the eggs are submerged by at least an inch.
Bring the water to a rolling boil over medium-high heat, which usually takes about 10 minutes. Once boiling, turn off the heat, cover the saucepan, and let the eggs sit for 12-15 minutes to cook thoroughly.
This method ensures the eggs cook evenly without overcooking. Avoid boiling for too long to prevent rubbery whites and green yolks.
Following this technique prepares your eggs perfectly for vibrant dyeing. Remember, proper boiling is the key to eggs that hold their shape and color beautifully during the coloring process.
Cooling And Handling Tips
Although the eggs are perfectly cooked, stopping the cooking process immediately is crucial to prevent overcooking and guarantee a smooth dyeing experience. Cooling eggs quickly preserves egg shell integrity and makes handling eggs easier.
Follow these steps: Transfer eggs into ice water or rinse under cold running water right after boiling. This rapid cooling halts cooking and prevents cracking from heat stress.
Let eggs rest at room temperature until fully cooled. Sudden temperature changes can cause cracks, so patience here is key.
Use a cooling rack or egg carton to handle eggs gently during and after cooling. This reduces the risk of damage and keeps the shells intact for dyeing.
Prepare Food Coloring Dye Solutions With Vinegar
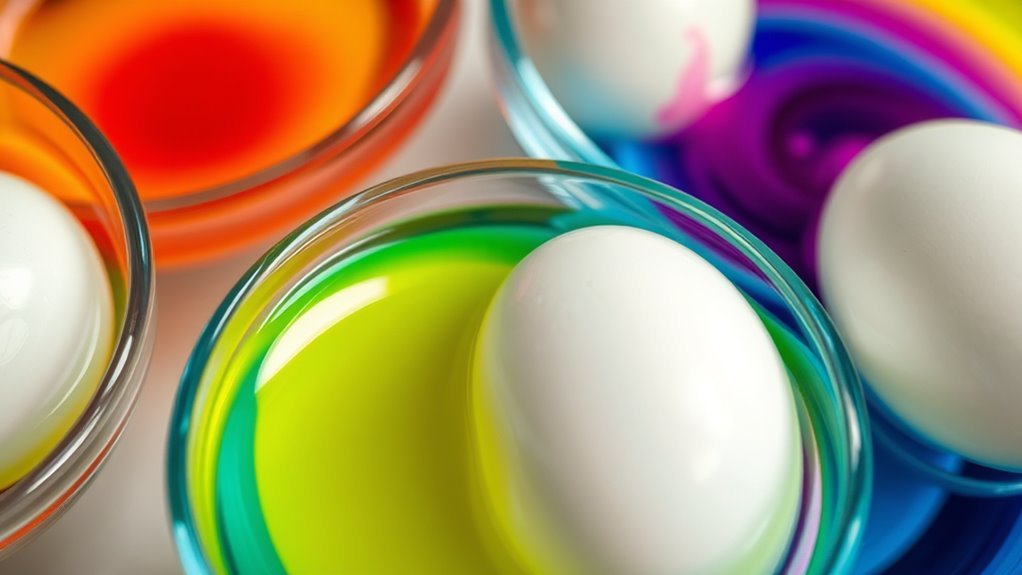
To get vibrant colors that stick well, you’ll mix 2 tablespoons of white vinegar into each cup of hot water before adding your food coloring. Start with small amounts of dye—like ¼ teaspoon of gel or ¾ teaspoon of liquid—and adjust to find the perfect shade.
Make sure to stir the solution thoroughly. Also, prepare enough to fully cover your eggs for even coloring. This way, the colors come out bright and consistent every time.
Vinegar Role Explained
When you add vinegar to your dye solution, its acidity helps the food coloring stick better to the eggshells by breaking down their surface. This allows vibrant colors to develop more effectively.
The acetic acid in vinegar improves dye adherence, ensuring the color penetrates the eggshells evenly.
Here’s why vinegar matters:
- Vinegar’s acidity breaks down the eggshell surface, allowing dye molecules to bind firmly.
- It enhances color vibrancy, preventing dull or faded hues over time.
- The right amount—1 to 2 tablespoons per ¾ cup of water—creates an optimal dye bath for rich, even coloring.
Using vinegar in your dye mixture guarantees brighter, longer-lasting colors and smooth coverage on your eggshells every time. It really makes a noticeable difference!
Color Mixing Tips
Since vinegar helps food coloring stick better, you’ll want to prepare your dye solutions by mixing 2 tablespoons of white vinegar into each cup of hot water. For effective color mixing, add drops of gel or liquid food coloring to this solution.
Start with about ¼ teaspoon for pastel shades, then increase the amount to achieve vibrant colors. Stir the dye solution thoroughly to distribute color evenly before dipping your eggs.
You can adjust shade intensity by varying the number of drops, giving you control over the final hue. To keep colors clean and precise, use separate containers for each dye solution.
This method guarantees the food coloring adheres well and helps you create beautifully colored eggs with customized, vivid shades every time.
Dye Solution Ratios
Now that you know how to mix colors effectively, it’s important to get the dye solution ratios right to achieve consistent results. Proper dye solution ratios guarantee vibrant color intensity and even coverage.
Here’s how to prepare your dye mixture:
- Combine ¾ cup of hot water with 2 tablespoons of white vinegar in a small bowl to create each dye solution.
- Add ¾ teaspoon of liquid food coloring to the mixture for a balanced food coloring concentration. Stir thoroughly to distribute the dye evenly.
- Adjust the food coloring concentration by adding more liquid food coloring if you want deeper, more intense colors.
Using these precise dye solution ratios will help you achieve beautiful, consistent colors every time you dip your eggs.
Dip Eggs to Achieve Vibrant Colors
Although dipping eggs in food coloring might seem simple, doing it correctly guarantees vibrant, even hues. For dyeing eggs with rich, vibrant colors, fully immersing eggs in a concentrated food coloring solution is essential.
Use gel food coloring for more intense shades, and make sure your dye mixture is strong enough by adding extra coloring. Soaking time plays a vital role—8 to 10 minutes usually yields saturated colors, but if you want deeper hues, you can extend it slightly.
Just be careful; soaking too long may cause dye to bleed or leak. Gently stirring the eggs while they’re submerged helps the color distribute evenly, preventing patchy spots.
Creative Decorating Techniques for Unique Egg Designs
You can create stunning marbled effects by layering dyes or swirling colors on your eggs. Try resist dye methods like using rubber bands or wax to add bold patterns that stand out.
Don’t forget to experiment with textures and patterns by splattering or drip painting for truly unique designs. Give it a go—you might be surprised at the cool effects you can achieve!
Marbled Effects Techniques
When you want to create stunning marbled effects on your eggs, several creative techniques can bring unique textures and patterns to life. Here are three popular dyeing techniques to try:
- Cool Whip swirling: Mix food coloring into whipped cream, then roll your eggs in this mixture. The result is a textured, Earth-like marbled effect.
- Vegetable oil marbling: Soak eggs separately in oil and dye baths. The oil creates swirling patterns as the dye adheres unevenly, giving a natural marbled appearance.
- Cracking shells: Lightly crack eggshells before dyeing. The cracks let colors blend and flow, producing beautiful tie-dye or marbled effects.
Experiment with soaking times and multiple colors to deepen the complexity of these marbled effects for truly unique egg designs.
Resist Dye Methods
Marbled effects offer beautiful, organic patterns by letting colors blend and swirl naturally on eggshells. For unique designs, try resist dye methods.
Apply wax crayon or stickers before dyeing to block color in specific areas. When you dye eggs, the uncovered parts absorb color, revealing striking patterns.
Using wax crayon lets you draw detailed designs that show after dyeing. Stickers or rubber bands create bold geometric or striped patterns once removed.
These resist techniques add creative flair to your dyed eggs.
| Resist Material | Effect on Dyed Eggs |
|---|---|
| Wax Crayon | Detailed, intricate lines |
| Stickers | Clean, sharp patterns |
| Rubber Bands | Striped, geometric shapes |
Texture and Pattern Tips
Although traditional dyeing creates beautiful eggs, adding texture and patterns can really take your designs up a notch. You can try out some simple tools and techniques to get unique effects.
Wrap rubber bands tightly around your eggs before dyeing to create striped or tie-dye patterns. Then, remove them after dipping for crisp lines. Or, you can use stickers as a resist—peel them off later to reveal cool shapes.
Crack the eggshells just a little before dipping to get a stunning marbled effect. The dye seeps into the cracks and adds natural texture that looks amazing.
You might also want to try layered dips by quickly immersing eggs in different colors. Another fun idea is flicking dye with a toothbrush to make splattered patterns for an artistic touch.
Give these tips a go and watch your eggs turn into eye-catching works of art!
How to Dry and Handle Your Dyed Eggs
To keep your dyed eggs looking vibrant and flawless, let them air dry on a wire rack or paper towels for at least 30 minutes. This helps prevent smudging or streaking.
Once they’re dry, handle the eggs carefully with clean, dry hands or use tongs. That way, you avoid transferring oils or moisture that can dull the colors.
Avoid stacking the eggs while drying or storing them to prevent cracking. Using a drying rack is great because it lets air circulate evenly, which speeds up drying and reduces the chance of damage.
If you notice any excess dye on the surface, gently rinse the eggs with cool water before drying them again. By following these steps, you’ll keep your eggs looking their best and avoid smudging, cracking, or other mishaps.
Store Dyed Eggs to Keep Colors Fresh
Once your dyed eggs are completely dry and handled carefully, storing them properly will help keep their colors bright and fresh. To prevent spoilage and color fade, follow these steps:
- Store the eggs in the refrigerator at or below 40°F to maintain freshness and slow bacterial growth.
- Cover the eggs by placing them in a covered container or egg carton; this prevents the colors from fading and stops odors from transferring.
- Avoid exposing the eggs to direct sunlight or heat, as this can cause colors to fade or run.
Remember to consume your dyed eggs within 1 to 3 days for the best appearance and safety. If you display them at room temperature, try to limit this to just a few hours to keep them fresh and vibrant.
Add Shine and Finishing Touches to Your Eggs
When your dyed eggs are completely dry, adding a touch of shine can really make their colors pop. It also gives them a polished, professional look.
Start by rubbing a small amount of edible oil onto each egg with a soft cloth. This helps enhance their shiny appearance. For extra protection and a lasting glossy finish, you can apply a clear coat of food-safe glaze.
If you want to add some sparkle, dust edible glitter lightly over the eggs after polishing. It’s an easy way to make them stand out even more. Here’s a quick guide to finishing touches:
| Method | Effect | Tips |
|---|---|---|
| Edible Oil | Shiny appearance | Use sparingly, buff with cloth |
| Food-safe Glaze | Glossy finish | Protects dye from fading |
| Edible Glitter | Subtle shimmer | Apply lightly for sparkle |
| Cooking Spray | Glossy sealant | Adds professional shine |
Troubleshooting Common Dyeing Problems
Adding shine and finishing touches can make your dyed eggs look stunning, but sometimes the coloring process doesn’t go as planned. If you face issues like uneven coloring or faded hues, here’s how to troubleshoot:
Make certain eggs are fully cooled and drying eggs completely before dyeing helps the dye absorb evenly, preventing uneven coloring. Boost dye concentration by adding more food coloring or soaking eggs longer if colors appear too light or pastel.
Handle eggs gently and avoid sudden temperature changes to prevent cracks during dyeing eggs. Adjust soaking times or try gel food coloring for more consistent results.
For stubborn stains, vinegar or baking soda solutions work well. With these tips, you’ll master dyeing eggs every time.
Tips for Safe and Fun Egg Dyeing With Kids
To keep egg dyeing fun and safe for kids, always let the dye cool completely before they start handling the eggs. Use food-safe, non-toxic food coloring mixed with vinegar to guarantee safety, especially if the eggs will be eaten afterward.
Protect your workspace with newspaper or paper towels to avoid stains, and consider gloves to keep hands clean. Always supervise children closely to prevent accidental ingestion of dye or rough handling of eggs.
Encourage creativity by letting kids experiment with rubber bands or stickers for unique patterns without extra mess. Once dyed, make sure the eggs are fully dry before handling or displaying, which helps prevent smudging and keeps the colors vibrant.
Following these tips keeps the experience safe, fun, and memorable for everyone involved. It’s all about making great memories while staying safe and clean!
Frequently Asked Questions
How to Color Eggs With Just Food Coloring?
You mix hot water, vinegar, and food coloring, then soak hard-boiled eggs for 5-10 minutes. Use tongs to remove them, let dry, and adjust color intensity by changing soak time or coloring drops.
How Do You Dye Eggs Easy?
You can dye eggs easily by soaking them in a quick mix of hot water, vinegar, and food coloring for about 5-10 minutes. Did you know over 80 million eggs get dyed each Easter in the U.S.?
Do You Use Straight Vinegar to Dye Eggs?
You don’t use straight vinegar to dye eggs. Instead, mix 1-2 tablespoons of vinegar per cup of water to help the color stick better. Too much vinegar can damage the shell or affect dye absorption.
How Long to Dye Eggs With Food Coloring?
You should dye eggs for 5 to 10 minutes to get vibrant colors. If you want softer pastel shades, soak them 3 to 5 minutes. For deeper hues, leave them up to 15 minutes, but watch closely.
Conclusion
Who knew coloring eggs could turn into such a colorful adventure? You started with plain old eggs, but now you’ve got a basket of vibrant masterpieces—no paintbrush required.
Sure, a few drips and smudges might’ve happened, but hey, that’s part of the fun, right? Remember, even the messiest dye jobs make the best memories.
So go ahead, embrace the chaos, and keep those eggs looking egg-cellent! Coloring eggs with food coloring is not just easy but also a fun way to get creative with your Easter or spring celebrations. Whether you’re a kid or just a kid at heart, this simple process makes egg decorating a joyful, memorable experience.