How to Hard Boil Eggs in an Oven in 7 Easy Steps
To hard boil eggs in the oven, start by preheating it to 325°F (163°C). This method is a great alternative to boiling eggs on the stove and is super easy to do. Plus, it helps prevent eggs from cracking during cooking.
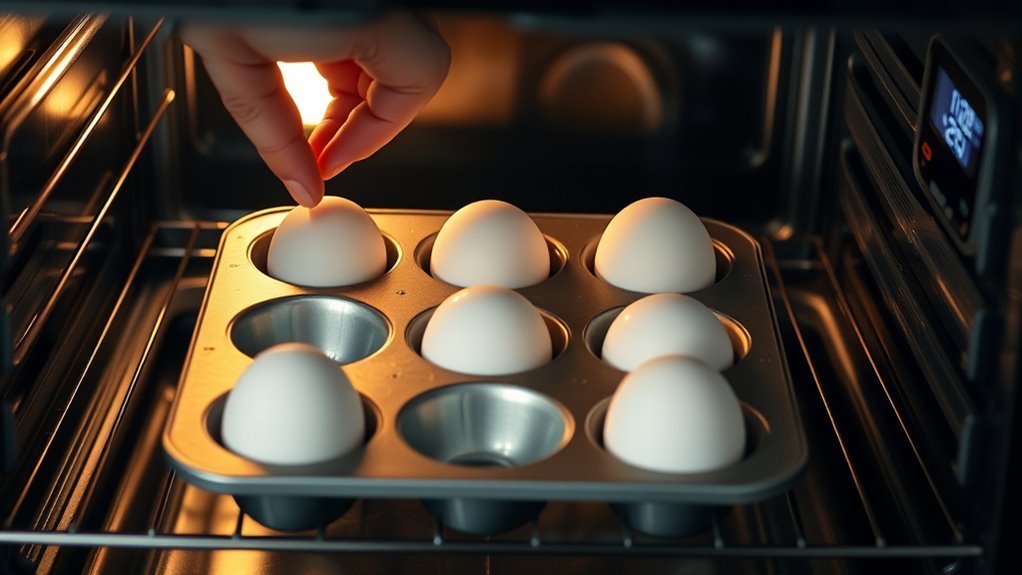
Next, arrange cold or room-temperature eggs in a single layer inside muffin tins or silicone cups. This keeps them from rolling around and cracking while baking.
Pop them in the oven and bake for 20–28 minutes, depending on how firm you want the yolks.
Once done, immediately cool the eggs in ice water for 5–10 minutes. This stops the cooking process and makes peeling a breeze.
When you’re ready, gently crack the shells and peel under running water or start from the wider end of the egg.
Finally, store your baked eggs in the fridge and avoid freezing them to keep the best texture.
Keep following for more tips on getting that perfect hard-boiled egg every time!
Key Takeaways
- Preheat your oven to 325°F (163°C). Place cold or room temperature eggs in a single layer in muffin tins or silicone cups.
- Bake the eggs for 20 to 28 minutes, depending on how you like your yolks. Go for 20 minutes if you want them soft, 24 minutes for a jammy center, and 28 minutes if you prefer firm yolks.
- As soon as they’re done baking, transfer the eggs right into an ice water bath. Let them chill there for 5 to 10 minutes to stop the cooking process and make peeling easier.
- When you’re ready to peel, gently crack the shells all around the equator. Peel the eggs under running cold water, or start from the wider end using a spoon to help.
- Store your cooked eggs in the fridge for up to 7 days. Just be sure not to freeze them, since that can mess with their texture and taste.
How to Prepare Your Oven and Eggs for Baking
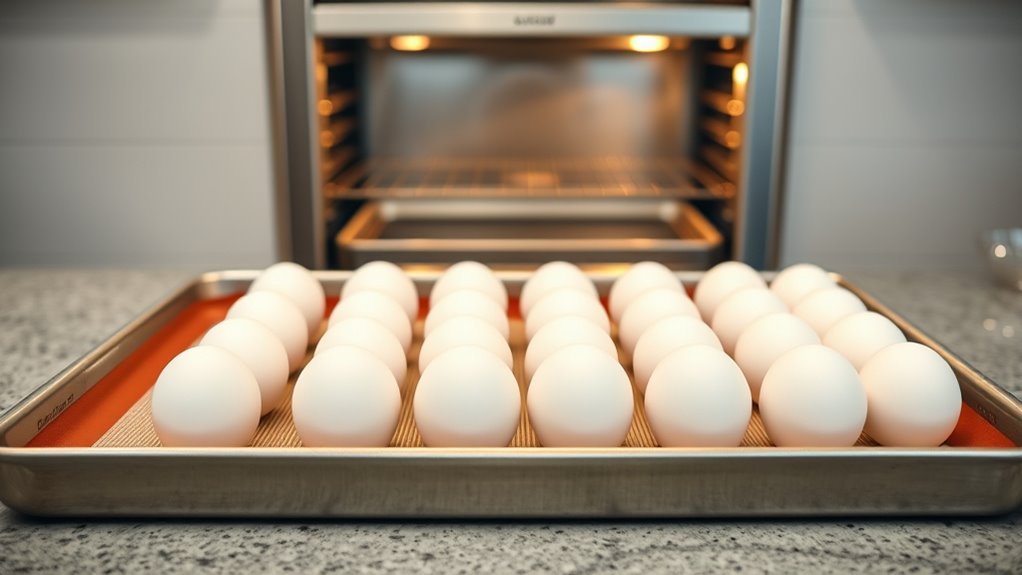
Before you start baking, preheat your oven to 325°F (163°C) to guarantee even cooking. Make sure your eggs are at room temperature or cold from the fridge to prevent cracking during baking.
Using silicone muffin cups is a smart choice—they hold the eggs securely and prevent contact with hot metal, reducing discoloration. When you place eggs in the oven, arrange them so heat distributes evenly, promoting uniform doneness.
Baking at this temperature ensures the eggs cook consistently without overcooking. Once finished, immediately transfer them to an ice water bath to halt the cooking process and make peeling easier.
Following these preparation steps helps you achieve perfectly hard-boiled eggs with minimal fuss every time. It’s really simple once you get the hang of it!
How to Arrange Eggs in Muffin Tins or Silicone Cups
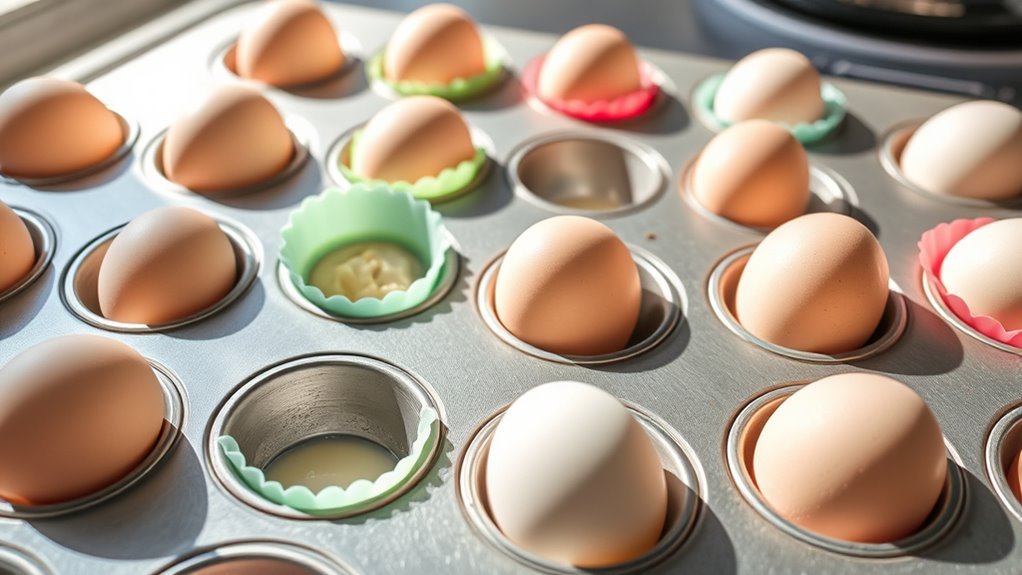
When you place eggs into muffin tins or silicone cups, make certain each egg sits in its own compartment to keep it from touching metal directly. This prevents contact that can cause brown spots or discoloration during baking.
Arrange the eggs in a single layer within the muffin tin or silicone cups, making sure there’s enough space around each egg. This spacing helps heat spread evenly, so all eggs cook the same way.
Silicone cups are especially helpful because they cut down on direct metal contact, which further stops discoloration. Position the muffin tin on the oven’s middle rack to avoid hotspots and make sure everything cooks consistently.
How Long to Bake Eggs for Perfect Oven-Baked Texture
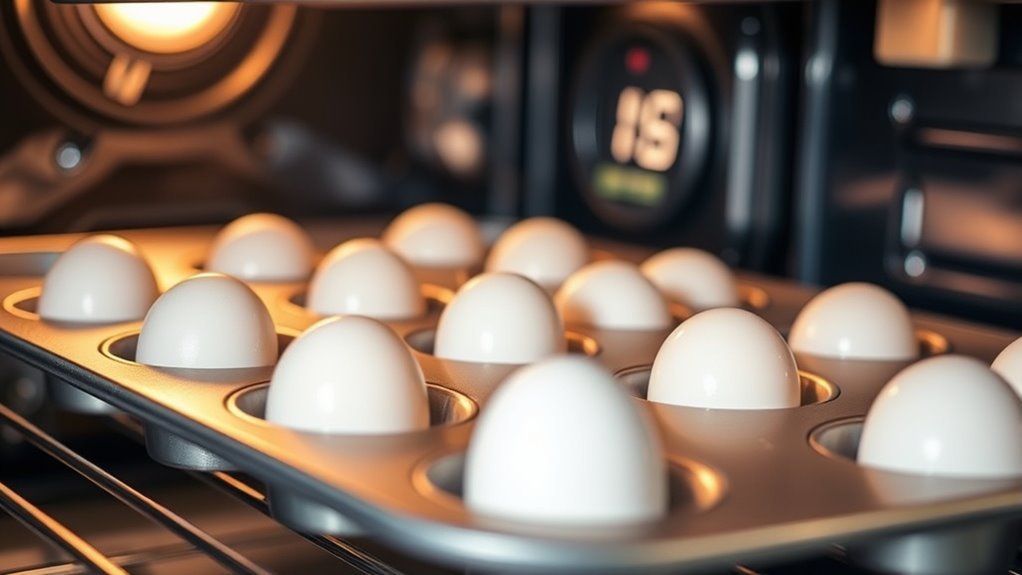
Now that you’ve arranged the eggs properly in muffin tins or silicone cups, it’s time to focus on baking duration to get your preferred yolk texture. When you bake eggs using the oven method at 325°F, adjusting baking time is key for perfect texture.
About 20 minutes yields soft yolks, while 28 minutes produces firm yolks ideal for hard boiled eggs. For jammy yolks, aim for 24 minutes, tweaking for egg temperature or size.
Avoid baking beyond 28 minutes to prevent overcooking or cracking. Use a timer and test the egg for best results.
| Yolk Texture | Baking Time (minutes) | Notes |
|---|---|---|
| Soft Yolk | 20 | Runny, gentle heat |
| Jammy Yolk | 24 | Slightly thickened |
| Firm Yolk | 28 | Fully cooked, no green ring |
How to Cool Oven-Baked Eggs Quickly and Safely
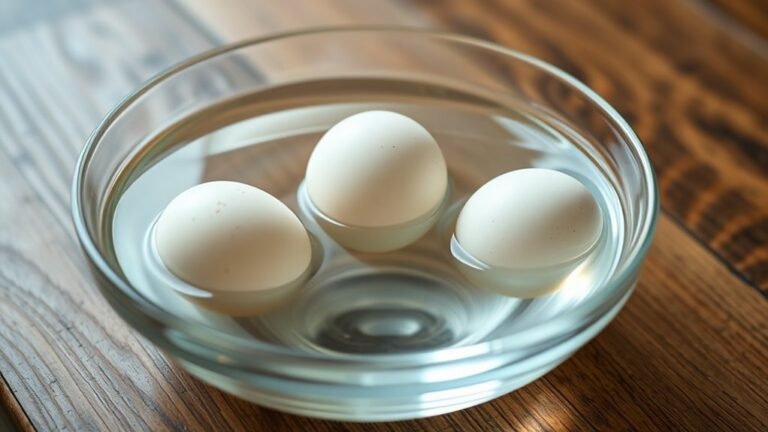
To quickly stop the cooking process and prevent overcooking, transfer your hot oven-baked eggs immediately into an ice water bath. This ice bath method guarantees rapid cooling, helping you cool eggs quickly and evenly.
Submerge the eggs fully for at least 5 to 10 minutes during the cooling process. You can gently crack or tap the eggshells before placing them in the ice water to help peeling eggs become easier later on.
The cold water causes the egg to contract inside its shell, which reduces sticking and improves the texture of your hard boiled eggs. Always use an ice water bath after baking to maintain ideal texture, safety, and to make peeling eggs a smoother, less frustrating experience.
How to Peel Oven-Baked Hard-Boiled Eggs Easily
To peel your oven-baked eggs easily, start by tapping and rolling them gently to crack the shell all around. Then, cool them quickly in ice water to help the shell contract and loosen.
Using these simple techniques, plus peeling under running water, will make shell removal smoother and less frustrating. Give it a try—you’ll see how much easier it is!
Shell Cracking Techniques
Although peeling oven-baked hard-boiled eggs can sometimes be tricky, using the right shell cracking techniques makes the process much easier. First, gently crack the shell around the egg’s equator using your fingernail or a spoon to create a starting point.
Then, roll the egg softly on a hard surface to loosen the shell and create hairline cracks. Start peeling at the wider end where the air pocket is, as this spot allows the shell to come off more smoothly.
Peel the egg under cold running water to help separate the shell from the white. If you encounter stubborn shells, soak the egg in ice water for a few minutes before peeling.
This peeling technique contracts the shell and white, reducing sticking and making shell removal easier. Give it a try, and you’ll see how much simpler peeling can be!
Cooling and Soaking Benefits
When you immediately place hot oven-baked eggs into ice water, their shells contract, making peeling much easier. This rapid cooling not only helps with shell removal but also keeps the yolks vibrant, avoiding that unappealing greenish ring.
Soaking the eggs in ice water for at least 10 minutes loosens the membrane, which reduces shell sticking and makes peeling way easier. Before soaking, cracking the shell around the circumference helps break its bond with the egg white, so peeling becomes a breeze.
Cooling the eggs thoroughly also guarantees a cleaner peel and better texture. Plus, using cold water while peeling rinses away leftover shell bits, leaving you with smooth, pristine eggs.
In short, these cooling and soaking steps make your oven-baked hard-boiled eggs super easy to peel every time.
Peeling Tools And Tips
Once your eggs have cooled and soaked properly, peeling them becomes much simpler with the right approach. To peel easier, start by gently cracking the eggshell all around the circumference.
Using effective peeling tools like a small spoon or an egg topper helps avoid damaging the whites during shell removal. Employ this peeling technique to get the best results.
For peeling under water, hold the egg under cold running water while you gently massage it to loosen the shell and membrane. Here are some peeling tips to follow:
- Begin peeling from the wider end where the air pocket is for easier shell removal.
- Use a spoon to carefully lift off shell pieces without tearing the egg.
- Peel under water to prevent sticking and speed up shell removal.
These strategies make peeling oven-baked hard-boiled eggs a breeze. Give them a try—you’ll see how much easier it gets!
How to Avoid Shell Spots and Overcooked Whites
To keep your hard-boiled eggs free from shell spots and overcooked whites, use silicone muffin pans or foil cradles instead of metal ones. This helps avoid direct contact with hot surfaces.
Also, don’t overfill the muffin cups or press foil tightly against the eggs. Doing that can cause shell spots and uneven browning.
Flip the eggs halfway through baking. This way, they get even heat distribution and less discoloration.
Stick to baking times between 20 and 28 minutes. Going longer can overcook the eggs, making the whites rubbery and spotted.
Once they’re done, immediately transfer the eggs to an ice water bath. This stops the cooking and prevents further shell discoloration.
Following these simple steps helps you get perfectly baked eggs with smooth shells and tender whites—no unsightly spots or weird textures.
How to Store Your Oven-Baked Hard-Boiled Eggs
After cooling your oven-baked eggs in an ice water bath, proper storage helps keep them fresh and tasty. To store eggs right, pop them in an airtight container and keep that in the fridge. This way, they can last up to a week.
You can store your eggs either unpeeled or peeled, but each way needs a little different care to keep them moist and fresh.
If you leave the shells on, it helps stop moisture from escaping and keeps odors from sneaking in. But if you peel your eggs, make sure to store them either submerged in water or wrapped in a damp paper towel inside a covered container.
Don’t forget to label the container with the date you cooked the eggs. That way, you’ll know when to eat them — aim for within 5 to 7 days.
One last tip: avoid freezing your hard-boiled eggs. It can mess with their texture and make them less enjoyable.
Frequently Asked Questions
How to Hard Boil Eggs in the Oven Easily?
You’ll preheat your oven to 325°F, place eggs in silicone cups or on the rack, bake for 30 minutes, then immediately cool them in an ice bath. This hands-free method cooks evenly and makes peeling easier.
What Is the Best Way to Cook Eggs for a Diabetic?
You should cook eggs by boiling, baking, or poaching without added fats or sugars. These methods keep blood sugar stable while providing protein. Just watch portions and balance eggs with other nutrient-rich foods for best diabetic control.
What Is the 3 3 3 Rule for Eggs?
You’ll think the 3-3-3 rule is magic—it’s just cooking eggs for 3 minutes each step to get soft, medium, or hard yolks. It’s your foolproof ticket to perfect eggs every time, no guessing!
Can You Hard Boil Eggs in a Regular Oven?
Yes, you can hard boil eggs in a regular oven by baking them at 325°F for 20-30 minutes. Just place them in a muffin tin or on the rack, then cool in ice water to peel easily.
Conclusion
Now that you’ve mastered baking eggs in the oven, imagine cracking open a perfectly cooked shell, revealing a tender, creamy yolk—no water boiling or timers needed. This method turns your oven into a gentle, consistent cooker, giving you flawless results every time.
With simple steps and little fuss, you’ll wonder why you ever stuck to the stove. Give it a try, and watch your kitchen routine transform—hard boiling eggs just got easier and more reliable!
Using the oven to hard boil eggs is a game changer. It’s convenient, mess-free, and incredibly consistent. Whether you’re prepping for breakfast or meal prepping for the week, this oven method delivers perfectly cooked eggs every time. Say goodbye to boiling water and hello to hassle-free hard boiled eggs that are ready when you are!