How to Dye Eggs With Cool Whip in 7 Easy Steps
You start by gathering hard-boiled eggs, Cool Whip, white vinegar, and food coloring. These simple ingredients are all you need to create beautiful, marbled Easter eggs with Cool Whip dyeing.
Soaking your cooled eggs briefly in vinegar helps the dye stick better, making your colors pop.
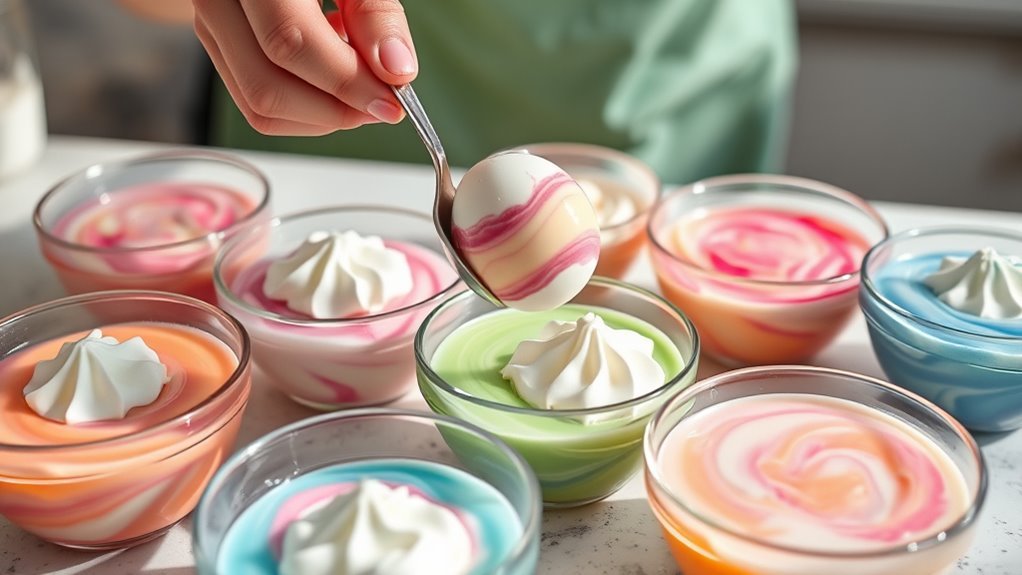
Spread Cool Whip in a tray, add drops of color, and swirl to create marbled patterns.
Then, roll your eggs in the colorful mixture for a fun and easy dyeing process.
Let them rest for 10-15 minutes before rinsing carefully to reveal vibrant designs.
Once dry, store your eggs chilled to keep them fresh.
Keep going to discover tips that make your marbled eggs truly stunning and perfect for your holiday celebration!
Key Takeaways
- Boil and cool eggs, then soak in white vinegar for 2-5 minutes to improve dye absorption. This little step really helps the colors stick better.
- Spread Cool Whip in a container and add drops of food coloring on top. It’s fun to choose your favorite colors!
- Use a toothpick to swirl the colors gently, creating a marbled effect. Don’t overdo it—you want those pretty swirls to show.
- Roll or press eggs into the colored Cool Whip and let them sit for 10-15 minutes. This is the magic time when the colors really soak in.
- Rinse eggs gently under cold water, pat dry, and store in the refrigerator. Now you’re all set to show off your colorful creations!
Why Dye Easter Eggs With Cool Whip?
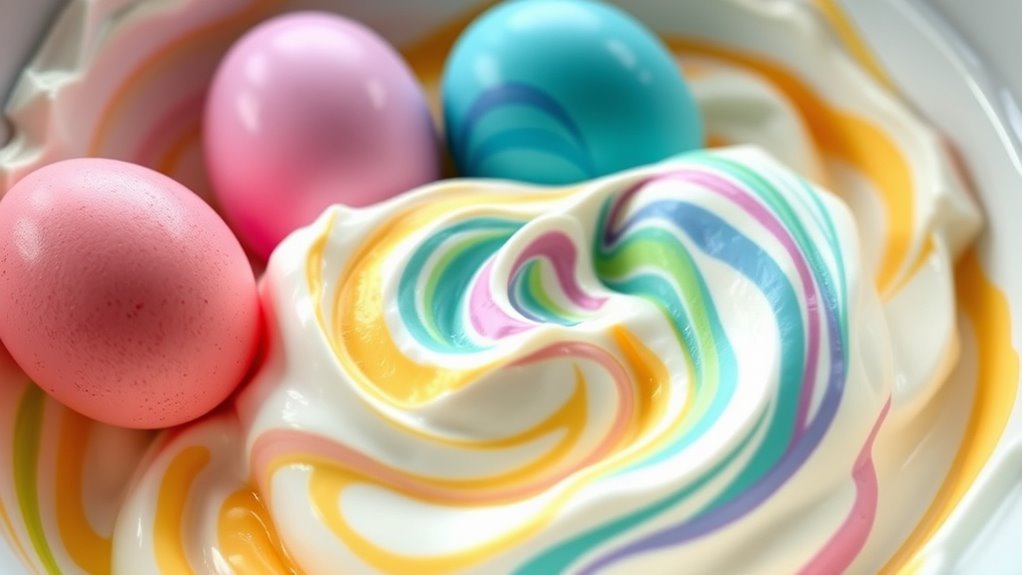
Although traditional egg dyeing methods have their charm, dyeing Easter eggs with Cool Whip offers a vibrant, marbled effect that’s both eye-catching and unique. When you use Cool Whip, it acts as a creamy base for your food coloring, creating beautiful, swirling patterns on the eggs.
This mess-free activity is perfect if you want to avoid spills and stains that often come with dyeing eggs the old-fashioned way. Cool Whip holds the dye in place, making cleanup quick and easy.
Plus, you don’t need multiple dye kits, which makes this method cost-effective. Whether you’re crafting with kids or on your own, dyeing eggs with Cool Whip is a fun, stress-free way to achieve vibrant, marbled Easter eggs every time.
Gather Ingredients and Supplies for Cool Whip Egg Dyeing
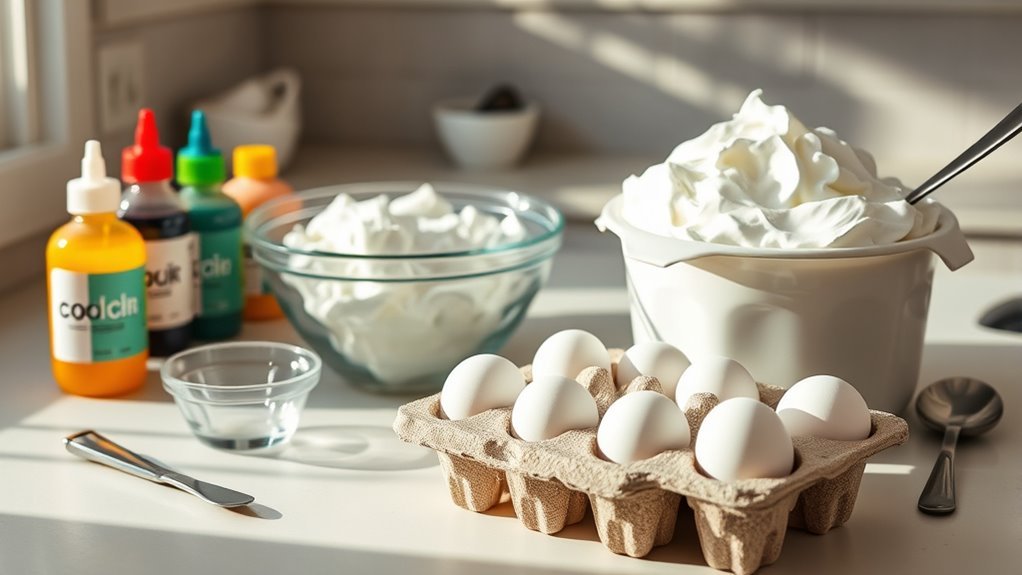
Before you start dyeing your Easter eggs with Cool Whip, gather all the necessary ingredients and supplies to make the process smooth and enjoyable. You’ll need 12 hard-boiled eggs, fully cooled and unpeeled, plus 3 cups of Cool Whip as your dye medium for creating beautiful marbled eggs.
Use white vinegar to help the color stick, and choose gel or liquid food coloring—the gel gives brighter results. Also, collect essential dyeing supplies like muffin tins, small bowls, a rimmed baking sheet, disposable gloves, and wooden skewers to handle your eggs safely.
| Ingredients | Supplies |
|---|---|
| 12 hard-boiled eggs | Muffin tins |
| 3 cups Cool Whip | Small bowls |
| 2 cups white vinegar | Rimmed baking sheet |
| Gel or liquid food coloring | Gloves & wooden skewers |
With these ready, your egg decorating adventure starts perfectly!
Prepare and Soak Hard-Boiled Eggs for Best Results
Since eggs that are at least 7-10 days old peel more easily after boiling, choose these for your dyeing project. Start by boiling your hard-boiled eggs and then cool them completely in cold water. This stops the cooking and makes peeling easier.
Next, prepare to soak the eggs in white vinegar for 2-5 minutes; this helps the dye stick better and brightens the colors in the dyeing process. Just be careful not to soak them too long, or the shells might weaken and crack.
After soaking, drain the eggs and pat them dry thoroughly with paper towels before applying the Cool Whip. Properly preparing and soaking your eggs guarantees vibrant colors and smooth peeling. This way, you’re all set for a successful Cool Whip dyeing experience.
Make Colorful Swirls With Cool Whip and Food Coloring
When you add drops of food coloring onto a spread of Cool Whip, you create a vibrant palette ready for swirling. This method gives your Easter eggs colorful, eye-catching patterns that stand out.
To make beautiful swirls and marbled effects, follow these steps:
- Place different drops of food coloring onto a thick layer of Cool Whip.
- Use a toothpick or skewer to gently swirl the colors, creating light, controlled patterns without blending into mud.
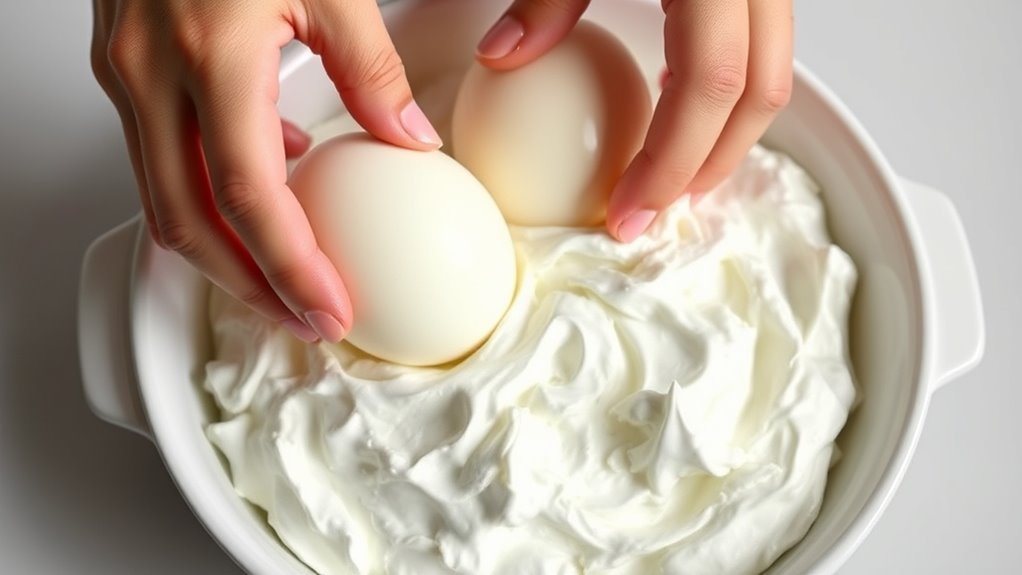
- Roll or press your cooled, unpeeled eggs into the swirled Cool Whip to coat them evenly.
- Let the eggs sit for at least 10 minutes, allowing the dyeing process to transfer vivid swirls onto the shells.
This technique ensures your eggs have colorful, unique designs that brighten up any Easter celebration.
Give it a try — it’s super fun and the results are always so pretty!
Dye Eggs Using Two Easy Cool Whip Methods
Although you can create colorful swirls with just a spoon and Cool Whip, using the Muffin Tin and Cookie Sheet methods makes dyeing eggs even easier and more fun.
With the muffin tin method, spread Cool Whip into each cup, add drops of food coloring, and swirl to create marbled eggs. Roll your eggs in the mixture for vibrant, streaked effects.
For the cookie sheet method, spread a layer of Cool Whip on the sheet, add food coloring drops, swirl, and roll eggs to coat them evenly. After applying color, let the eggs sit for at least 10 minutes to absorb the dye.
Once done, gently rinse the eggs to reveal beautiful marbled designs. These methods make dye eggs projects simple and visually stunning.
Let Eggs Rest and Rinse to Reveal Beautiful Designs
To bring out the vibrant swirling and marbled effects, let your eggs rest in the Cool Whip mixture for at least 10 to 15 minutes. This lets the dye eggs develop stunning patterns that are unique each time.
When you’re ready, follow these steps:
- Gently lift the eggs from the Cool Whip using a spoon or your fingers to avoid smudging the marbled design.
- Rinse the eggs carefully under cold, running water to remove excess Cool Whip and reveal those vibrant colors.
- Pat the eggs dry with a paper towel, handling them gently to keep the intricate patterns intact.
- Let the eggs dry completely before displaying to preserve the beautiful marbled effects.
Tips for Storing and Enjoying Your Cool Whip Easter Eggs
Since the vibrant colors and delicate patterns on your Cool Whip Easter eggs can easily smudge or fade, you’ll want to store them carefully. When storing Easter eggs, place your cool whip eggs in an airtight container and refrigerate them.
This keeps them fresh and helps prevent spoilage for up to one week. Always handle gently to avoid damaging the marbled design. Avoid leaving eggs at room temperature for more than two hours to maintain their vibrant colors.
For extended storage, put the eggs in a shallow dish, cover with plastic wrap, and keep chilled to prevent moisture loss. When you’re ready to enjoy them, remove the eggs from the fridge just before serving to keep their colors bright and beautiful.
Frequently Asked Questions
How to Make Cool Whip Dyed Eggs?
You coat your hard-boiled eggs in a Cool Whip layer mixed with food coloring, let them sit for 10-15 minutes, then rinse off the Cool Whip to reveal beautiful, marbled designs. It’s simple and fun!
How Long to Let Cool Whip Dyed Eggs Sit?
You’ll feel like a mad scientist watching colors explode! Let your cool whip dyed eggs sit for 10-15 minutes for soft hues or up to 30 minutes to release bold, swirling marbled masterpieces.
Do You Put Vinegar in Water When Dying Eggs?
Yes, you should add vinegar to the water when dyeing eggs. It helps the dye stick better by opening the eggshell pores, giving you brighter, more vibrant colors. Don’t skip this step for best results!
Is It Better to Dye Cold or Warm Eggs?
You want to dye warm eggs for brighter colors, but cool them before handling to avoid burns. Warm eggs absorb dye faster, while cold eggs reduce cracking risk. Balance warmth and safety for the best results.
Conclusion
Dyeing eggs with Cool Whip is a fun, mess-free way to get creative this Easter. Did you know that over 70% of families dye eggs annually? With just a few simple steps, you can create stunning, colorful designs without harsh chemicals.
Plus, using Cool Whip makes cleanup a breeze! So gather your supplies, try these easy methods, and enjoy beautiful eggs that everyone will love showing off.
Happy dyeing! Using Cool Whip to dye eggs not only adds vibrant colors but also keeps the process simple and safe for kids. This cool whip egg dyeing technique is perfect if you want to avoid messy spills and harsh dyes. Give it a shot this Easter, and you’ll have gorgeous, colorful eggs in no time. Everyone will be amazed at how easy it is to create unique designs with just a bit of Cool Whip. So, get ready for a fun and easy egg dyeing experience that’s perfect for the whole family!